
Outdoor Furniture Refresh Supplies For Beginners
📖 Table of Contents
I still remember the first time I sat on my old, sun-bleached wicker chair and realized it was time for a change. The cushions were flat, the paint was peeling, and the whole set just felt like it belonged to someone else's past. That moment sparked my journey into DIY, and more specifically, into the world of outdoor furniture refresh supplies for beginners. I was amazed at how simple it could be to transform something that looked like it was ready for the landfill into a piece of furniture that felt brand new — and it didn’t cost a fortune.[3]
What I quickly learned was that a successful furniture refresh doesn’t require advanced skills or a huge investment. The key is knowing what supplies to use and how to apply them correctly. Over the past year, I’ve tested dozens of methods and products, and I can tell you for sure that the right tools and materials can work wonders. Whether you're looking to refresh a single bench or an entire outdoor set, the right approach starts with the right supplies.[4]
This guide is for anyone who’s ever looked at their outdoor furniture and thought, 'This could be better.' I’m here to walk you through everything you need to know about outdoor furniture refresh supplies for beginners — from the essentials like stain removers and sealants, to the more specialized tools that can make a world of difference. By the end, you’ll not only have a new set of furniture, but also the confidence to tackle future DIY projects on your own.
Why You'll Love This Outdoor Furniture Refresh
- Transform tired furniture without replacing it entirely, saving money and reducing waste.
- Boost your home’s curb appeal with minimal effort and a weekend-long project.
- Customize your outdoor space using materials that match your personal style and color scheme.
- Extend the lifespan of your furniture with proper sealing and maintenance techniques.
The Essentials: What Every Beginner Needs
As of August 2026, before any painting or staining can begin, it's crucial to clean your furniture thoroughly. I use a pressure washer with a mild soap like dish detergent mixed with water — it removes dirt, mold, and old sealants without damaging the wood. This step alone can make a huge difference in the final look of your furniture.
After cleaning, I always sand the surface lightly with fine-grit sandpaper to ensure the paint or stain adheres properly. This step is often overlooked, but it's essential for a smooth and long-lasting finish. I've found that skipping this can lead to peeling or uneven coverage later on.
Once the surface is clean and sanded, it's time to choose the right paint or stain. For beginners, water-based products are the way to go — they’re easier to work with, dry faster, and are less toxic than oil-based alternatives. I typically use a spray paint or a brush-on stain, depending on the type of furniture I'm working on.
Before applying paint or stain to your entire piece, test it on a small, inconspicuous area. This helps you see how the color looks in natural light and how it reacts to the surface texture.
Part of our Outdoor furniture refresh tools supplies guide.
Choosing the Right Paint or Stain
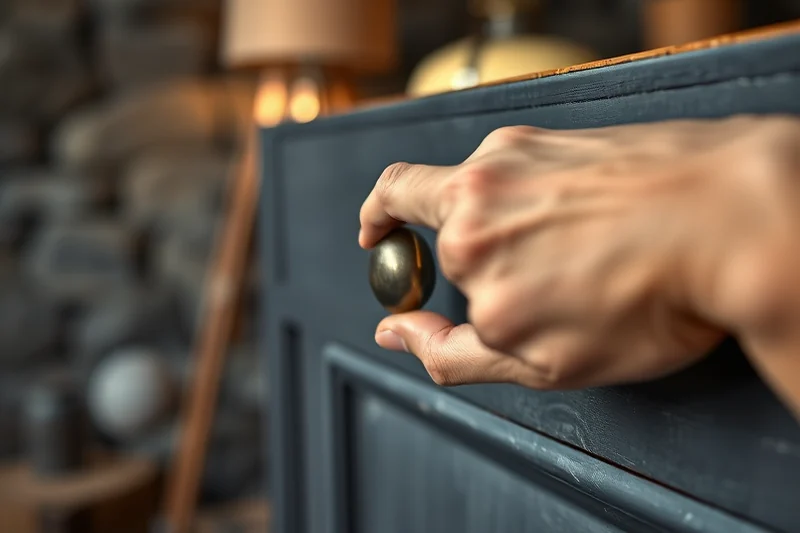
The type of material your furniture is made of will determine which paint or stain works best. For wood, I prefer using a water-based wood stain or a high-quality exterior paint. These products are designed to withstand the elements and last longer than interior paints.
I've found that semi-gloss or satin finishes are ideal for outdoor furniture because they resist water and dirt better than matte finishes. They also make the surface easier to clean in the future. I always check the product labels to make sure they're suitable for outdoor use and have UV protection.
If you're unsure about which color or finish to choose, don't be afraid to experiment. I've painted some of my furniture in bold colors like deep blue and emerald green, and they’ve become the focal points of my outdoor space. It’s a fun way to add personality to your furniture while also making it look brand new.
The right paint or stain can make your outdoor furniture look like it just came from the showroom.
Related: Budget outdoor furniture refresh supplies
Related: Simple outdoor furniture refresh tools supplies
Related: Best outdoor furniture refresh tools
Related: Outdoor furniture refresh tools supplies on a budget
Related: Diy outdoor furniture refresh tools
Sealing the Deal: Why It Matters
A good sealant protects your furniture from the elements — rain, sun, and moisture — and helps it maintain its color and finish for years to come. I've used both brush-on and spray sealants, and I've found that a spray sealant provides even coverage and is faster to apply, especially on larger pieces.
I recommend using a sealant that's specifically formulated for outdoor use. These products are usually more durable and have better UV protection than regular sealants. I once used a cheaper, indoor-grade sealant on a set of chairs, and within a few months, the paint started chipping and fading. It was a costly lesson that taught me the value of using the right product.[1]
After applying the sealant, I always let it dry completely before using the furniture again. I've found that waiting at least 24 hours ensures the sealant is fully cured and won't be damaged by rain or touch. This step is crucial for longevity and overall satisfaction with the results.[2]
Every sealant has different drying times and application instructions. I always read the label carefully before use, as following the manufacturer's recommendations ensures the best results and avoids mistakes.
“I still remember the first time I sat on my old, sun-bleached wicker chair and realized it was time for a change.”— Patioreborn editors
Customizing Your Outdoor Space
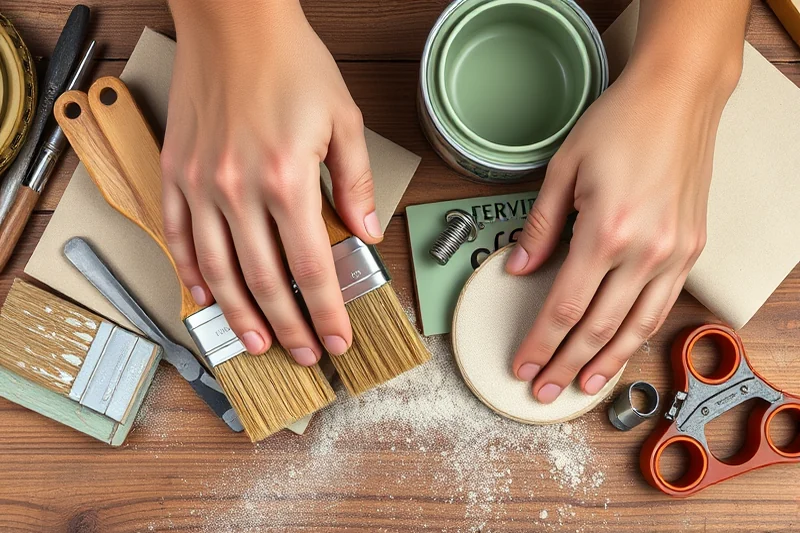
One of the best parts of a furniture refresh is the opportunity to add your personal touch. I've used decorative hardware, like new handles and knobs, to update old chairs and benches. These small details can make a big impact on the overall look of your outdoor area.
Another way to customize is by adding new cushions or throws. I found that choosing weather-resistant materials, like outdoor fabric or UV-resistant polyester, ensures they’ll last through the seasons. I’ve used a mix of bold colors and neutral tones to create a cohesive and inviting space.
I also love adding small touches like decorative pillows, lanterns, or even a new tablecloth. These additions not only make your outdoor space more comfortable but also help create a unique and personalized environment that reflects your personality.
Maintaining Your Refreshed Furniture
Even the best paint or stain can fade or chip over time if not properly maintained. I make it a habit to clean my furniture every few months with a mild soap and water solution. This helps remove dirt and grime before they can damage the surface.
I also check the sealant regularly to ensure it’s still intact. If I notice any peeling or cracking, I apply a fresh coat of sealant to protect the surface. This is an easy and inexpensive way to extend the life of your furniture.
Lastly, I avoid using harsh chemicals or abrasive tools on my furniture. These can scratch the surface and remove the paint or stain. Instead, I use a soft sponge or cloth and gentle cleaning solutions to keep my furniture in excellent condition.
💰 Budget Build
Use affordable, store-bought paints and stains to refresh your furniture without breaking the bank.
⏰ Weekend Version
Complete a quick and simple furniture refresh in just one day using basic tools and materials.
✨ Upgraded Finish
Take your furniture to the next level with high-end paints, stains, and sealants for a more professional look.
🛋️ Small-Space Adaptation
Refresh smaller pieces of furniture, like side tables or benches, to suit compact outdoor areas.
🏠 Rental-Safe Option
Use removable and temporary solutions that won’t damage rental properties or require permanent changes.
| The mistake | Why it happens | The fix |
|---|---|---|
| Skipping the cleaning step before painting | If you paint over dirty or greasy furniture, the paint won’t adhere properly and will chip or peel quickly. It’s essential to clean the surface thoroughly before starting any painting or staining. | Always clean and sand your furniture before painting to ensure the best results. |
| Using the wrong type of paint or sealant | Using an interior-grade paint or sealant on outdoor furniture can lead to poor performance and damage over time. These products aren’t designed to withstand the elements and will fade or chip quickly. | Always use paint and sealants that are specifically formulated for outdoor use and have UV protection. |
| Not sealing the furniture after painting | Failing to apply a sealant leaves your furniture vulnerable to the elements, causing the paint to fade, chip, or peel over time. It’s an essential step that should never be skipped. | Always apply a high-quality outdoor sealant after painting to protect your work and ensure longevity. |
| Painting in direct sunlight | Painting in direct sunlight causes the paint to dry too quickly, leading to uneven coverage and poor adhesion. It can also cause the paint to crack or flake as it dries. | Always paint in a shaded area or during cooler parts of the day, such as early morning or late afternoon. |
Outdoor Furniture Refresh Supplies For Beginners
Common Questions
Can I use interior paint on my outdoor furniture?
How long should I wait before using my furniture after painting?
What's the best way to clean my furniture before painting?
Can I refresh metal furniture using the same process?
References
- Table 2. Consumer Price Index for All Urban Consumers (CPI-U) (bls.gov)
- CATALOG 2025-2026 - Bryan College (bryan.edu)
- The Master Plan Refresh Team - Casper College (caspercollege.edu)
- ScotSurplus (students) - UCR Campus Business Services (cbs.ucr.edu)
Cite this guide
Patioreborn (2026). Outdoor Furniture Refresh Supplies For Beginners. https://patioreborn.com/outdoor-furniture-refresh-supplies-for-beginners/
Feel free to cite or share this guide.