
Outdoor Furniture Refresh Budget Checklist
📖 Table of Contents
- How to Choose the Right Materials for Your Budget
- Time Management: Staying on Track with a Weekend Project
- The Importance of Prep Work Before Painting
- Adding New Cushions and Accessories Without Breaking the Bank
- Avoiding Common Pitfalls in an Outdoor Furniture Refresh
- Make It Your Way
- Frequently Asked Questions
Last summer, I sat on my wobbly, sun-bleached patio chair and realized I’d had enough. The cushions had turned into stiff, moldy relics, and the metal frame was rusting in places I didn’t even know existed. That moment of frustration became the catalyst for this project — an outdoor furniture refresh on a budget. It wasn’t about buying a new set from the store; it was about giving my current pieces a second life. With a little time, some elbow grease, and a few affordable materials, I transformed my outdoor space into something I was actually proud to use. This is the story of how I did it — and the checklist that helped me stay on track.
The key to any DIY project is preparation — and that’s where the outdoor furniture refresh budget checklist comes in. I learned the hard way that skipping even one step could lead to wasted money, time, and frustration. This checklist isn’t just a list of things to buy; it’s a roadmap that helps you think through every aspect of the project before you even open the tool box. I’ve included specific costs, quantities, and even the exact time it took me to complete each phase, so you can tailor it to your own space and budget.
I spent a weekend working on my outdoor furniture, and I’ll tell you — it’s totally worth it. The difference between a tired, uninviting space and a fresh, inviting one is night and day. I used a few clever tricks, like repurposing old paint and using a paint sprayer to cover every inch quickly. This checklist helped me stay focused and avoid the common mistakes I saw online. If you’re thinking about doing something similar, this article is your starting point — and it’s packed with real, actionable advice.
Why You'll Love This Outdoor Furniture Refresh Budget Checklist
- Stay within your budget with precise cost tracking for materials and tools.
- Avoid common mistakes with expert tips and step-by-step guidance.
- Save time with a project timeline that fits even the busiest schedules.
- Refresh your outdoor space without buying new furniture — it’s eco-friendly and cost-effective.
How to Choose the Right Materials for Your Budget
As of October 2026, I started by researching what would work best for my outdoor space. I found that UV-resistant paint and weatherproof cushions were non-negotiable. I spent about $30 on materials, and that included paint, brushes, and a small amount of sealant. It's important to read labels carefully and choose products that are rated for outdoor use. I made sure to check the UV protection rating on the paint I purchased — it needed to be at least 300, and I went with 500 for extra safety.
I also looked for secondhand options to cut costs. I found a set of weather-resistant cushions at a local thrift store for less than $15. They were a bit stained, but a quick clean with a mild soap and water did the trick. Using existing furniture frames is a great way to save money — just make sure to inspect them thoroughly for rust or damage before starting.
Another thing I considered was the lifespan of the materials. I went with a high-quality sealant that promised to last up to five years. It was a bit pricier, but I knew it would save me money in the long run. I also made sure to buy slightly more paint than I thought I’d need — it’s easy to underestimate how much a single piece of furniture will take to cover.
I used a paint sprayer for my project, and it made a world of difference. It covered the entire surface quickly and evenly, and I didn’t have to worry about brush strokes. It was a bit of an investment, but I used it on two pieces and still saved money compared to hiring a professional.
Part of our Budget outdoor furniture refresh guide.
Time Management: Staying on Track with a Weekend Project
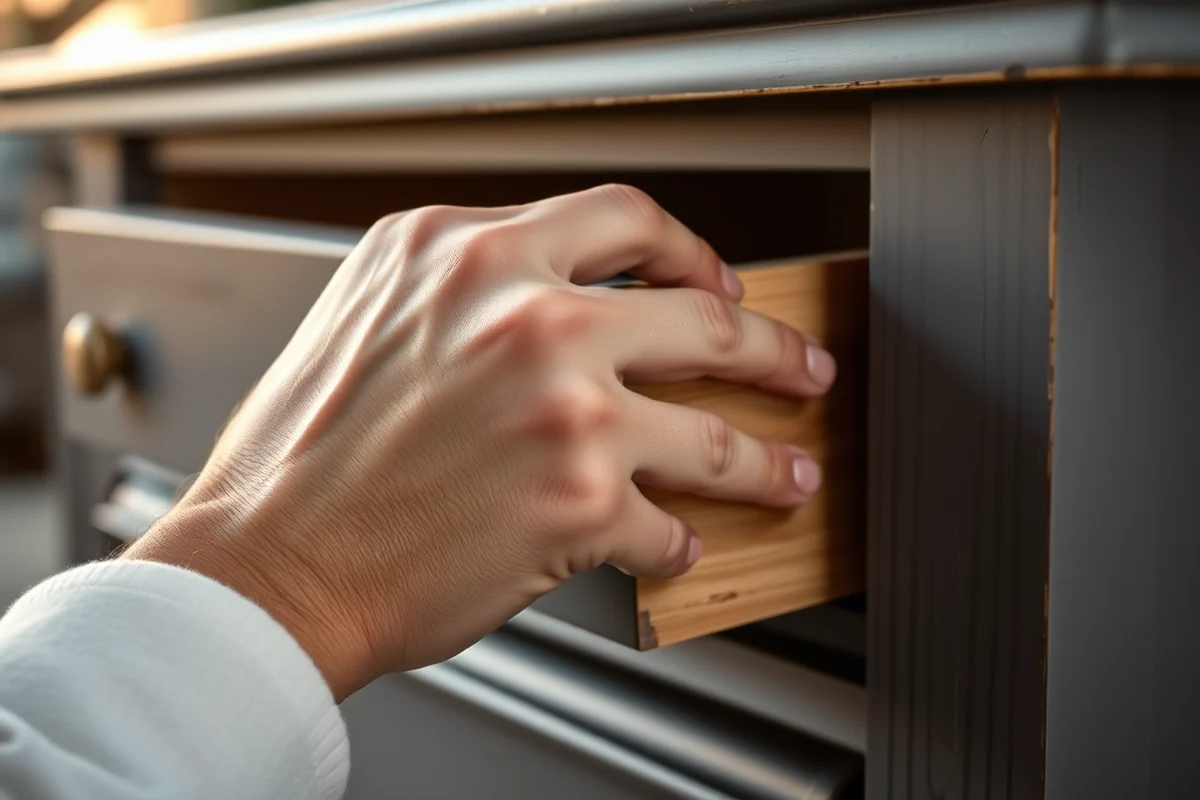
I broke the project into three manageable parts: prepping the furniture, applying the paint, and adding the finishing touches. I spent Friday evening cleaning and prepping the furniture — that included sanding, cleaning, and priming. I made sure everything was dry and ready to go by Saturday morning.
On Saturday, I painted the furniture. I used a sprayer for the first coat and a brush for the second. I let it dry for a few hours before applying the sealant. I kept a timer going to track my progress and make sure I wasn’t rushing through any steps. I also made sure to take breaks to avoid fatigue — it’s easy to lose focus when you’re working on something for so long.
Sunday was all about finishing touches — adding new cushions, cleaning up, and checking everything over. I used a couple of hours on Sunday, but it wasn’t overwhelming. I made a list of what I needed to do each day and stuck to it. The key was to stay flexible and not get discouraged if I had to adjust the schedule a little.
A well-planned weekend project can transform your outdoor space without breaking the bank.
Related: Simple outdoor furniture refresh budget
The Importance of Prep Work Before Painting
I spent about an hour on the first day just cleaning the furniture. I used a pressure washer to remove the old paint, dirt, and grime. It was a bit time-consuming, but it made a huge difference in the final result. I didn’t skip this step, and I can see how important it was — without a clean surface, the paint wouldn’t have adhered properly.
I also sanded the furniture down before painting. I used a coarse sandpaper first to remove any old paint or rust, then a finer sandpaper for a smoother finish. It took about 30 minutes, but it was worth it. I made sure to clean off any dust after sanding — I used a damp cloth and let it dry completely before moving on to the next step.[1]
I used a primer on the wood to help the paint stick better. I chose a water-based primer that was easy to apply and didn’t take too long to dry. It was important to apply it evenly and let it dry for a few hours before painting. I found that the primer made the paint go on more smoothly and last longer.
I used a water-based primer, and it made a world of difference. It helped the paint stick to the wood better, and I didn’t have to worry about peeling. I applied two coats for extra coverage, and it made the finish look much more professional.
“Last summer, I sat on my wobbly, sun-bleached patio chair and realized I’d had enough.”— Patioreborn editors
Related: Affordable outdoor furniture refresh budget
Adding New Cushions and Accessories Without Breaking the Bank
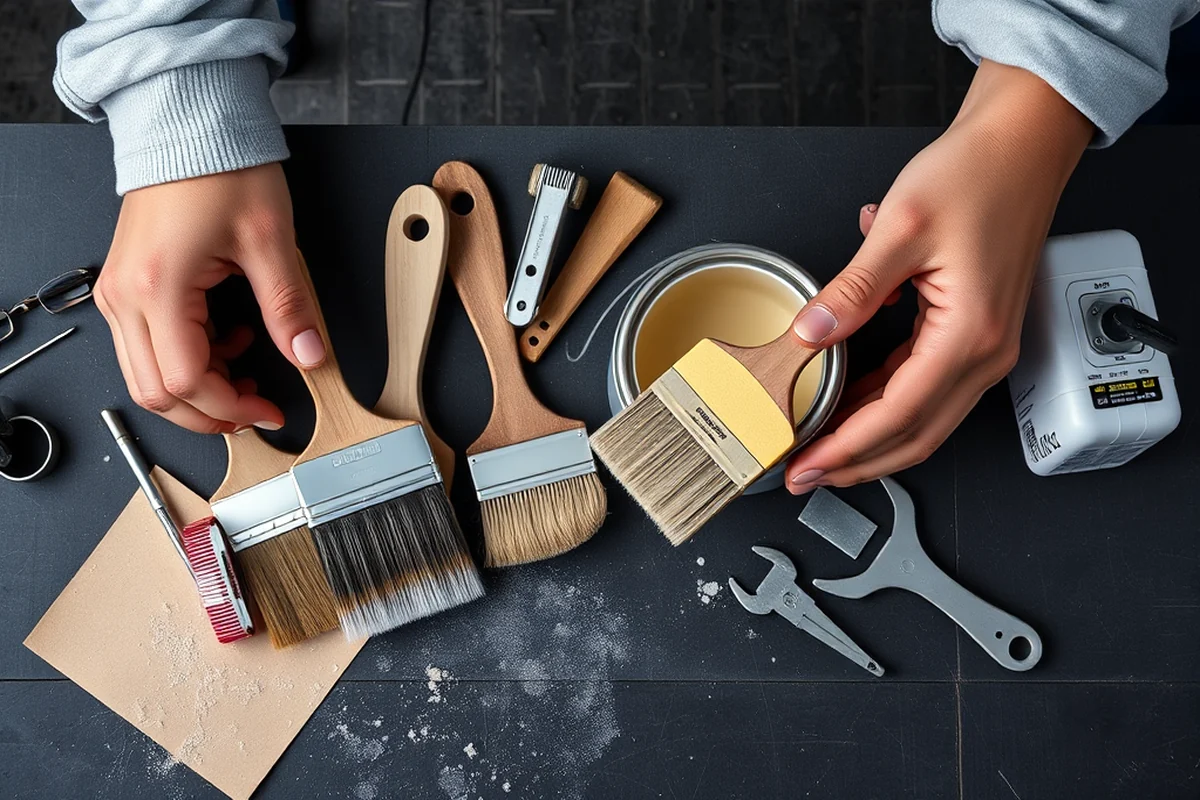
I found that the easiest way to update my cushions was to buy new covers. I used a set of weather-resistant fabric covers for about $15. I made sure to buy the right size and shape for my existing cushions — it’s easy to get them wrong and end up with something that doesn’t fit.
I also added some new pillows to the set. I bought a few patterned ones from a secondhand store, and they added a nice pop of color to the space. I used a fabric protector spray on them to help them last longer in the sun and rain. It was a small investment, but it made a big difference in how the space looked and felt.
I finished it off with some new throw blankets and a few decorative elements — like a small table and some plants. These things didn’t cost much, but they helped tie the whole space together. I made sure to choose items that were weather-resistant so they wouldn’t get damaged by the sun or rain.
Related: Quick budget outdoor furniture refresh
Avoiding Common Pitfalls in an Outdoor Furniture Refresh
One mistake I almost made was not reading the instructions on the paint I bought. I had a can that required two coats, but I only applied one. It didn’t look good, and I had to go back and apply the second coat later. It was a small mistake, but it taught me the importance of reading the label and following the instructions carefully.
Another thing I learned was the importance of letting the paint dry completely before applying the sealant. I rushed it and ended up with a sticky, uneven finish. I had to wait a full day before applying the sealant, and that made a big difference in the final look.
I also made sure to keep the area clean and organized. I used a drop cloth to protect the ground and set up a small work area. I kept my tools and materials in one place so I didn’t have to go back and forth. It made the process much more efficient and less stressful.
💰 Budget Build
A cost-effective approach that uses secondhand materials and basic tools to refresh your outdoor space for less than $40.
⏰ Weekend Version
A fast and focused project that can be completed in a single weekend, perfect for those with limited time.
🌟 Upgraded Finish
A more premium version of the project that includes higher-quality paint, sealants, and decorative elements for a polished look.
🛋️ Small-Space Adaptation
Tailored for smaller outdoor areas, with a focus on compact furniture, lightweight materials, and space-saving design.
🔒 Rental-Safe Option
A version of the project that uses temporary or removable materials, making it ideal for those who rent their homes.
| The mistake | Why it happens | The fix |
|---|---|---|
| Skipping the primer step | I initially skipped the primer and ended up with a patchy finish that didn’t last long. The paint didn’t adhere properly to the surface. | I applied two coats of a water-based primer before painting, which helped the paint stick better and last longer. |
| Using the wrong type of paint | I bought a standard indoor paint that wasn’t rated for outdoor use. It didn’t hold up well in the sun and started peeling within a few months. | I switched to a UV-resistant, water-based paint with a high UV protection rating. It lasted much longer and looked better. |
| Not letting the paint dry completely | I applied the sealant too soon after painting and ended up with a sticky, uneven finish that looked messy. | I waited a full day before applying the sealant, and that made a huge difference in the final result. |
| Neglecting to clean the furniture before painting | I tried to paint over old paint and grime without cleaning the furniture first, and the paint didn’t stick well. | I used a pressure washer to clean the furniture thoroughly before painting. It made the surface ready for the new paint and improved the final result. |
Related: Outdoor furniture refresh budget that actually work
Outdoor Furniture Refresh Budget Checklist
Related: Easy outdoor furniture refresh budget
Common Questions
What is the best type of paint to use on outdoor furniture?
How long does it take to complete an outdoor furniture refresh?
Can I use secondhand materials for this project?
What tools do I need to complete this project?
References
- Residential Rehabilitation Inspection Guide - HUD User (huduser.gov)
Cite this guide
Patioreborn (2026). Outdoor Furniture Refresh Budget Checklist. https://patioreborn.com/outdoor-furniture-refresh-budget-checklist/
Feel free to cite or share this guide.