
Diy Outdoor Furniture Refresh Color
📖 Table of Contents
Last summer, my rattan dining set sat faded and lifeless under the sun, a relic of a past project that had long outlived its appeal. I knew I had to do something, but I didn’t want to buy a new set — not with the cost and the environmental impact. That’s when I stumbled on the idea of a DIY outdoor furniture refresh color, a project that would not only give my set a new lease on life but also teach me how to transform old furniture into something fresh and modern.
The process was more involved than I expected, but the end result was worth every drop of paint and every hour spent. I learned the importance of using the right tools, the right paint, and the right technique to ensure that the color would hold up against the elements. What started as a simple idea turned into a journey of discovery, and now, my dining set looks like it was bought brand new — all without breaking the bank or the planet.
If you're looking for a way to revamp your outdoor space without the hassle of replacing furniture, a DIY outdoor furniture refresh color is an excellent solution. It's not just about aesthetics; it's about creating a space that feels inviting, fresh, and personalized. With the right approach, you can turn any dull piece into a statement of style and care.
Why You'll Love This DIY Outdoor Furniture Refresh Color
- Save money by giving your old furniture a brand new look.
- Customize colors to match your outdoor space and personal style.
- Boost the value of your home by updating your exterior decor.
- Reduce waste by extending the life of your furniture.
Choosing the Right Paint for Outdoor Furniture
As of September 2026, I used a spray paint specifically designed for outdoor use, which is UV-resistant and water-resistant. It's essential to pick a paint that can handle the elements, like rain, sun, and wind. I found that oil-based paints tend to hold up better than water-based ones over time, though they may require more drying time.
After researching, I settled on a paint that had a matte finish — I didn’t want a glossy look that would highlight every imperfection. I also made sure to check the label for durability ratings, aiming for something that was rated for at least five years of outdoor use.
I tested a small section of my table with a sample color before painting the whole thing. It took about 30 minutes to dry, and the coverage was even. This step helped me avoid wasting paint and ensured I was happy with the color before committing to the whole project.
Always check the label for UV resistance and water resistance. Matte finishes tend to be more forgiving for DIY projects.
Part of our Outdoor furniture refresh color style ideas guide.
Preparation: Cleaning and Sanding Your Furniture
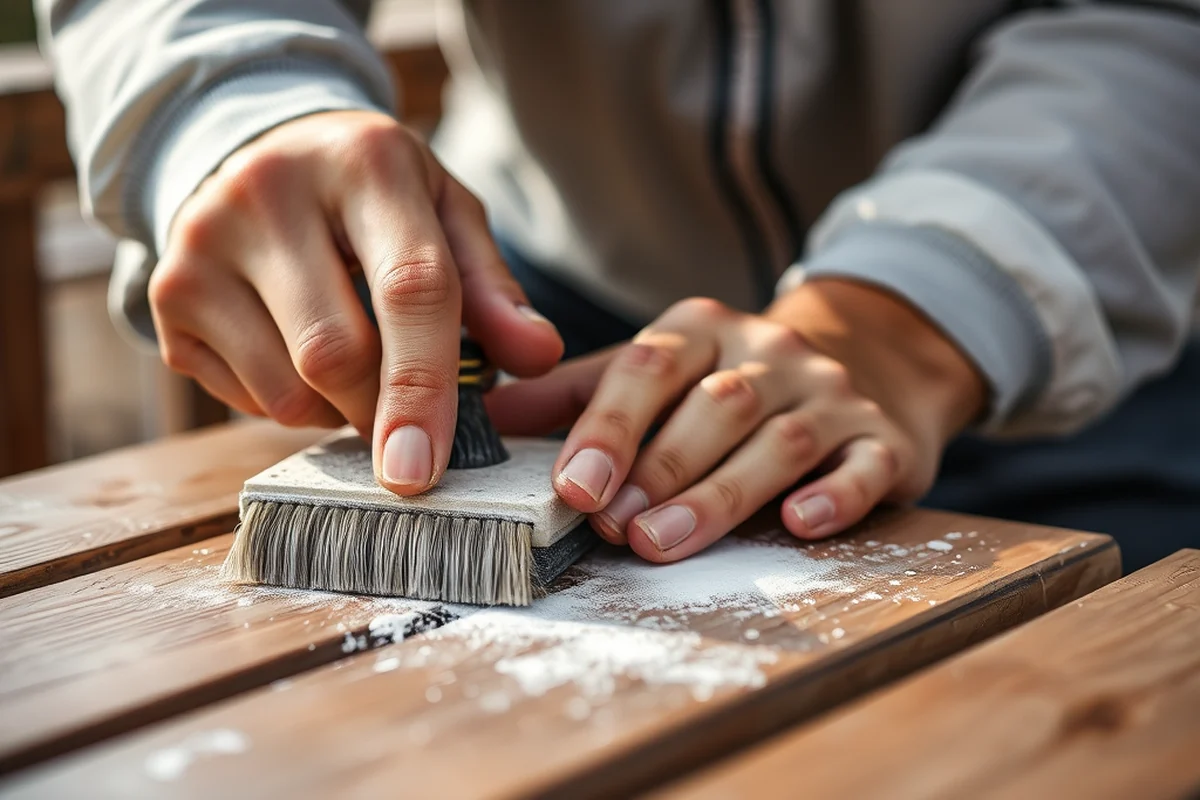
Before I started painting, I cleaned my furniture thoroughly using a pressure washer to remove dirt, grime, and old paint chips. It was essential to get every corner and crevice spotless — anything left behind would show through the paint.
After cleaning, I sanded the furniture with medium-grit sandpaper to create a smooth surface. This helped the paint adhere better and gave it a more professional finish. I worked in sections, going back and forth until I was satisfied with the texture.
Once I was done sanding, I wiped the furniture down with a damp cloth to remove any dust or debris. This step was critical to ensure that the paint would stick properly and wouldn’t peel off later.
Don’t skip the cleaning and sanding — it makes all the difference in the final look.
Related: Easy outdoor furniture refresh color style ideas
Applying the Paint: Tips for a Smooth Finish
I used a spray painter with a wide nozzle to cover the entire surface in one pass. I worked in sections, holding the can about 12 inches away from the furniture to avoid drips or uneven coverage. I painted in a consistent motion, making sure not to overlap too much.
I applied two coats of paint, allowing each coat to dry for about 20 minutes before applying the next. This helped build up the color and ensured a more even finish. I found that two coats were enough for a solid color without looking too heavy.[1]
After the second coat, I let the furniture dry completely for 24 hours before moving it back outside. I was surprised at how smooth and even the finish was — it looked like it had been professionally painted.
Hold the spray can 12 inches away and paint in a consistent motion to avoid drips and overlaps.
“Last summer, my rattan dining set sat faded and lifeless under the sun, a relic of a past project that had long outlived its appeal.”— Patioreborn editors
Related: Budget outdoor furniture refresh color style ideas
Sealing the Paint for Long-Lasting Results
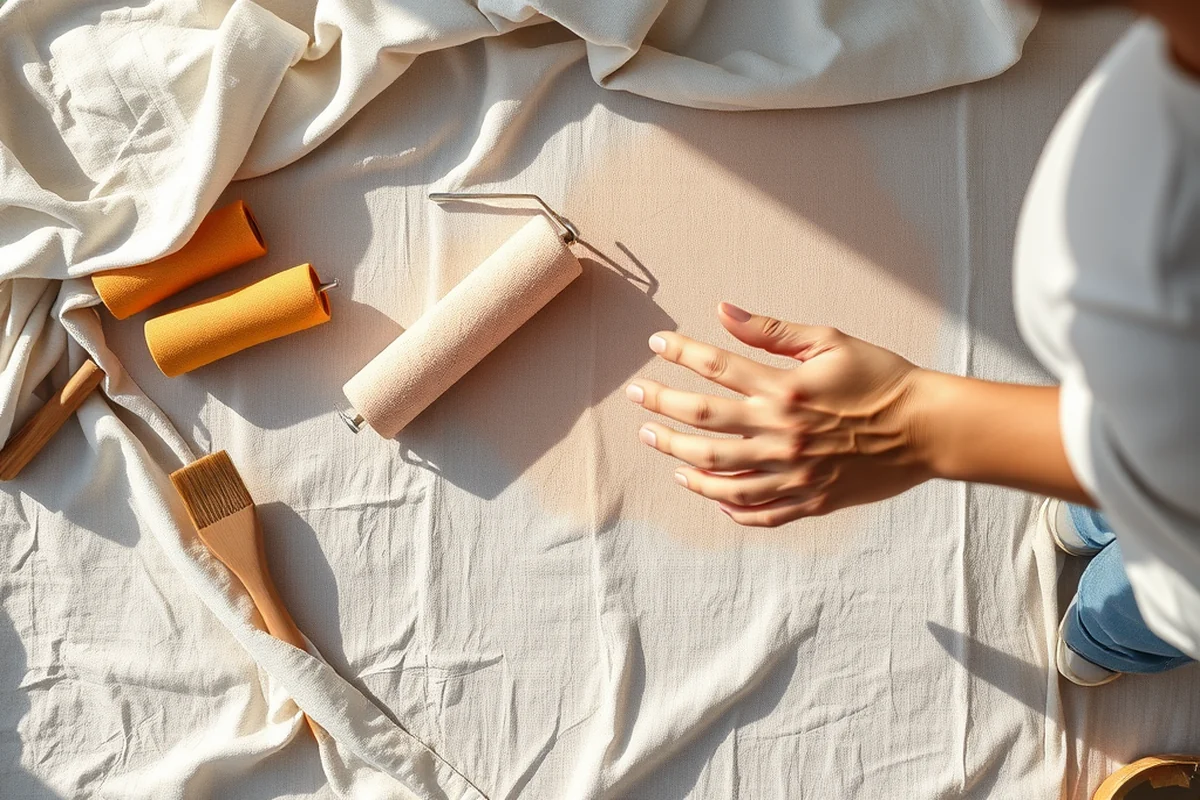
After the paint had fully dried, I applied a clear outdoor sealant to protect the color from fading and chipping. I used a spray-on sealant that was UV-resistant and water-resistant. It's important to choose a sealant that's compatible with the type of paint you used.
I applied two thin coats of sealant, making sure to cover every surface evenly. I let each coat dry for about 30 minutes before applying the next. This helped create a strong protective layer without making the furniture look glossy or dull.
Once the sealant was fully dry, I inspected the furniture for any imperfections. I was thrilled with the results — the color looked vibrant and the sealant had created a protective barrier that would last through the seasons.
Related: Outdoor furniture refresh color style ideas that actually work
Finishing Touches and Maintenance Tips
After the sealant had dried, I added a few decorative elements like a weathered look on the legs of the table using a dry brush technique. This gave the furniture character without altering the main color of the piece.
I also applied a clear wax to the wood parts of the furniture to help protect them from moisture and wear. This was an extra step, but it made the furniture feel more finished and more durable.
I now clean the furniture regularly with a mild soap and water solution, and I avoid using harsh chemicals that could damage the paint or sealant. With proper care, I believe my furniture will look this good for many seasons to come.
💰 Budget Build
Use affordable paint and basic tools to achieve a fresh look without spending much.
⏰ Weekend Version
Complete the entire project in one day with quick steps and minimal preparation.
🌟 Upgraded Finish
Add a higher-end paint and a professional-grade sealant for a more durable and polished look.
🛋️ Small-Space Adaptation
Use this technique on small outdoor pieces like chairs or side tables that don’t require as much paint.
🚪 Rental-Safe Option
Choose a paint that can be easily removed without damaging the furniture, ideal for rental properties.
| The mistake | Why it happens | The fix |
|---|---|---|
| Not cleaning the furniture before painting. | Dirt and grime can cause the paint to not adhere properly, leading to peeling or chipping over time. | Always clean the furniture thoroughly before painting, using a pressure washer if possible. |
| Using the wrong type of paint. | Regular paint is not designed for outdoor use and will fade or peel quickly when exposed to the sun and rain. | Always use a paint that's specifically made for outdoor furniture and is UV-resistant. |
| Skipping the sealant step. | Without a sealant, the paint is vulnerable to fading, chipping, and peeling due to exposure to the elements. | Always apply a clear sealant after painting to protect the surface and extend the life of the project. |
| Painting in direct sunlight. | The sun can cause the paint to dry too quickly, leading to an uneven finish or brush marks. | Paint in a shaded area or during cooler parts of the day to ensure even coverage and a smooth finish. |
Related: Affordable outdoor furniture refresh color
Diy Outdoor Furniture Refresh Color
Related: Easy outdoor furniture refresh color
Exploring Stain Options for a Natural Look
For a more rustic look, I tried using a combination of wood bleach and a dark stain on an old ironwood bench. The bleach stripped the existing color, and the dark stain gave it a bold, aged appearance that matched my outdoor decor perfectly. This method requires patience, as the bleach needs to sit for at least 15 minutes before rinsing and letting the wood dry completely. It's a time-consuming process, but the final result is worth the effort for a custom look that stands out.
Creative Ways to Personalize Your Refreshed Furniture
Add unique flair to your outdoor furniture with personalized touches that reflect your style and personality.
After giving your outdoor furniture a fresh coat of paint, consider adding decorative elements that make it truly one-of-a-kind. For instance, I’ve used stencils to create custom patterns on my wrought iron chairs, using a fine-tip spray paint for intricate designs. This technique allows for subtle, elegant embellishments without overwhelming the piece. I’ve also experimented with attaching small mosaics made from recycled glass tiles to the corners of my tables — it adds a pop of color and texture that stands out in the sunlight.
Another way to personalize your furniture is by incorporating hand-painted accents or using chalkboard paint on sections of your pieces. I applied chalkboard paint to the back of my bench, allowing me to write messages or draw seasonal designs that change with the time of year. This is not only fun but also a great way to keep your outdoor space feeling fresh and updated without repainting entirely. I’ve also used heat-transfer vinyl to add custom logos or patterns, which is a quick and easy way to add a personalized touch.
Don’t forget about adding small, functional details that enhance both the look and usability of your furniture. For example, I’ve attached small hooks to the sides of my benches for hanging garden tools or baskets. I’ve also used outdoor-safe glue to attach small planters or hanging flower pots to my tables, which adds a greenery-filled, personalized look. These little additions not only make your furniture more practical but also allow you to express your creativity and make your outdoor space uniquely yours.
Common Questions
Can I use regular paint for outdoor furniture?
How long does the paint last?
Do I need to paint both sides of the furniture?
Can I paint over an existing color?
References
Cite this guide
Patioreborn (2026). Diy Outdoor Furniture Refresh Color. https://patioreborn.com/diy-outdoor-furniture-refresh-color/
Feel free to cite or share this guide.