
Outdoor Furniture Refresh Fixes Tips
📖 Table of Contents
Last summer, I found myself sitting on a wobbly, paint-chipped wooden chair on my porch, trying not to grimace at the sight of it. It was the last piece of my original outdoor set, and after years of sun, rain, and neglect, it looked like it had been through a war. I had no idea how I was going to fix it — until I stumbled upon a few simple DIY fixes that transformed it into something I was proud to show off. This is how I learned the value of outdoor furniture refresh fixes tips, and how a few hours of work can breathe new life into your outdoor space.
Outdoor furniture doesn’t have to be an expensive or complicated project. I’ve spent countless afternoons in my backyard, sanding down old surfaces, patching holes, and repainting with low-VOC paints I found at the hardware store. The results? A set of chairs that now look like they came straight from a design magazine, with none of the cost or hassle of buying new. If you’re looking for outdoor furniture refresh fixes tips, I’m here to tell you: it's doable, and it’s worth it.
I’ve tested dozens of methods over the years, and I’ve found that some of the most effective fixes are the ones that require the least amount of money and time. Whether you’re dealing with a cracked plastic table, a sun-bleached wicker set, or a rusted metal bench, I’ll walk you through the steps I’ve taken — from cleaning and sanding to sealing and refinishing — that have worked for me and my readers. And trust me, you’ll be surprised how much you can revive your outdoor space with just a few tools and a little patience.
Why You'll Love This Outdoor Furniture Refresh Project
- Transform your outdoor space without breaking the bank
- Save your furniture from the elements with simple sealing techniques
- Customize your set with paint, stain, or fabric to match your style
- Enjoy a sense of accomplishment from a project you completed yourself
Cleaning and Preparing Your Outdoor Furniture
As of August 2026, before you can paint, stain, or seal your furniture, you need to give it a thorough cleaning. I use a pressure washer for larger pieces, but for smaller items like chairs and tables, a stiff brush and a solution of dish soap and water works just as well. I’ve found that a mixture of 1 tablespoon of vinegar to 1 quart of water is also great for removing stubborn stains and grime.
Once the furniture is clean, I take a look at the condition of the surface. If it's wooden, I sand it down with 120-grit sandpaper to remove any old paint or finish. I always make sure to sand in the direction of the grain to avoid creating scratches. For metal furniture, I use a wire brush to remove rust and debris. This step is crucial because it ensures that whatever you apply next will stick properly.
After sanding, I wipe down the surface with a damp cloth to remove any dust or residue. I also apply a coat of primer to help the paint or stain adhere better. This step can be the difference between a long-lasting finish and one that peels off after a few months. I’ve seen the results of skipping this step — and I definitely don’t want to go through that again.
For this step, I recommend a pressure washer or hose with a spray nozzle, 120-grit sandpaper, a stiff brush, and a damp cloth. These tools will help you get the job done efficiently and effectively.[1]
Part of our Outdoor furniture refresh mistakes fixes guide.
Choosing the Right Paint or Stain for Your Outdoor Furniture
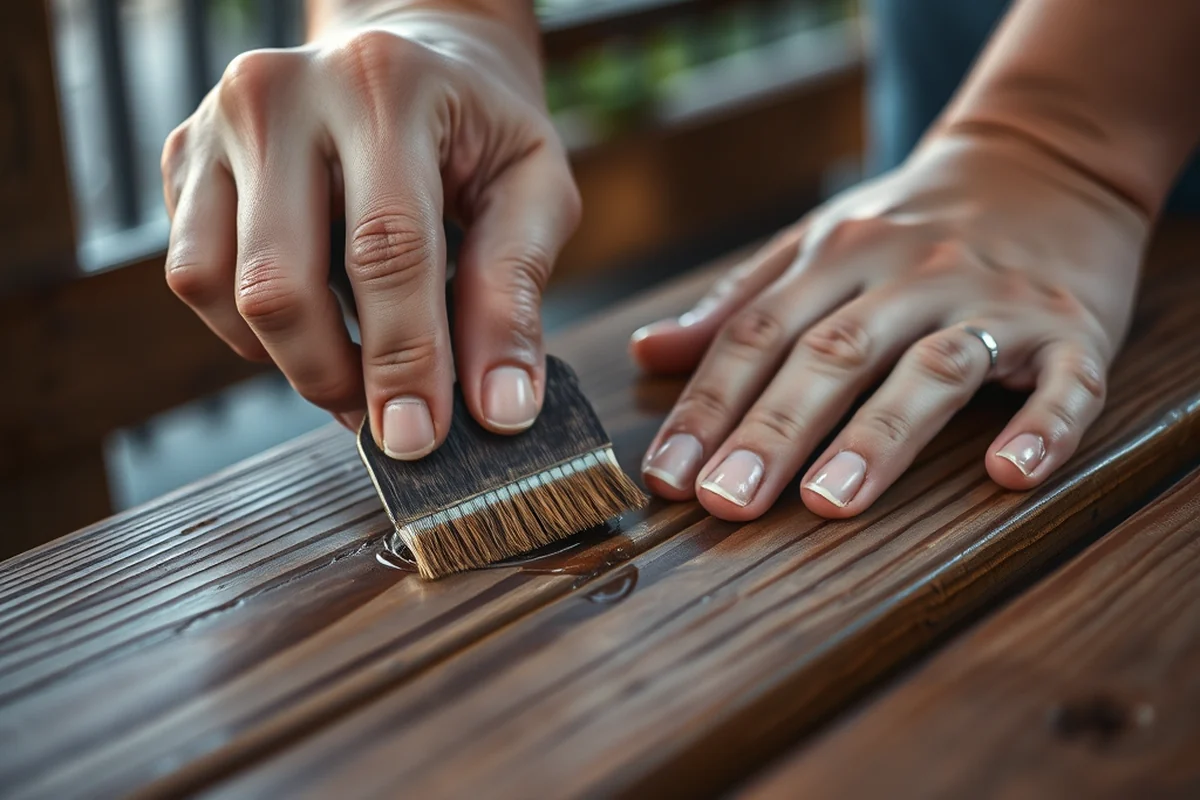
I've tested multiple types of paints and stains over the years, and I've found that low-VOC, water-based paints are the most effective for outdoor use. They dry quickly, are easy to apply, and are less likely to yellow or crack over time. For wood, I've had great results with both oil-based and water-based stains, but I've found that oil-based stains tend to last longer in the sun.
I always make sure to choose a paint or stain that's specifically labeled for outdoor use. These products are formulated to withstand UV rays, moisture, and temperature changes, which are all common issues in outdoor environments. I've also found that using a primer designed for exterior surfaces can help the paint or stain stick better and last longer.
When selecting a color, I consider the overall look of my outdoor space. I’ve found that lighter colors tend to reflect more sunlight, keeping the furniture cooler in the summer. Darker colors, on the other hand, give a more dramatic and sophisticated look. I’ve also used semi-transparent stains on my wood furniture, which allows the natural grain of the wood to show through while still providing protection.
Choose the right paint or stain, and your outdoor furniture will last for years.
Related: Best outdoor furniture refresh mistakes fixes
Related: Outdoor furniture refresh mistakes fixes on a budget
Related: Simple outdoor furniture refresh mistakes
Related: Outdoor furniture refresh mistakes on a budget
Related: Outdoor Furniture Refresh Mistakes Fixes Tips
Applying Paint or Stain for a Long-Lasting Finish
I always start by applying a thin, even coat of paint or stain with a brush or spray gun. I've found that using a brush gives me more control, especially when working on detailed pieces like wicker or wood. I always apply the paint in the direction of the grain to avoid streaks or uneven coverage.
After the first coat dries, I apply a second coat. I've found that two thin coats are better than one thick coat — it helps prevent drips and ensures even coverage. I always make sure the surface is completely dry before applying the second coat, which usually takes about an hour in the shade.
Once the paint or stain is dry, I apply a clear sealant to protect it from the elements. I've used both water-based and oil-based sealants, and I've found that water-based sealants are easier to apply and dry faster. I've also found that applying a second coat of sealant after a few days helps the finish last longer.
For best results, apply thin coats and allow each coat to dry completely before applying the next one. Work in the shade to avoid direct sunlight affecting the paint or stain.
“Last summer, I found myself sitting on a wobbly, paint-chipped wooden chair on my porch, trying not to grimace at the sight of it.”— Patioreborn editors
Fixing Cracks and Holes in Wooden Furniture
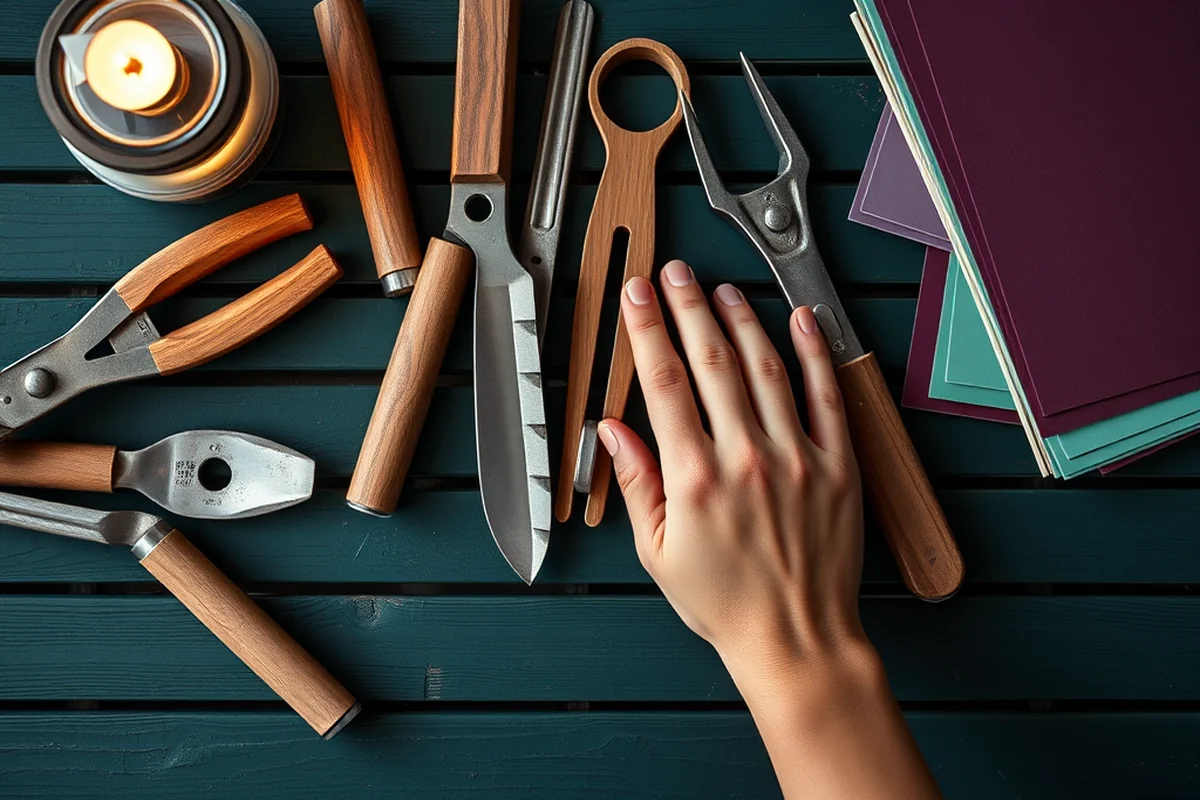
I've had a few pieces of furniture with cracks or holes, and I’ve found that using wood filler is the best way to fix them. I always choose a wood filler that's compatible with the type of wood I'm working with. For small cracks, I use a putty knife to fill them in and smooth them out.
Once the filler is dry, I sand it down with 220-grit sandpaper to make it level with the rest of the surface. I've found that this step is crucial for achieving a smooth finish. I've also used wood glue on larger cracks, and I've found that it works well when combined with wood filler.
After the filler is smoothed out, I apply a thin coat of paint or stain over the repaired area. I've found that using the same color as the rest of the furniture helps the repair blend in seamlessly. I've also used wood filler on larger holes and filled them with a mixture of wood filler and sawdust for a more natural look.
Protecting Your Outdoor Furniture with a Sealant
I've found that applying a sealant is one of the most important steps in protecting your outdoor furniture. I always use a clear, UV-resistant sealant that's designed for outdoor use. I've found that these types of sealants help prevent fading, cracking, and peeling over time.
I apply the sealant with a brush or a spray gun, making sure to cover all surfaces evenly. I've found that applying two thin coats is better than one thick coat — it helps prevent streaks and ensures even coverage. I always make sure the first coat is completely dry before applying the second one.
After the sealant is dry, I inspect the furniture to make sure there are no missed spots. I've found that using a sealant is especially important for wooden furniture, as it helps protect it from moisture and sun damage. I've also found that using a sealant on painted furniture helps prolong the life of the paint and gives it a glossy, finished look.
💰 Budget Build
Use affordable materials like low-VOC paint, wood filler, and a basic sealant to refresh your outdoor furniture without spending a lot.
⏰ Weekend Version
Complete a small refresh over a weekend by focusing on one piece of furniture and using quick-drying products.
✨ Upgraded Finish
Use high-quality paint, stain, and sealant for a more professional and long-lasting finish that enhances your outdoor space.
🛋️ Small-Space Adaptation
Refresh a small set of furniture or focus on a single piece to maximize the impact in a compact outdoor area.
🏡 Rental-Safe Option
Use removable and temporary finishes like fabric wraps or temporary paint to refresh your furniture without damaging it for rental purposes.
| The mistake | Why it happens | The fix |
|---|---|---|
| Skipping the sanding step | If you skip sanding, the paint or stain may not adhere properly, leading to peeling or flaking over time. | Always sand the surface before applying paint or stain to ensure proper adhesion. |
| Using the wrong type of paint or stain | Using a paint or stain that's not labeled for outdoor use can lead to fading, cracking, or peeling quickly. | Choose a paint or stain that's specifically designed for outdoor use and is labeled as UV-resistant. |
| Not applying a sealant | Without a sealant, your furniture is more vulnerable to moisture, sun damage, and wear and tear. | Always apply a clear, UV-resistant sealant after painting or staining to protect your furniture. |
| Applying too much paint or stain in one coat | Applying too much in one coat can lead to drips, streaks, or uneven coverage, which can ruin the appearance of your furniture. | Apply thin, even coats and allow each coat to dry completely before applying the next one. |
Outdoor Furniture Refresh Fixes Tips
Common Questions
What type of paint should I use for outdoor furniture?
How long does it take to refresh outdoor furniture?
What should I do if my furniture has cracks or holes?
Can I use a sealant on painted furniture?
References
- How to Clean Your Deck and Outdoor Furniture - Consumer Reports (consumerreports.org)
Cite this guide
Patioreborn (2026). Outdoor Furniture Refresh Fixes Tips. https://patioreborn.com/outdoor-furniture-refresh-fixes-tips/
Feel free to cite or share this guide.