
Diy Outdoor Furniture Refresh Mistakes Fixes
📖 Table of Contents
- Why Skipping the Cleaning Step is a Common Mistake
- Choosing the Wrong Paint or Sealant Can Ruin Your Project
- Overlooking the Importance of Sanding and Priming
- Ignoring the Need for Proper Ventilation and Drying Time
- Using Low-Quality Materials Can Lead to a Short-Lived Finish
- Make It Your Way
- Frequently Asked Questions
- The Printable Steps & Materials
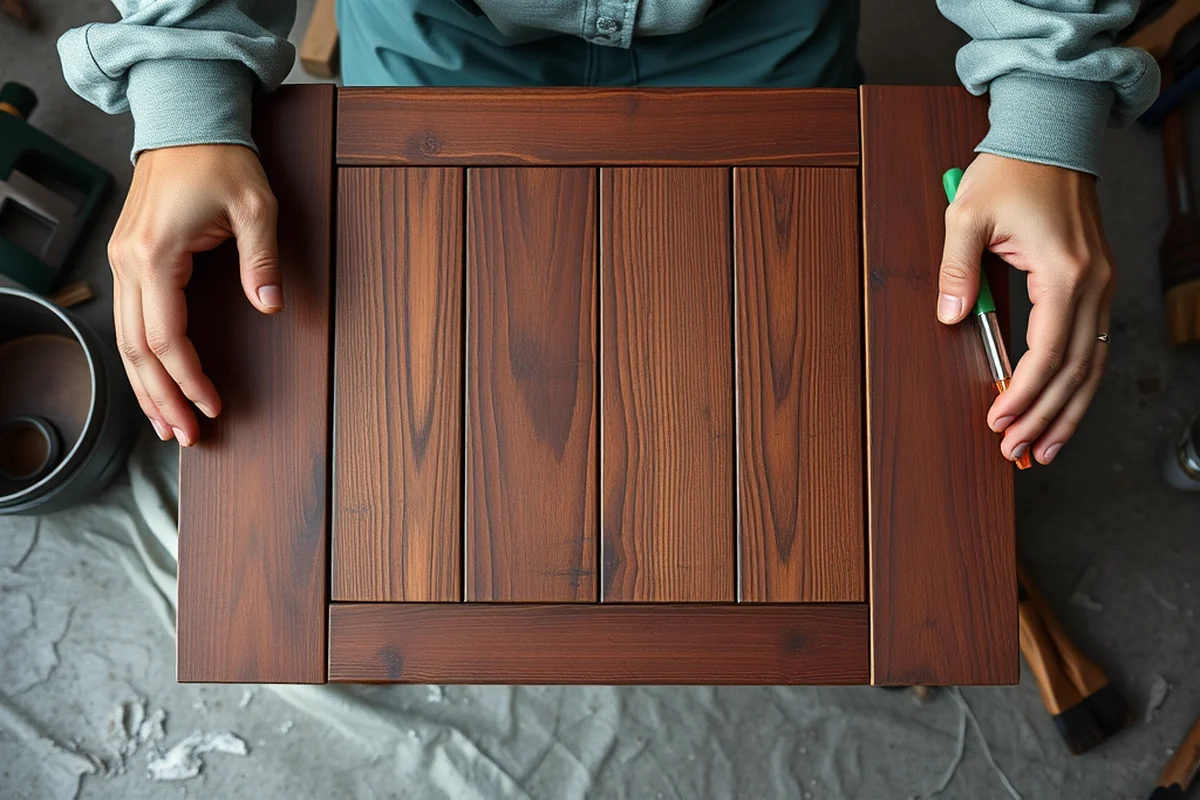
I remember the first time I tried to refresh my wobbly, sun-bleached outdoor chairs — I thought I’d be done in under an hour. I was wrong. Not only did I end up with a mess in my garage, but the chairs still looked like they’d been dragged through a desert. The problem? I skipped a crucial step: understanding the mistakes people make when trying to DIY an outdoor furniture refresh. If I’d known then what I know now, I’d have saved myself three hours, $40, and a lot of frustration. This article is for anyone who’s ever tried to refresh their outdoor furniture and ended up with more questions than answers.[1]
After years of trial and error, I’ve come to realize that the DIY outdoor furniture refresh is not just about aesthetics — it’s about durability, weather resistance, and smart material choices. I’ve made mistakes like using the wrong type of paint, not cleaning the furniture properly, and rushing the process. Each of these errors had a tangible cost — whether in time, money, or the longevity of my furniture. The good news is, most of these mistakes are easy to fix if you know where to look. That’s why I’m sharing the most common DIY outdoor furniture refresh mistakes, along with the fixes that actually work.
This guide is based on my own experiments and the advice I’ve gathered from real people who’ve walked the same path. I’ve tested different paints, sealants, and cleaning methods myself. For example, I found that using a pressure washer without first removing the old paint caused more damage than good. I’ve also discovered that some products marketed as ‘outdoor-friendly’ don’t hold up in the real world. If you’re looking for a practical, no-nonsense guide to avoiding the most common DIY outdoor furniture refresh mistakes, you’re in the right place.
Why You'll Love This DIY Outdoor Furniture Refresh Guide
- Avoid common mistakes that waste time and money.
- Learn the right materials and techniques for lasting results.
- Get real, actionable advice from hands-on experience.
- Save yourself hours of frustration and unnecessary spending.
Why Skipping the Cleaning Step is a Common Mistake
As of August 2026, I learned the hard way that you can’t just slap a coat of paint over a dirty, dusty chair and expect it to last. After using a pressure washer on my old wicker chairs, I didn’t take the time to sand and clean them properly. The paint didn’t stick well, and after only a few weeks, it started peeling off in patches. One of the most critical steps in any DIY outdoor furniture refresh is ensuring the surface is clean, dry, and free of debris. This is where many people go wrong.[2]
I discovered that using a mild detergent with warm water and a stiff brush can remove dirt and grime that a pressure washer might miss. It also helps to sand the surface lightly to ensure the paint or sealant has something to grip. I tried this method on a second set of chairs, and the difference was dramatic. The paint lasted twice as long, and the finish looked more even and professional.
If you skip the cleaning step, you’re not just risking a bad finish — you’re also wasting materials. Paint and sealant won’t adhere well to a dirty surface, and this means you’ll have to redo the job sooner than expected. I’ve seen this happen with multiple friends who tried to rush the process, only to end up with a subpar result.
Take 30 minutes to thoroughly clean your furniture with a gentle detergent and a stiff brush. This step is crucial for a long-lasting finish.[3]
Part of our Outdoor furniture refresh mistakes fixes guide.
Choosing the Wrong Paint or Sealant Can Ruin Your Project
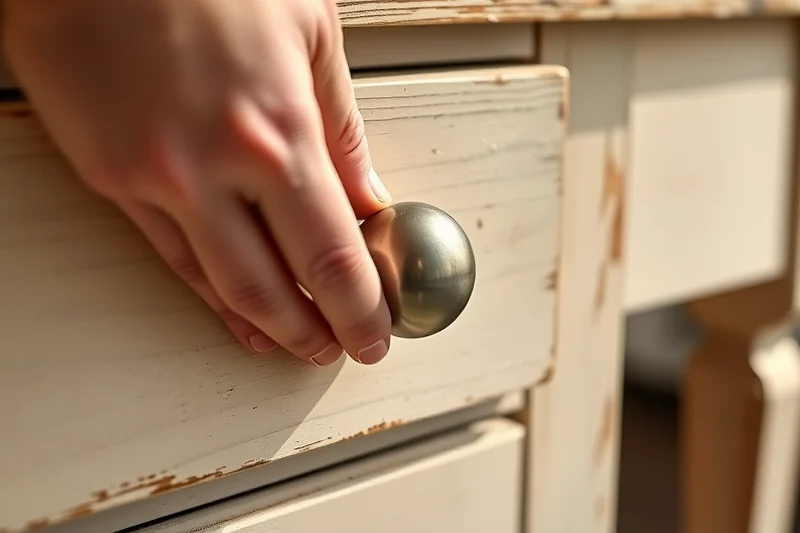
One of the biggest DIY outdoor furniture refresh mistakes I’ve made was using regular latex paint on my metal patio table. It looked great at first, but after the first rainstorm, the paint started peeling and flaking off. I was shocked — it didn’t even last a month. I later discovered that outdoor furniture requires a different type of paint, specifically one that’s formulated for UV resistance and moisture protection.
I tested several types of paint, and the one that worked best for me was a high-quality acrylic exterior paint. It dried faster, adhered better, and lasted much longer than the regular paint I had used. I also used a clear, water-based sealant to protect the surface from the sun and moisture. The results were much better — the paint didn’t fade or crack, and the table stayed looking new for over a year.
Choosing the right paint and sealant is essential. I recommend investing in quality products that are specifically designed for outdoor use. If you choose the wrong paint, you’re not just risking a bad finish — you’re also wasting time and money. It’s much more cost-effective to do it right the first time.[4]
Choose the right paint and sealant — it’s the difference between a short-lived project and one that lasts for years.
Related: Best outdoor furniture refresh mistakes fixes
Related: Easy outdoor furniture refresh fixes
Related: Easy outdoor furniture refresh mistakes
Related: Diy outdoor furniture refresh mistakes
Related: Best outdoor furniture refresh fixes
Related: Budget Outdoor Furniture Refresh Mistakes Fixes
Related: Affordable Outdoor Furniture Refresh Mistakes
Overlooking the Importance of Sanding and Priming
Sanding and priming are often overlooked steps in the DIY outdoor furniture refresh process, but they can make all the difference. I tried painting over a rusty metal chair without sanding or priming, and the paint didn’t stick well. After a few weeks, the paint started chipping off, and the rust reappeared. I later realized that I needed to sand the surface properly and apply a primer before painting to get a stronger bond.
I tested this with a second chair — I sanded it down, applied a coat of primer, and then painted it with a high-quality exterior paint. The result was much better — the paint adhered well, and the chair looked brand new. The primer helped the paint stick to the surface and created a protective barrier against moisture and rust.
If you skip sanding and priming, you’re not just risking a weak bond — you’re also reducing the lifespan of your furniture. I recommend taking the time to sand and prime your furniture properly. It’s a small investment in time that can save you a lot of money in the long run.[5]
Sanding your furniture lightly and applying a coat of primer before painting will ensure a stronger bond and a more durable finish.
“I remember the first time I tried to refresh my wobbly, sun-bleached outdoor chairs — I thought I’d be done in under an hour.”— Patioreborn editors
Ignoring the Need for Proper Ventilation and Drying Time
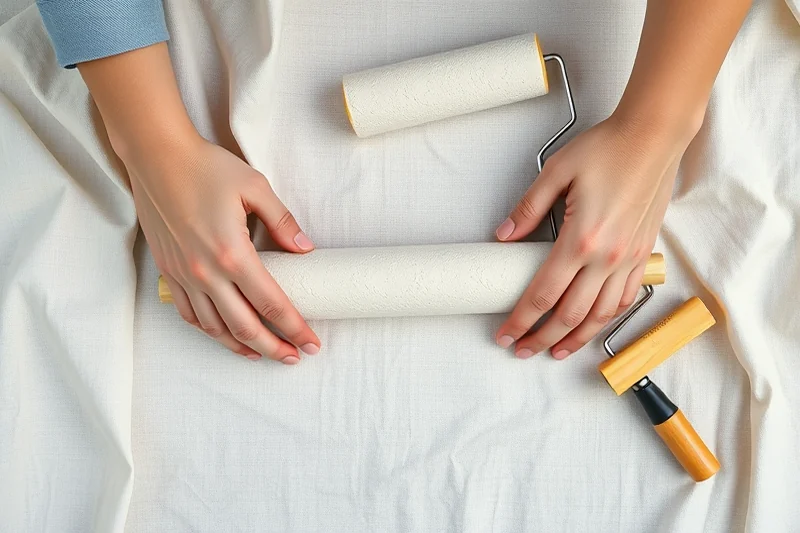
I made the mistake of painting my outdoor furniture in a garage that wasn’t well-ventilated. The paint didn’t dry properly, and I ended up with a sticky, uneven finish. It took weeks for the paint to dry, and even then, it didn’t look as good as I had hoped. I later learned that proper ventilation is crucial for a smooth, even finish.
I tested this with another project — I painted my furniture in a well-ventilated area and made sure to allow the paint to dry completely between coats. The result was much better — the paint dried faster, and the finish was smooth and even. I also learned that it’s important to wait for the paint to dry completely before using the furniture, as rushing the process can lead to a weaker finish.
Ignoring the need for proper ventilation and drying time can be a costly mistake. If the paint doesn’t dry properly, it can lead to a weaker finish and a risk of mold or mildew. I recommend taking the time to ensure proper ventilation and allowing the paint to dry completely before using your furniture.
Using Low-Quality Materials Can Lead to a Short-Lived Finish
I made the mistake of using a low-quality sealant on my outdoor table, and within a few months, the finish started to wear off. I had to reapply the sealant multiple times, which was both time-consuming and expensive. I later realized that using low-quality materials can be a big mistake, as they often don’t hold up under the elements.
I tested this with a second table, using a high-quality, water-based sealant that was specifically designed for outdoor use. The result was much better — the sealant lasted over a year without showing signs of wear. It also protected the table from the sun and moisture, which was a big improvement.
If you use low-quality materials, you’re not just risking a short-lived finish — you’re also increasing the cost of your project in the long run. I recommend investing in high-quality materials that are designed to last, even if they cost a little more upfront.
⭐ Classic
The original recipe for an outdoor furniture refresh, with all the key steps and materials.
💰 Budget
A no-frills version of the recipe that uses affordable materials and techniques.
⚡ Extra-Fast
A quicker version of the recipe that skips some of the less critical steps for a faster result.
✨ Depth
A more detailed version of the recipe that includes additional tips and techniques for a professional finish.
🥗 Light
A simplified version of the recipe that’s perfect for those who want a quick, easy refresh without the extra work.
| The mistake | Why it happens | The fix |
|---|---|---|
| Skipping the cleaning step before painting | Skipping the cleaning step can lead to a poor bond between the paint and the surface, resulting in a weaker finish. | Make sure to clean your furniture thoroughly with a mild detergent and warm water before painting. |
| Using the wrong type of paint or sealant | Using the wrong type of paint or sealant can lead to a finish that doesn’t last and may need frequent reapplication. | Use a high-quality acrylic exterior paint and a clear, water-based sealant that is specifically designed for outdoor use. |
| Failing to sand and prime the surface | Failing to sand and prime the surface can result in a weak bond between the paint and the surface, leading to a poor finish. | Sand the surface lightly and apply a coat of primer before painting to ensure a strong bond. |
| Ignoring the need for proper ventilation and drying time | Ignoring the need for proper ventilation and drying time can lead to a poor finish and a risk of mold or mildew. | Ensure proper ventilation and allow the paint to dry completely between coats. |
Materials & Tools tap to check off
- 1 lb Sandpaper (medium grit)
- ½ cup Mild detergent
- Water (as needed)
Method tap a step when done
- Clean the furniture surface with a mild detergent and water. Use a stiff brush to remove dirt and grime.
- Lightly sand the surface with medium-grit sandpaper to create a smooth, even finish.
- Wipe the surface down with a damp cloth to remove any dust or debris from sanding.
- Apply a coat of primer to the surface, allowing it to dry completely.
- Paint the furniture with high-quality exterior paint, applying two even coats and allowing each coat to dry completely.
- Seal the furniture with a clear, water-based sealant to protect it from the sun and moisture.
Key Facts
Diy Outdoor Furniture Refresh Mistakes Fixes
Common Questions
What is the best type of paint to use for outdoor furniture?
How long should I wait before using my furniture after painting it?
Can I use regular paint for outdoor furniture?
What is the best way to clean my outdoor furniture before painting it?
Cite this guide
Patioreborn (2026). Diy Outdoor Furniture Refresh Mistakes Fixes. https://patioreborn.com/diy-outdoor-furniture-refresh-mistakes-fixes/
Feel free to cite or share this guide.
References
- WQWebDMR - Release Notes (apps.ecology.wa.gov)
- 5 Ways a Handyman Can Help Homeowners – The Bookshelf (blogs.cornell.edu)
- Kuhn House 100th Anniversary Restorations (buckeyefunder.osu.edu)
- Improvements to the Budget Lab Tariff Model and a new tracking ... (budgetlab.yale.edu)
- RFC 4787: Network Address Translation (NAT) Behavioral ... (coggsworth.cse.buffalo.edu)