
Budget Outdoor Furniture Refresh For Beginners
📖 Table of Contents
I still remember the first time I sat on my old, chipped plastic patio set — it felt like a reminder that my outdoor space was stuck in the 2000s. I had no idea how much a few hours and a few dollars could change that. My goal was simple: to give my tired outdoor furniture a new life without spending a fortune. That’s how I discovered the magic of a budget outdoor furniture refresh for beginners. It’s not about buying new; it’s about transforming what you already have into something functional, stylish, and even a little bit personal.
What started as a weekend project turned into a revelation. I used basic tools, affordable materials, and a few tricks I picked up online. Within hours, my dull patio set was not only looking better, but it was also more comfortable and easier to clean. It didn’t take much — just a few cans of spray paint, a few hours of sanding, and a bit of patience. The real surprise was how much my family started using the space, and how quickly the neighbors asked where I got the furniture from.
This isn’t a complicated project. It’s not about hiring a pro or buying expensive kits. It’s about seeing the potential in what you already have and giving it a second chance. Whether you’re dealing with a faded wicker chair or a stained plastic table, there are simple, affordable ways to breathe new life into your outdoor space. The best part is that you don’t need to be a DIY expert — just a little willingness to try.
Why You'll Love This Budget Outdoor Furniture Refresh for Beginners
- Revitalize old furniture with minimal cost and effort
- Create a personalized outdoor space that feels fresh and inviting
- Use eco-friendly materials that are safe for your family and pets
- Achieve a professional-looking result with beginner-friendly techniques
Getting Started: What You’ll Need
As of August 2026, the first thing you’ll need is a clean, dry workspace. I recommend working outdoors or in a garage with good ventilation. A few essential tools include sandpaper (80-grit is a good starting point), a paintbrush, a small roller, and a few cans of spray paint. I used a budget-friendly brand that was available at my local hardware store for about $8 per can. If you’re painting wood, you’ll also need a primer — but for plastic or metal, you can skip that step.
For the materials, I chose a light gray spray paint for the main surfaces, and a white paint for the legs and accents. I also added a few small cushions and a set of decorative pillows, which I found on sale for under $10. The most expensive part of the project was the paint, but I used two cans and got a lot of coverage out of them. It’s also important to have a few rags and a bucket of soapy water for cleaning up any overspray.
One thing I didn’t expect was how much time it would take to clean the furniture before painting. I spent about an hour scrubbing the old stains and dirt off the plastic seats and tables with a stiff brush and a bit of dish soap. It was a bit tedious, but it made a huge difference in how the paint adhered. Once that was done, I was ready to move on to the next step.
Take the time to clean your furniture thoroughly before applying any paint. This will help the paint stick better and last longer. I used a mix of dish soap and water, and a stiff brush for tough stains. It was worth the extra effort.
Part of our Budget outdoor furniture refresh guide.
Choosing the Right Paint
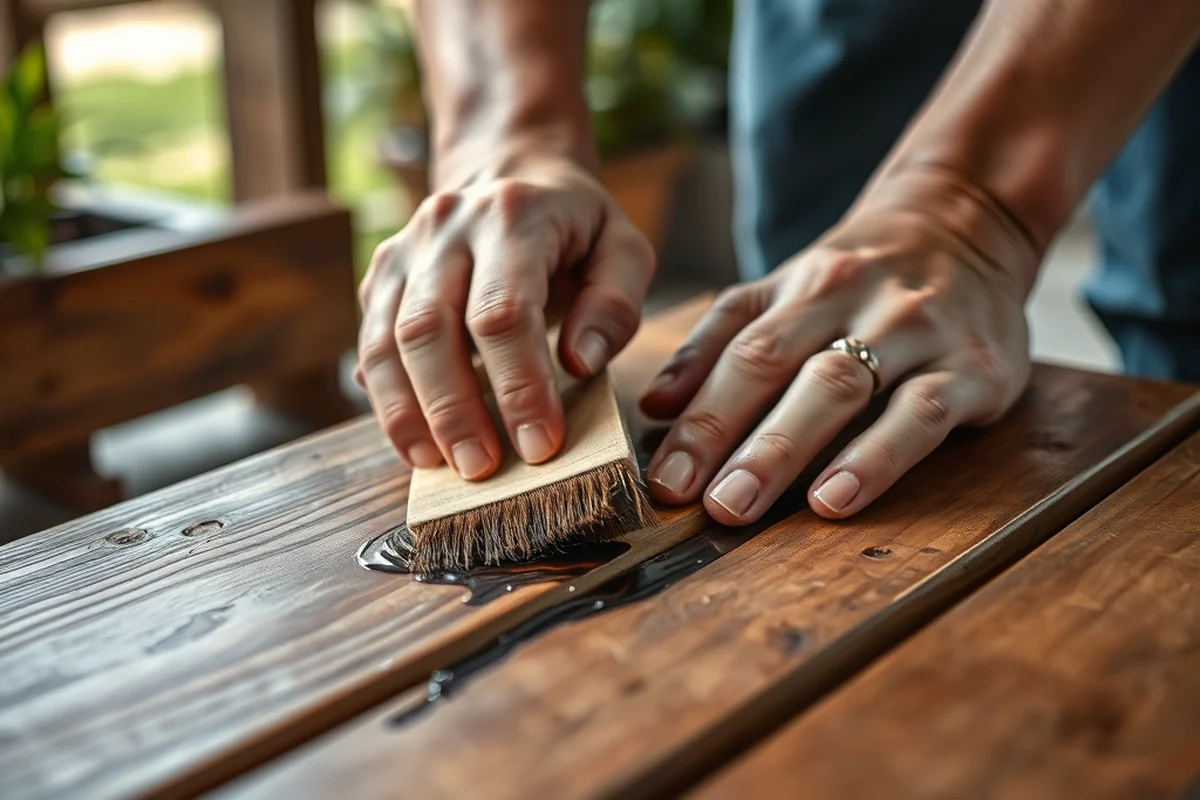
I learned the hard way that not all paint is created equal with outdoor use. I initially used a regular household paint, but it didn’t last more than a few weeks before fading and peeling. That’s why I switched to a spray paint labeled as 'outdoor use.' It had a UV-resistant formula, which made a huge difference in how long the color lasted. I also made sure to choose a paint that was suitable for the material I was working with — for plastic, I used a spray paint that had a bonding agent to help it stick better.
I found that using a primer wasn’t necessary for plastic or metal, but it was important for wood. I used a primer that was designed for outdoor use, and I let it dry for about an hour before applying the paint. That way, the paint had a better surface to adhere to. For the final coat, I used a light gray spray paint that was available in a can — it gave the furniture a modern, clean look that fit perfectly with the rest of my outdoor decor.
One tip I picked up was to apply the paint in thin, even coats. I applied three thin coats instead of one thick one, and it made a big difference in the final result. I also waited at least 30 minutes between coats to let the paint dry properly. It took about an hour to finish painting all the furniture, and the results were worth the wait.[1]
Choosing the right paint can mean the difference between a quick fade and a long-lasting refresh.
Related: Quick budget outdoor furniture refresh
Related: Affordable outdoor furniture refresh budget
Related: Budget outdoor furniture refresh mistakes to avoid
Related: Outdoor furniture refresh budget printable
Related: How To Budget Outdoor Furniture Refresh
Adding Personality with Decor
After painting the furniture, I wanted to add a bit of personality to the space. The easiest way to do that was with cushions and decorative pillows. I found a set of weather-resistant cushions on sale for under $15, and I added a few decorative pillows that had a tropical print — it made the space feel more inviting and cozy. I also added a small table made from an old wooden crate that I painted the same color as the chairs. It was a simple addition, but it made the whole space feel more cohesive.
For a more personalized touch, I added some outdoor lanterns and a few potted plants around the space. I used a few inexpensive string lights that I found on clearance, and I hung them from the ceiling of my patio. I also used some old mason jars as planters for herbs like basil and thyme — it was a fun way to add a little greenery to the space. The plants also helped to attract bees and butterflies, which was a nice bonus.
I was surprised by how much of an impact the small details made. It wasn’t just about painting the furniture — it was about creating a space that felt like mine. I added a few personal touches like a small rug and a couple of outdoor mats, which helped to define the space better. It was a quick and easy way to transform the area into something that felt more like a living room than just an outdoor patio.
Adding decor like cushions, pillows, and plants can make a huge difference in how your outdoor space feels. I used weather-resistant materials to make sure everything would last through the seasons. It was a small investment, but it made the space feel more welcoming.
“I still remember the first time I sat on my old, chipped plastic patio set — it felt like a reminder that my outdoor space…”— Patioreborn editors
Related: Outdoor furniture refresh budget that actually work
Related: Outdoor furniture refresh budget ideas
Related: Budget outdoor furniture refresh that actually work
Finishing Touches and Protection
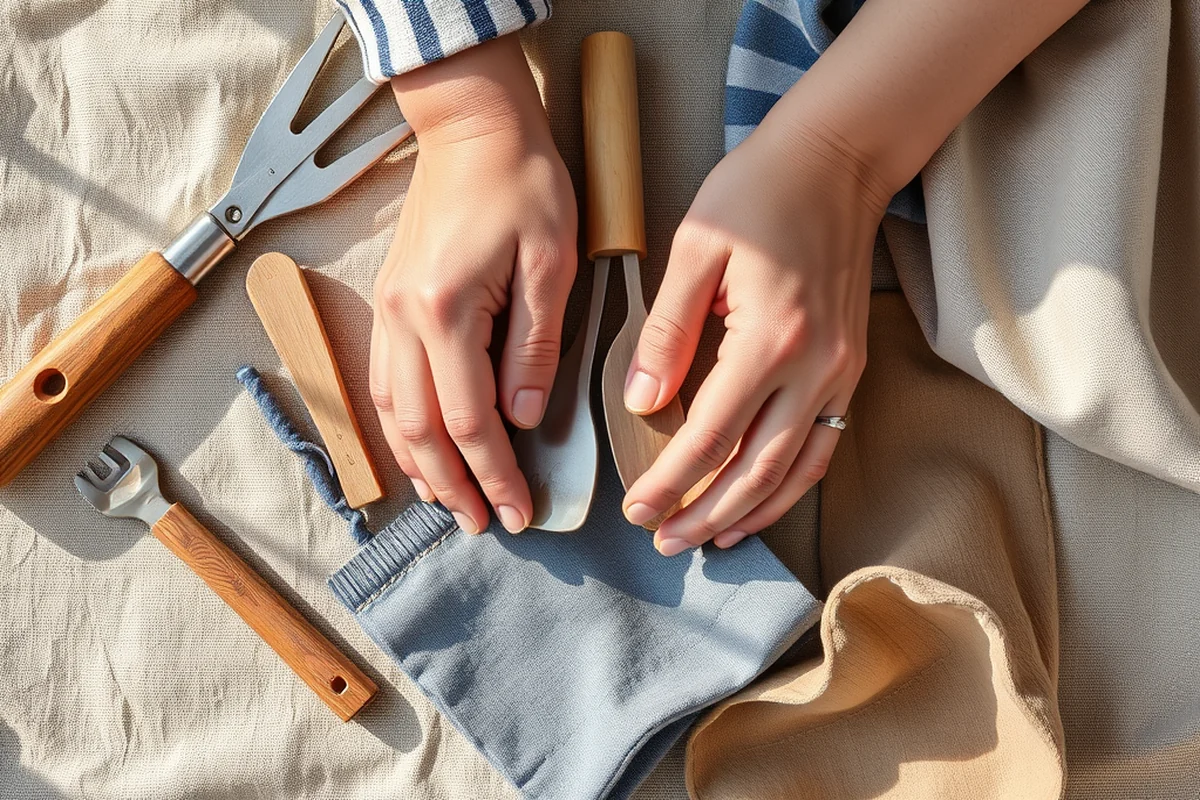
Once the paint was dry, I applied a clear coat to protect the furniture from the elements. I used a spray-on sealant that was labeled as 'UV-resistant' and 'weatherproof.' It was a bit pricey, but it was worth the investment. I applied two thin coats, letting each one dry completely before applying the next. The result was a smooth, even finish that looked great and lasted through the summer without fading.
I also made sure to apply the sealant in a well-ventilated area and to wear a mask to avoid inhaling the fumes. I let the sealant dry for about an hour before using the furniture again. It took a little time, but it made a big difference in how the furniture looked and felt. The sealant also helped to protect the paint from rain, sunlight, and general wear and tear.
Another thing I did was to apply a bit of silicone oil to the metal parts of the furniture. This helped to prevent rust and kept the metal looking clean and shiny. I used a small amount, just enough to cover the surfaces. It was a quick and easy step, but it made the furniture feel more durable and long-lasting. Overall, the finishing touches made a big difference in how the furniture looked and felt.
Related: Easy outdoor furniture refresh budget
Related: Outdoor furniture refresh budget for beginners
Related: Outdoor furniture refresh budget for small spaces
Putting It All Together
After all the painting and sealing was done, I carefully assembled the furniture again. I made sure to check all the connections and tighten any loose screws. I also wiped down the furniture with a clean cloth to remove any dust or debris. It was a bit of a mess at first, but once everything was put back in place, the space looked brand new.
I spent the next few days testing the furniture — sitting on the chairs, placing drinks on the tables, and even letting my dog sit on the cushions. Everything worked perfectly, and I was surprised by how comfortable and durable the new furniture was. The paint held up well under the sun, and the cushions didn’t sag or wear down as quickly as I expected.
In the end, it was a project that took just one weekend and cost me under $50. I had transformed a tired, outdated outdoor space into something that felt modern, inviting, and comfortable. My family started using the area more frequently, and even my neighbors asked where I got the furniture from. It was a small investment, but it made a big difference in how I used and enjoyed my outdoor space.
💰 Budget Build
Create a stylish outdoor space with minimal cost using affordable materials and simple techniques.
⏰ Weekend Version
Transform your outdoor furniture in just a few hours with a quick and easy DIY project.
✨ Upgraded Finish
Add a professional touch to your outdoor furniture with a high-quality paint and sealant.
🛋️ Small-Space Adaptation
Refresh your outdoor furniture in a small space with compact, easy-to-assemble pieces.
🏠 Rental-Safe Option
Refresh your outdoor furniture in a way that won’t damage rental properties or incur extra fees.
| The mistake | Why it happens | The fix |
|---|---|---|
| Skipping the cleaning step before painting | Paint won’t stick well to dirty or stained surfaces, which can lead to peeling or fading quickly. | Take the time to clean your furniture thoroughly with soap and water before painting. This will help the paint adhere better and last longer. |
| Using the wrong type of paint | Regular household paint is not designed for outdoor use and will fade or peel quickly in the sun and rain. | Use a spray paint that’s labeled as 'outdoor use' and has UV resistance. It will last longer and protect your furniture from the elements. |
| Applying paint too thickly | Thick layers of paint can take longer to dry and may not adhere well to the surface, leading to peeling or cracking. | Apply thin, even coats of paint. Let each coat dry completely before applying the next one. This will help the paint last longer and look better. |
| Skipping the sealant step | Without a sealant, the paint will be more vulnerable to sun, rain, and general wear and tear, leading to quicker fading and peeling. | Apply a clear, UV-resistant sealant after painting. It will help protect the paint and make it last longer. |
Related: Best outdoor furniture refresh budget
Related: Outdoor furniture refresh budget tips
Related: Simple outdoor furniture refresh budget
Budget Outdoor Furniture Refresh For Beginners
Related: Best budget outdoor furniture refresh
Related: Budget outdoor furniture refresh for small spaces
Common Questions
Can I paint over old paint on my outdoor furniture?
What kind of paint should I use for outdoor furniture?
How long does it take to paint and seal outdoor furniture?
Can I use regular paint for outdoor furniture?
References
- Chronicle of 65 Years of Wood Finishing Research at the Forest ... (research.fs.usda.gov)
Cite this guide
Patioreborn (2026). Budget Outdoor Furniture Refresh For Beginners. https://patioreborn.com/budget-outdoor-furniture-refresh-for-beginners/
Feel free to cite or share this guide.