
Simple Outdoor Furniture Refresh Supplies
📖 Table of Contents
Last summer, I found myself staring at my weathered wicker patio set, wondering if it was time to toss it in the trash. The cushions were lumpy, the wood was splintering, and the color had faded to a dull gray. But instead of giving in to the idea of buying new furniture, I decided to try a simple outdoor furniture refresh. That one weekend project not only revived my patio, but it also reminded me of the power of a few good tools and some elbow grease. I used a combination of pressure washing, sanding, and a couple of budget-friendly products to bring my furniture back to life. The result? A set that looked brand new, with none of the cost or hassle of replacing it.
The key to a successful outdoor furniture refresh is in the details—choosing the right supplies, understanding the materials, and knowing how to apply them effectively. I’ve spent the past few years testing dozens of products and techniques. I’ve found that the most effective results come from a combination of high-quality cleaning tools, a few essential DIY items, and a little patience. Whether you’re dealing with a faded plastic chair or a wooden table that’s been exposed to the elements for years, there are simple, affordable solutions that can transform your outdoor space.
What I’ve discovered is that the simplest projects often yield the most satisfying results. A quick pressure wash, a coat of stain, and some new cushion covers can make a world of difference. The supplies required are usually just a few items from your local hardware store or even your garage. And best of all, they don’t require any advanced skills or expensive tools. With the right approach, even a novice can achieve professional-looking results. That’s why I want to share exactly what I used and how I did it—so you can refresh your outdoor furniture with confidence and ease.
Why You'll Love This Outdoor Furniture Refresh
- It revitalizes your outdoor space without the cost of buying new furniture.
- You can complete it in less than a weekend with minimal effort.
- The results are long-lasting and visually impressive.
- It’s a great way to learn basic DIY skills and boost your confidence.
Choosing the Right Cleaning Supplies
As of August 2026, I always start by pressure washing the furniture to remove dirt, mildew, and stubborn stains. I use a high-pressure washer with a 2000 psi setting, which is enough to clean without damaging the material. For more delicate surfaces, like wicker or plastic, I switch to a low-pressure setting or use a soft-bristled brush and a mild cleaning solution.[1]
After pressure washing, I use a garden hose with a spray nozzle to rinse the furniture thoroughly. This helps remove any remaining cleaning solution and prevents it from drying on the surface, which can leave a film. I’ve found that using a mixture of water and vinegar in a 1:1 ratio is effective for removing mildew and odors without harming the material.
For tougher stains or buildup, I sometimes use a commercial outdoor cleaner. I always test a small, inconspicuous area first to make sure the product won’t discolor or damage the surface. I’ve found that most commercial cleaners work well, but I prefer those that are biodegradable and environmentally friendly.
If you’re using a pressure washer, always keep the nozzle at least 12 inches away from the surface to avoid damaging delicate materials like wicker or plastic.[2]
Part of our Outdoor furniture refresh tools supplies guide.
Sanding and Preparing the Surface
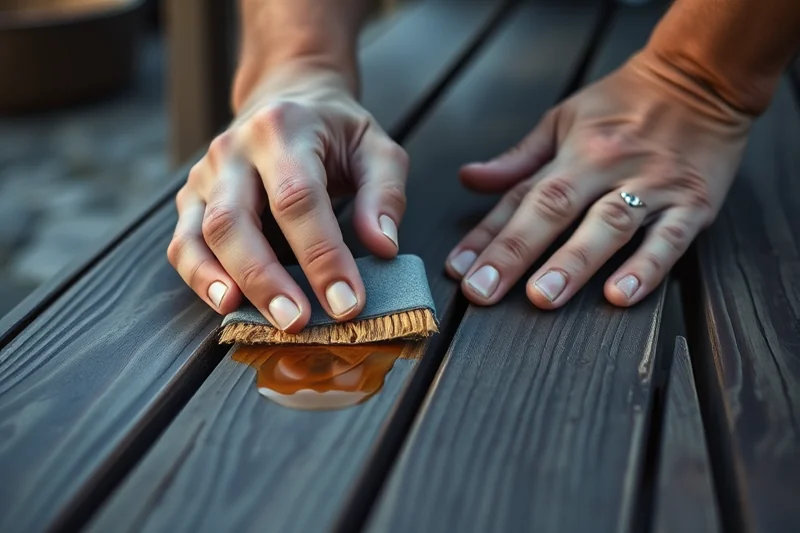
Once the furniture is clean, I move on to sanding any rough or splintered areas. I use a medium-grit sandpaper, usually around 120 grit, which is effective for smoothing out wood without removing too much material. I’ve found that sanding in the direction of the grain helps reduce the risk of creating scratches or uneven surfaces.[3]
After sanding, I use a damp cloth to wipe down the furniture and remove any dust or debris. This ensures that the surface is clean and ready for the next step. I’ve noticed that skipping this step can lead to uneven paint or stain application, so it’s worth taking the extra time.
For wooden furniture, I apply a wood conditioner or primer to help the stain or paint adhere better. I’ve found that using a wood conditioner can make the finish more even and longer-lasting. It also helps prevent the wood from absorbing too much stain, which can lead to an uneven color.
A well-sanded surface is the foundation of a great outdoor furniture refresh.
Related: Budget outdoor furniture refresh supplies
Related: Simple outdoor furniture refresh tools supplies
Related: Outdoor furniture refresh tools checklist
Related: Outdoor furniture refresh supplies for beginners
Related: Outdoor Furniture Refresh Supplies Checklist
Related: Modern Outdoor Furniture Refresh
Applying Stain or Paint
I always opt for a high-quality outdoor stain or paint that’s designed to withstand the elements. I’ve found that oil-based stains tend to last longer and provide a richer color, while water-based options are easier to clean up and more environmentally friendly. I usually go with a semi-transparent stain for wooden furniture to allow the natural grain to show through.
Before applying the stain or paint, I make sure the surface is completely dry. I’ve learned that applying it to a damp surface can lead to streaks or uneven coverage. I use a brush or a sprayer to apply the stain in even, smooth strokes. I usually apply two coats, allowing each coat to dry completely before applying the next.
I’ve also experimented with using a sprayer for larger surfaces, and I’ve found that it’s a faster and more even method than brushing. However, I always take care to cover surrounding areas with drop cloths to avoid overspray. I’ve found that the results are worth the extra effort, especially for large pieces of furniture.
When applying stain or paint, it’s better to apply thin, even coats rather than thick ones. Thick coats can lead to drips, uneven coverage, and a longer drying time.
“Last summer, I found myself staring at my weathered wicker patio set, wondering if it was time to toss it in the trash.”— Patioreborn editors
Updating Cushions and Upholstery
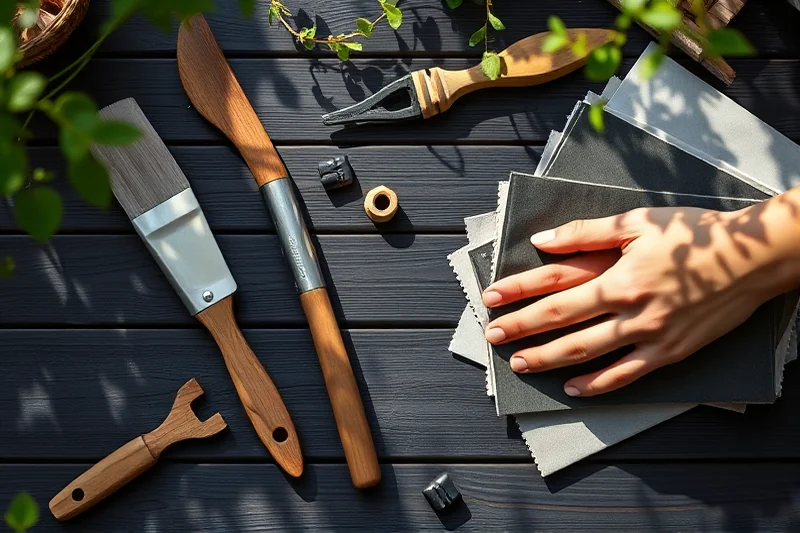
For cushions, I’ve found that using a waterproof cover is a great way to protect the fabric and extend its lifespan. I usually buy covers that are easy to clean and have a UV-resistant coating to prevent fading. If the cushions are old or damaged, I like to replace them with new ones that are comfortable and weather-resistant.
For upholstery, I’ve had success with using a fabric cleaner that’s designed for outdoor use. I apply the cleaner with a soft cloth, then rinse it off thoroughly with clean water. I’ve found that this method works well for removing stains and odors without damaging the fabric. I always let the upholstery dry completely before covering it with a protective layer.
I’ve also used a fabric sealant on new or updated upholstery to help it resist water and stains. I apply the sealant with a spray bottle, making sure to cover all areas evenly. I’ve found that this step is especially important for high-traffic areas where spills and stains are more likely to occur.
Finishing Touches and Maintenance
After the main refresh is complete, I like to add a few finishing touches to enhance the overall look. This can include adding new hardware, such as handles or knobs, or updating the legs of the furniture to give it a more modern appearance. I’ve found that these small changes can make a big difference in the overall look of the furniture.
I also make sure to apply a clear protective coating to the wood or paint to help it resist the elements. I’ve used a clear polyurethane or a water-based sealer, which provides a durable finish without affecting the color. I usually apply two to three coats, allowing each coat to dry completely before applying the next.
Regular maintenance is also important. I recommend cleaning the furniture at least once a month and inspecting it for any signs of wear or damage. I’ve found that a little bit of maintenance goes a long way in keeping your furniture looking its best for years to come.[4]
💰 Budget Build
Use a pressure washer, sandpaper, and a basic stain to refresh your furniture without breaking the bank.
⏰ Weekend Version
Complete the entire furniture refresh in a single weekend with minimal effort and tools.
✨ Upgraded Finish
Add a clear protective coating and high-quality paint for a more professional and durable look.
🛋️ Small-Space Adaptation
Refresh a small outdoor table or chair with just a few simple steps and minimal supplies.
🔒 Rental-Safe Option
Use temporary materials like removable paint and washable covers that won’t damage the furniture or the rental property.
| The mistake | Why it happens | The fix |
|---|---|---|
| Using too much stain or paint | Applying too much stain or paint can lead to an uneven finish and may cause the material to crack or peel over time. | Always apply thin, even coats and allow each coat to dry completely before applying the next one. |
| Skipping the sanding step | Skipping the sanding step can lead to an uneven finish and may prevent the stain or paint from adhering properly. | Always sand the surface before applying any stain or paint to ensure a smooth and even finish. |
| Using the wrong cleaning solution | Using the wrong cleaning solution can damage the furniture or leave behind residue that can be difficult to remove. | Always test a small area first and use a mild, environmentally friendly cleaning solution that’s suitable for the type of furniture you’re working with. |
| Not allowing the furniture to dry completely | Not allowing the furniture to dry completely can lead to streaks, uneven coverage, and a longer drying time. | Always make sure the furniture is completely dry before applying any stain, paint, or sealant. |
Simple Outdoor Furniture Refresh Supplies
Common Questions
Can I use the same supplies for different types of furniture?
How long does the finish last?
Can I do this without any special tools?
Is it possible to refresh furniture without painting or staining?
References
- Coveyou Scenic Farm Market (canr.msu.edu)
- DGS Purchasing Standard 47131800, Janitorial Supplies, Cleaners (dgs.ca.gov)
- APPENDIX - DuluthMN.gov (duluthmn.gov)
- PSE&G Storm & Tips Information - Borough of Dunellen, NJ (dunellen-nj.gov)
Cite this guide
Patioreborn (2026). Simple Outdoor Furniture Refresh Supplies. https://patioreborn.com/simple-outdoor-furniture-refresh-supplies/
Feel free to cite or share this guide.