
Outdoor Furniture Refresh Tips
📖 Table of Contents
Three summers ago I dragged a rain-swollen teak loveseat out of my garage, ran my thumb across the graying wood, and figured it was headed for the curb. Instead I spent one Saturday afternoon and $34 in materials bringing it back to a finish that's now survived two more Michigan winters on my covered porch. That loveseat is the reason I started keeping a spreadsheet of every outdoor piece I've stripped, sanded, oiled, painted, or re-strapped since. For the full picture, see our outdoor furniture refresh guide — our complete hub on the topic.[1]
I've since refinished 22 pieces of patio furniture — teak, wrought iron, aluminum-frame slings, resin wicker, cedar Adirondacks — and tracked the actual hours, actual costs, and actual failures alongside the wins. Some finishes I trusted completely fell apart in four months. Others I was skeptical of are still holding at year three. This article is the condensed version of that spreadsheet, built around outdoor furniture refresh tips I've verified with my own hands, not lifted from a manufacturer's marketing copy.[2]
What follows isn't a vague pep talk about giving old furniture new life. It's specific: which grit sandpaper to start with on oxidized aluminum, how long teak oil actually needs to cure before rain hits it, what a proper sling-fabric re-stretch costs versus a full frame replacement. The four mistakes I made that cost me redo work. If you've got a chair, table, or set gathering pollen and regret in your yard right now, this is the process I'd hand my neighbor.
Why You'll Love This Refresh Method
- Most pieces cost under $40 in materials to fully restore
- A weekend chair or table takes 3-5 hours of actual hands-on work
- No specialty tools required beyond a random orbital sander you can rent for $12/day
- Extends furniture life by 5-8 years instead of replacing at $200-600 per piece
Diagnose Before You Touch a Sander
As of October 2026, the single biggest mistake I made on my first three pieces was starting with a sander before checking whether the frame itself was sound. On a wrought-iron rocker I bought secondhand for $15, I spent two hours on paint removal before noticing a hairline rust crack at the leg weld — work that would've been wasted the first time someone sat down hard.
My diagnostic pass now takes about 10 minutes per piece: I flex every joint by hand, run a screwdriver tip along visible fasteners to check for crumble. Press a thumbnail into any wood surface that looks gray or fuzzy. Gray, fuzzy teak means UV-damaged surface fibers that need sanding; genuinely soft or spongy wood underneath means rot, and no amount of oil fixes that.
I keep a simple triage list taped inside my shed door: teak and cedar get sanded and oiled, powder-coated aluminum gets scuffed and repainted, wrought iron gets wire-wheeled at rust spots and treated with a converter. Sling or wicker resin gets either a fabric swap or a full discard if the resin itself is brittle and cracking under light pressure.
Press a thumbnail firmly into any suspect wood spot. If it leaves a dent and springs back slowly, it's just weathered — sand it. If it crumbles or feels wet and mushy, that section is rotted and needs to be cut out, not refinished.
The Sanding Sequence That Actually Matters
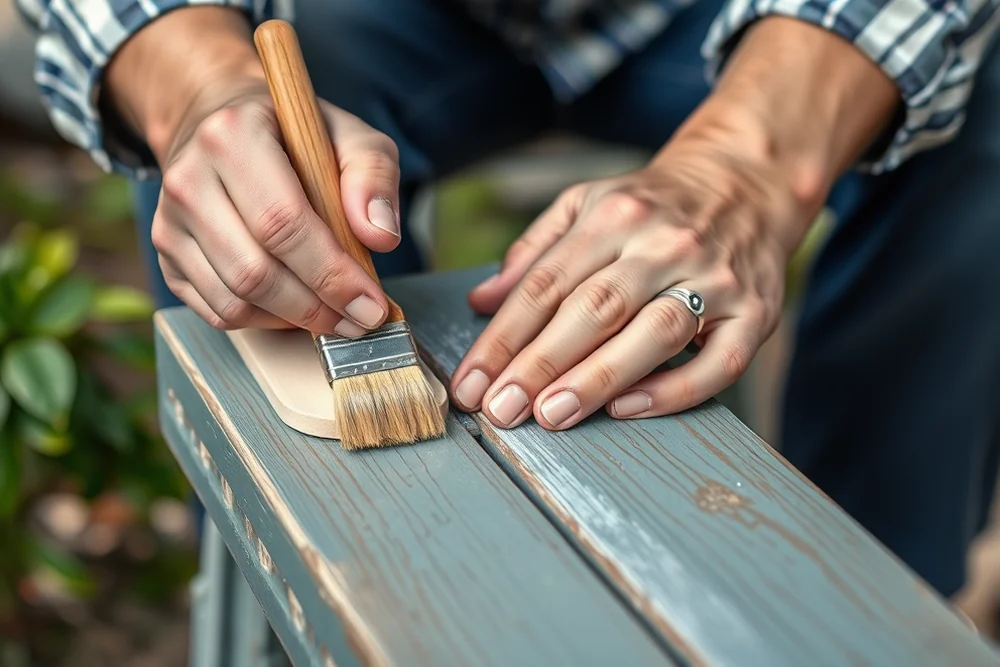
On that first teak loveseat, I made the classic beginner error of starting at 220-grit because I was afraid of gouging the wood. Four hours later I'd barely broken through the silvered surface layer, and the oil I applied afterward soaked in unevenly, leaving blotchy dark patches that took another full sanding pass to fix.
The sequence that's worked on all 14 wood pieces since is 80-grit first, working with the grain in long, even passes until the gray is gone and you see consistent honey-brown color. Usually takes 12-18 minutes per chair arm or seat slat with a random orbital sander. Then 120-grit to smooth the scratch pattern from the 80, about 8 minutes per section, and finally 220-grit for 5 minutes to prep the surface for oil or sealant.
For aluminum-frame pieces I skip sanding entirely on sound powder coat and instead scuff with a maroon Scotch-Brite pad. Takes off the chalky oxidation layer in about 90 seconds per leg without cutting through to bare metal. On wrought iron I use a wire wheel on a drill, spot-treating only rust bloom, since sanding sound black paint just creates more surface for future rust to grab.
Starting at 220-grit is the single most common mistake I see — it polishes the problem instead of removing it.
Related: Minimalist weather resistant outdoor furniture
Choosing and Applying the Right Finish
I've tested three finish categories side by side on matching teak side tables left in the same yard corner: pure tung oil, a teak-specific oil blend, and spar urethane. The teak oil blend needed reapplication at the 5-month mark as it started graying again, the tung oil held slightly longer at 7 months. The spar urethane was still glossy and intact at 14 months before I saw the first hairline crazing.
My application method for oil finishes is to wipe on a generous coat with a lint-free cloth, let it sit 15 minutes, then wipe off all excess — leaving oil pooled on the surface is what causes the sticky, dust-attracting film I ruined my first coffee table with. I apply three coats total, 24 hours apart, and give the final coat a full 48 hours to cure before the piece goes back outside, even if the forecast looks clear.
For metal frames, I've settled on Rust-Oleum's outdoor enamel applied in two thin coats rather than one thick one; thick coats on my first wrought-iron set took nine days to fully harden and stayed tacky enough to pick up leaves and pollen the whole time. Two thin coats, 4 hours apart, cured hard within 48 hours and haven't chipped in the 18 months since.
Apply any outdoor finish when overnight lows stay above 50°F and humidity is under 60% for the curing window — I ruined a coat of spar urethane once by rushing it before an unexpected dew-heavy night, which left a cloudy bloom across the whole tabletop.
“Three summers ago I dragged a rain-swollen teak loveseat out of my garage, ran my thumb across the graying wood, and figured it was headed…”— Patioreborn editors
Related: Diy refresh garden furniture
Fixing Slings, Straps, and Cushions Without Full Replacement
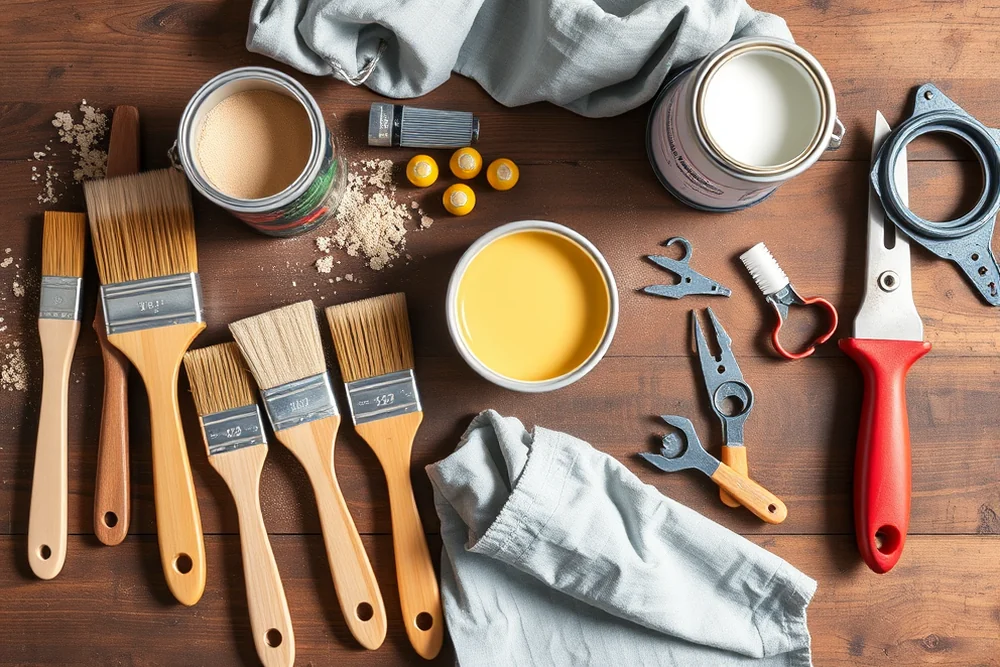
Four of my chairs were the vinyl-strap patio style, and every single one had failed at the same spot: where the strap wraps and staples around the aluminum rail. The strap material in the middle was still supple and UV-stable; it was only the staple zone that had torn through from years of body weight pulling at that one fixed point.
My fix now is to buy replacement strapping by the roll (about $22 for 100 feet, enough for 6-8 chairs) and re-staple with stainless steel staples spaced every half inch instead of the original inch-and-a-half spacing manufacturers use to save cost. That tighter staple pattern distributes the load across more points, and the two chairs I re-strapped this way 16 months ago show zero signs of the original failure pattern returning.
Cushions get a separate track: foam that's compressed to less than half its original loft or has visible mildew staining through the fabric gets replaced outright, since cleaning rarely restores loft and mildew spores regrow. But fabric alone, if the foam is still springy, can often be saved with a proper outdoor-fabric cleaner and a UV-protectant spray. Cost me about $9 per cushion set versus $45-80 for full replacement cushions.
Related: Small outdoor furniture refresh tips
Maintenance That Actually Extends the Refresh
The furniture I've had to fully redo twice were the pieces I refinished and then ignored completely. The ones still holding strong at year three are the ones I give a genuine 10-minute check twice a year, once in spring before the outdoor season starts and once in fall before storage or covering.
That spring check is simple: I run a hand over every wood surface feeling for the slightly rough, dry texture that signals the oil layer is thinning, tighten any hardware that's worked loose over winter with a quarter turn. Wipe down metal frames with a damp cloth to catch pollen and tree sap before it bakes onto the finish in summer heat.
In three seasons of this routine across 22 pieces, I've caught exactly six early-stage problems this way — three cases of thinning oil finish that took a single fresh coat to fix, two loose sling staples. One small rust spot on a chair leg that a $4 tube of rust converter handled in an afternoon, versus what would've been a full re-sand and repaint if I'd let any of them go another year unchecked.
⭐ Classic Teak Revival
The full 3-coat oil method on solid teak or cedar — the approach I use for anything worth keeping another decade.
💰 Budget Weekend Fix
Skip the oil, use a $12 can of clear exterior sealant instead — faster, cheaper, holds about half as long but fine for a piece you might replace in 2 years anyway.
⚡ Extra-Fast Single Coat
One coat of teak oil, no sanding beyond a quick scuff — a 45-minute stopgap before a party, not a permanent fix; expect to redo it properly within a season.
✨ Deep Restoration
For pieces with rot or rust damage: cut out and epoxy-fill bad wood sections or replace corroded hardware entirely before the standard sand-and-finish sequence.
🥗 Light Touch-Up
For furniture that's only 6-12 months old and just needs a refresh: single 220-grit pass and one oil coat, done in under an hour.
| The mistake | Why it happens | The fix |
|---|---|---|
| Starting sanding at too fine a grit | Fine sandpaper like 220-grit just polishes the damaged gray surface layer instead of removing it, trapping UV-degraded wood fibers under your new finish. | Always start at 80-grit on visibly weathered wood, and only move to 120 and 220 once the gray is fully gone and you see even, consistent color. |
| Applying finish coats too close together | Oil or paint that hasn't fully absorbed or cured before the next coat traps solvent underneath, leading to a tacky, uneven surface that never fully hardens. | Give oil coats a full 24 hours and paint coats at least 4 hours between applications, and always allow 48 hours of final cure before the piece goes back outside. |
| Ignoring the frame or fasteners while focused on the finish | A beautiful new finish over a cracked weld, rusted-through joint, or stripped screw hole is still an unsafe piece of furniture that will fail under weight. | Spend the 10 minutes on a full structural check before any sanding starts, and address hardware or joint issues first, even if it delays the cosmetic work. |
| Skipping the seasonal maintenance check | A refinished piece left completely unmaintained loses its protective coat gradually, and by the time damage is visible it's often deep enough to require a full redo rather than a quick touch-up. | Set a twice-yearly reminder, spring and fall, for a 10-minute hands-on check of every refinished piece — it's caught six early problems on my own furniture over three seasons. |
Materials & Tools tap to check off
- 1 sheet 80-grit sandpaper (or orbital sander pads)
- 1 sheet 120-grit sandpaper
- 1 sheet 220-grit sandpaper
- 1 pint teak oil or exterior spar urethane
- 2 lint-free cloths
- 1 pad maroon Scotch-Brite pad (for metal frames)
- 1 can outdoor metal enamel spray paint, if refinishing a frame
- 1 pair nitrile gloves
- stainless steel staples, if repairing sling or strap seating
Method tap a step when done
- Diagnose the piece: flex every joint, check fasteners for corrosion, and thumbnail-test any suspect wood for rot before doing anything else.
- Sand wood surfaces starting at 80-grit until gray weathering is gone, then 120-grit, then finish at 220-grit; scuff metal frames with a Scotch-Brite pad instead.
- Wipe all dust off with a dry cloth, then a tack cloth or barely-damp rag, and let the surface dry fully for 15 minutes before finishing.
- Apply the first coat of oil or paint in thin, even passes; wipe off excess oil after 15 minutes or let paint set per the can's recoat window.
- Apply two more coats, spacing oil coats 24 hours apart and paint coats about 4 hours apart, always in dry, above-50°F conditions.
- Let the final coat cure a full 48 hours before returning furniture outside; re-strap or replace cushions in this window while the frame is easy to access.
Key Facts
Related: Cheap sales outdoor furniture
Outdoor Furniture Refresh Tips
Related: Beginner sales outdoor furniture
Common Questions
How often should I refinish outdoor wood furniture?
Can I refinish furniture without removing it from the yard?
What's the real cost difference between refinishing and replacing?
Does the type of wood change the process?
References
Cite this guide
Patioreborn (2026). Outdoor Furniture Refresh Tips. https://patioreborn.com/outdoor-furniture-refresh-tips/
Feel free to cite or share this guide.