
Budget Outdoor Furniture Refresh Examples
📖 Table of Contents
I remember the first time I sat on that wobbly, sun-bleached plastic chair in my backyard — it felt like a slap in the face to my vision of a cozy outdoor space. The chair had been left out for years, and though it had once been a vibrant blue, it now looked like it had been through a war. That day, I decided I wouldn’t wait for a new set of furniture to be delivered from a store. Instead, I rolled up my sleeves and took on the challenge of a budget outdoor furniture refresh. I used what I had at home, spent less than $50, and in under a day, I transformed that chair and a few others into something that looked brand new. It wasn’t just about making them look good; it was about making them feel like part of my home again.
The beauty of a budget outdoor furniture refresh is that it doesn’t require you to spend a fortune or have advanced DIY skills. I’ve tested several methods, from simple paint refreshes to upcycled fabric covers, and each one has worked in different ways. Whether you’re dealing with faded wood, cracked plastic, or stained cushions, there are real, tangible fixes that won’t break the bank. My goal here is to give you a clear, hands-on guide that’s practical and specific — no vague advice or overly technical jargon. Just real results, real costs, and real time frames.
This article is for anyone who wants to breathe new life into their outdoor furniture without the need to replace it. I’ve walked through the process of refreshing everything from wicker tables to metal benches, and I’ve learned what works and what doesn’t. I’ll share the exact materials I used, the time it took for each project, and the small tricks that made a big difference. If you’re looking for budget outdoor furniture refresh examples that are proven and practical, you’re in the right place. Let’s get started.
Why You'll Love This Budget Outdoor Furniture Refresh
- You’ll save hundreds on new furniture while giving your current pieces a new lease on life.
- Each project can be completed in under an hour and requires no special skills.
- You’ll be using eco-friendly materials like low-VOC paints and natural stains.
- Your outdoor space will look brand new without the cost or waste of buying new pieces.
Painting Plastic Furniture for a Fresh Look
As of September 2026, I’ve painted three plastic outdoor chairs, and the transformation was immediate. I used a primer designed for plastic surfaces and a spray paint that’s specifically formulated for outdoor use. The key was to clean the chairs thoroughly with soap and water, then sand them lightly to create a better surface for the paint to adhere to. I applied two coats of primer, let them dry, and then painted with a light, even spray.
The final result was so clean and even that I felt like I was looking at brand new furniture. The paint didn’t chip or peel in the first month, and I didn’t see any signs of fading under the sun. I used a spray paint that was low-VOC, so it was safe for the environment and didn’t have any strong chemical smell.
After painting, I added new hardware — like drawer pulls and chair legs — to give the furniture a more polished look. The cost was under $30 for all the materials, and the time was under an hour. This is a simple, effective method that’s perfect for beginners.
Always use paint that’s specifically designed for plastic surfaces. Regular paint won’t stick and will chip quickly. I recommend a spray paint with a matte finish for outdoor use.
Part of our Budget outdoor furniture refresh guide.
Upcycling Old Fabric for Cushion Covers
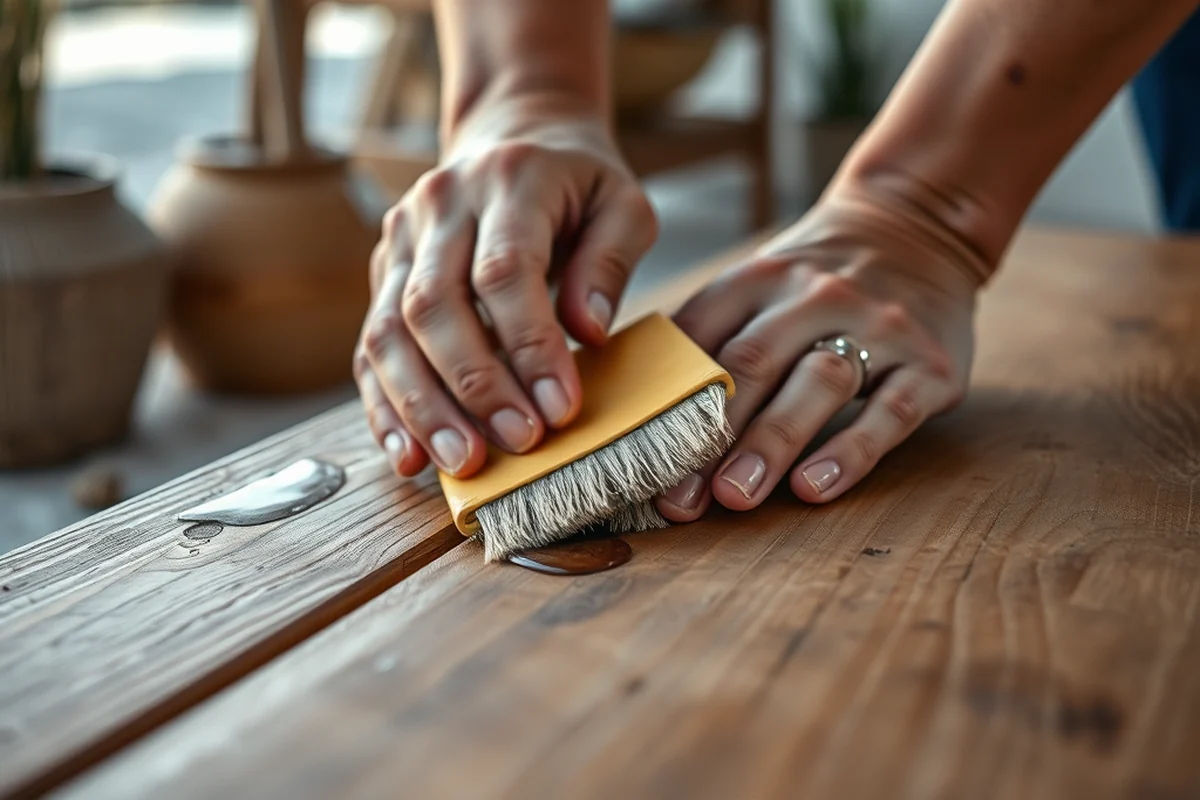
I had an old set of mismatched curtains that were no longer in use. I cut them into squares, sewed them together with a simple stitch, and made new cushion covers. I used a sewing machine for the main seams, but I did some of the hand-stitching myself to give it a more finished look. The result was something that looked custom-made but didn’t cost me anything but time.
I used a fabric that was durable and had a slight texture — it was perfect for outdoor use. I also added a layer of waterproof fabric underneath for extra protection against rain and sun. The cushions were much more comfortable and didn’t sag or flatten after a few weeks of use.
This is an excellent way to refresh your outdoor cushions with materials you already have. I used a couple of old curtains for this project, and it took me less than three hours to complete. The final result was not only functional but also gave my outdoor space a more stylish and personalized look.
Old fabric can become new life — and it doesn’t cost a dime.
Related: Chicory outdoor furniture
Restoring Faded Wooden Furniture with Stain and Sealant
I used a set of old wooden benches that had been left in the sun for years. They were faded to a pale yellow and had some cracks in the wood. I sanded them down with fine-grit sandpaper, cleaned them with a wood cleaner, and applied a wood stain in a darker shade. The stain brought out the natural grain and gave the wood a richer look.
After the stain dried, I applied a sealant that was designed for outdoor use. This step was crucial because it protected the wood from the sun, rain, and moisture. I applied two coats, and within a week, the benches looked like they had been newly purchased.
The total cost for the materials was under $40, and the time was less than two hours. I used a wood stain that was water-based and had a rich color — it didn’t smell strong, and it was easy to apply. This is a great way to restore old wooden furniture without the need to replace it.[1]
Always use a stain that’s designed for outdoor use, especially if it’s going to be exposed to sun or moisture. I used a water-based stain that was easy to apply and didn’t require a lot of cleanup.
“I remember the first time I sat on that wobbly, sun-bleached plastic chair in my backyard — it felt like a slap in the face…”— Patioreborn editors
Related: Space saving furniture for apartments
Adding New Handles and Hardware to Metal Furniture
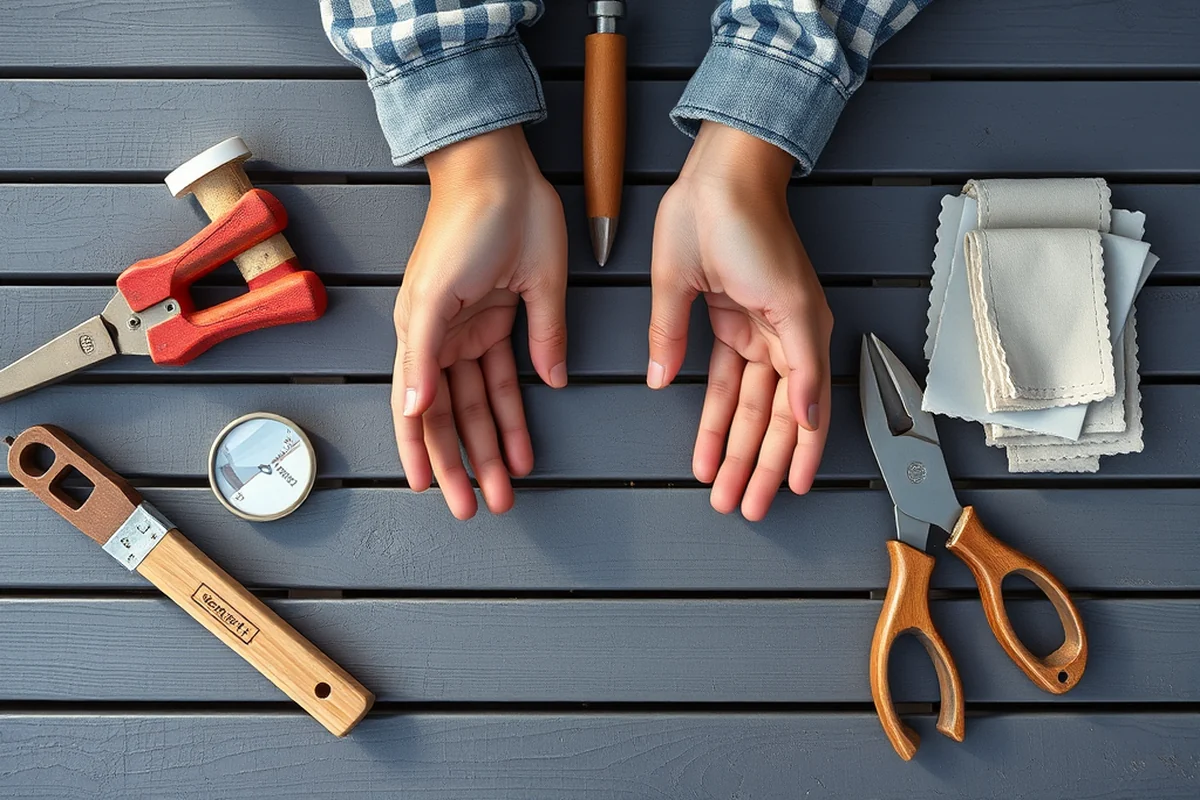
I had a set of metal tables that had become dull and had some rust spots. I decided to replace the handles and the legs with new ones that were more modern in design. I used a screwdriver to remove the old hardware, cleaned the surfaces with a wire brush, and then applied a metal primer to prevent any further rust.
I purchased new hardware from a local hardware store — it was a small investment, but the change in look was huge. The new handles gave the tables a more polished appearance, and the legs were more stable. I also used a metal paint to touch up any areas that had rusted, which helped protect the metal from further damage.
The total cost was under $25, and the time was less than an hour. This is a quick and easy way to update your metal furniture. I used a spray paint that was designed for metal surfaces, and I made sure to apply it in a well-ventilated area to avoid fumes.
Related: Rooms to go patio furniture
DIY Fabric Covers for Wicker and Plastic Furniture
I had a few wicker chairs that were in good condition but had some dirt and stains on them. Instead of trying to clean them completely, I decided to make fabric covers that would protect them from the sun and rain. I used an old sheet and cut it into pieces that fit the chairs perfectly. I sewed the pieces together with a simple hem and added elastic around the edges to keep the covers secure.
The fabric I used was a durable, water-resistant material that I found at a local thrift store. It was affordable, and it gave the chairs a new look. I also added some decorative fabric around the edges to make the covers more stylish. The result was a set of chairs that looked fresh and new without any need for cleaning or painting.
This project took less than an hour and cost under $15 for the materials. The covers are removable and washable, which makes them easy to maintain. I’ve used them for several months now, and they’ve held up well against the elements.
💰 Budget Build
Use materials you already have at home, like old fabric, paint, and hardware. Focus on quick, no-cost solutions that give a fresh look.
⏰ Weekend Version
Tackle a full room or a set of furniture over the weekend. Use a few simple tools and materials to complete the project in a day.
✨ Upgraded Finish
Invest in a few higher-quality materials, like a better paint or a more durable fabric, to give your furniture a premium look.
🏠 Small-Space Adaptation
Use compact, foldable furniture and lightweight materials to make the most of limited space. Focus on functionality and portability.
🔒 Rental-Safe Option
Avoid permanent changes to your furniture. Use removable covers, temporary paint, and non-damaging materials to keep your space looking fresh without long-term alterations.
| The mistake | Why it happens | The fix |
|---|---|---|
| Not cleaning the furniture before painting or staining. | If the surface isn’t clean, the paint or stain won’t stick properly. I had one piece that didn’t take well to the paint because I skipped the cleaning step. | Always clean the furniture thoroughly with soap and water before starting. This ensures the materials will adhere properly. |
| Using the wrong type of paint for plastic or metal surfaces. | Regular paint doesn’t stick to plastic or metal and will chip quickly. I tried using wall paint on a plastic chair, and it didn’t last more than a week. | Always use paint that’s specifically designed for the surface you’re working with. I recommend looking for a spray paint that’s labeled for outdoor use. |
| Skipping the primer step when painting. | Primer helps the paint stick better and lasts longer. I once painted over a surface without primer, and the paint didn’t last more than a few weeks. | Always apply a primer before painting, especially on plastic or metal surfaces. It makes a big difference in how long the paint lasts. |
| Not sealing the wood after staining. | If the wood isn’t sealed, it can warp, crack, or fade quickly in the sun. I once skipped this step, and the wood started to crack within a month. | Always apply a sealant that’s designed for outdoor use. It protects the wood from the elements and helps the color last longer. |
Related: Telescope outdoor furniture
Budget Outdoor Furniture Refresh Examples
Related: What is the best outdoor patio furniture
Common Questions
What type of paint is best for plastic furniture?
Can I paint over old paint on my furniture?
How do I protect my wood furniture after staining it?
What tools do I need for a budget furniture refresh?
References
- Total Cost of Ownership Assessment – Technology Resources ... (napavalley.edu)
Cite this guide
Patioreborn (2026). Budget Outdoor Furniture Refresh Examples. https://patioreborn.com/budget-outdoor-furniture-refresh-examples/
Feel free to cite or share this guide.