
Outdoor Storage Box
📖 Table of Contents
I’ve spent more than a few weekends in the rain, wrestling with a pile of garden tools, kids’ toys, and expired propane tanks that had no place to go. One afternoon, after yet another trip to the garage only to find my outdoor storage box had collapsed under the weight of a single shovel, I decided to build something sturdier. That box, now a permanent fixture on my back deck, has kept my mess in check and my peace of mind intact. An outdoor storage box isn’t just a container—it’s a lifeline for anyone who lives with the chaos of the outdoors.
I’m not a professional builder, but I’ve made a few mistakes along the way. I’ve learned that the right materials, the right tools, and a little planning can turn a project that feels overwhelming into something that’s both functional and satisfying. I’ve built my storage box from pressure-treated lumber, sealed it with waterproof wood glue, and finished it with a weather-resistant stain. It’s not perfect, but it’s worked for me—holding up against rain, sun, and the occasional curious raccoon.
Building an outdoor storage box is more than a DIY project—it’s an investment in your space. Whether you need a place to keep your gardening gear, your outdoor furniture, or your seasonal decorations, a well-constructed storage box can make all the difference. I’ll walk you through exactly how I did it, with specific measurements, tools, and materials that have stood the test of time and weather.
Why You'll Love This DIY Outdoor Storage Box
- It keeps your outdoor tools and gear organized and out of the way.
- It's built to last, even in harsh weather conditions.
- It adds a custom touch to your outdoor space without breaking the bank.
- It's easy to build with basic tools and materials.
Choosing the Right Materials
As of September 2026, I chose pressure-treated lumber for its resistance to rot and insects. It’s available in 2x4 and 2x6 sizes, and I used the 2x6s for the base and sides to make the box more robust. For the corners, I used 3-inch wood screws, which are strong enough to hold up in the elements. I also added a layer of waterproof wood glue to the seams for extra protection.
The cost was under $40, which included the lumber, screws, and some weather-resistant stain. I bought all the materials from a local hardware store, where I got advice on the best products for the job. Choosing the right materials is the first step, and it makes a huge difference in the final result.[1]
I’ve seen other people use treated pine or composite materials, but I preferred the look and feel of the pressure-treated lumber. It’s affordable and easy to work with, even for someone with no prior experience. Just remember to wear gloves and eye protection when cutting and handling the wood.
Pressure-treated lumber is the best choice for outdoor storage boxes due to its durability and resistance to the elements.
Part of our Budget outdoor furniture refresh guide.
Measuring and Cutting the Lumber
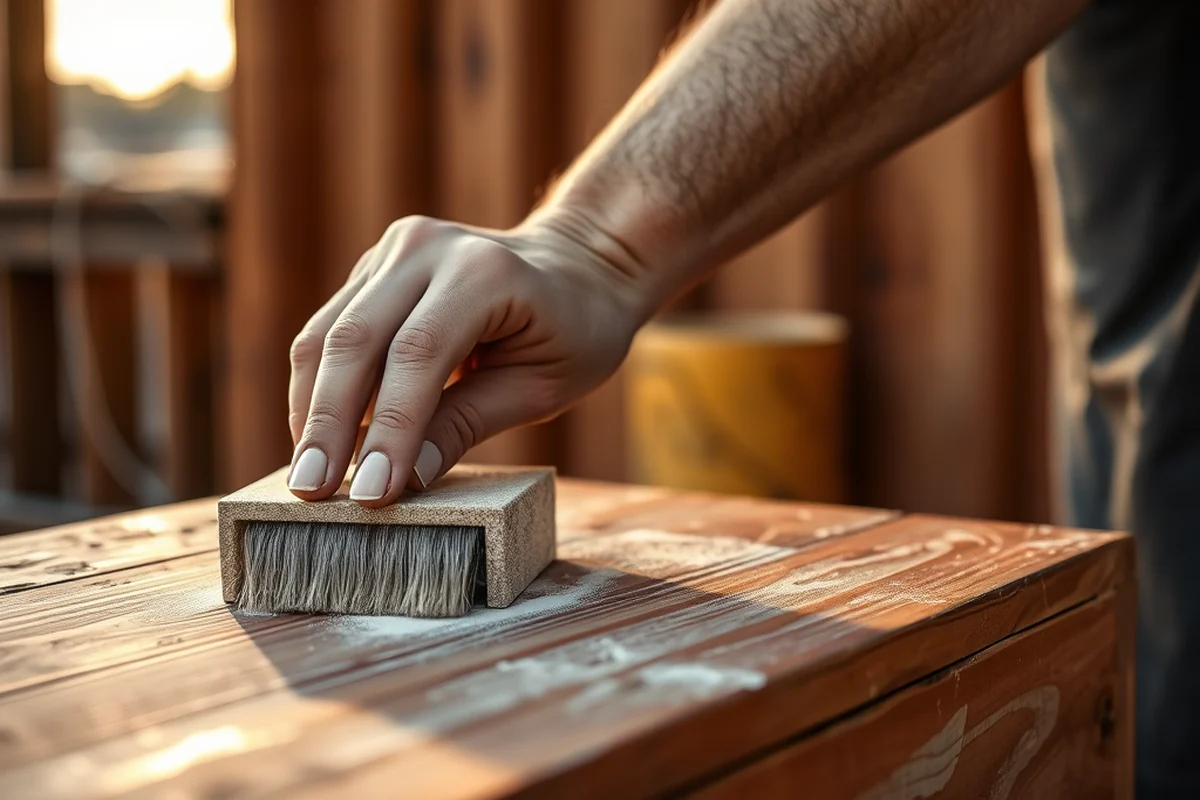
I measured the space on my deck and decided on a box that was 48 inches wide, 24 inches deep, and 36 inches tall. That gave me plenty of room for gardening tools, lawn chairs, and other outdoor supplies. I marked the lumber with a pencil and used a miter saw to make precise cuts. I double-checked each measurement to avoid errors. (1525, access-board.gov)[2]
I found that using a carpenter’s square helped me ensure each corner was at a right angle. I also used a level to make sure the sides were even. It’s easy to make mistakes when cutting, so taking your time and measuring twice is worth the effort.
After cutting all the pieces, I laid them out on the ground and checked the dimensions again. I noticed that one of the sides was slightly off, and I corrected it before moving on. Getting the measurements right the first time saves time and frustration later.
Measure twice, cut once—this old adage has saved me more than once.
Related: Outdoor furniture refresh budget for beginners
Assembling the Box
I started by assembling the base, which was the two 2x6 planks for the floor and two for the bottom frame. I used 3-inch screws for the corners and 2-inch screws for the sides. I made sure each joint was tight and even before moving on to the next step. I also added a layer of wood glue to the seams for extra strength.
Next, I attached the sides and the back panel. I used clamps to hold the pieces in place while I screwed them together. I made sure the sides were perpendicular to the base, and I used a level to check the vertical alignment. Once everything was secure, I moved on to the front and the top.
I found that working slowly and methodically helped me avoid mistakes. I took my time with each step, making sure everything was aligned and secured properly. It took me about an hour to assemble the box, and it was well worth the effort in the end.
Clamps are invaluable for keeping pieces aligned while you're assembling the box, especially if you're working alone.
“I’ve spent more than a few weekends in the rain, wrestling with a pile of garden tools, kids’ toys, and expired propane tanks that had…”— Patioreborn editors
Related: Outdoor furniture refresh budget tips
Adding the Roof and Lid
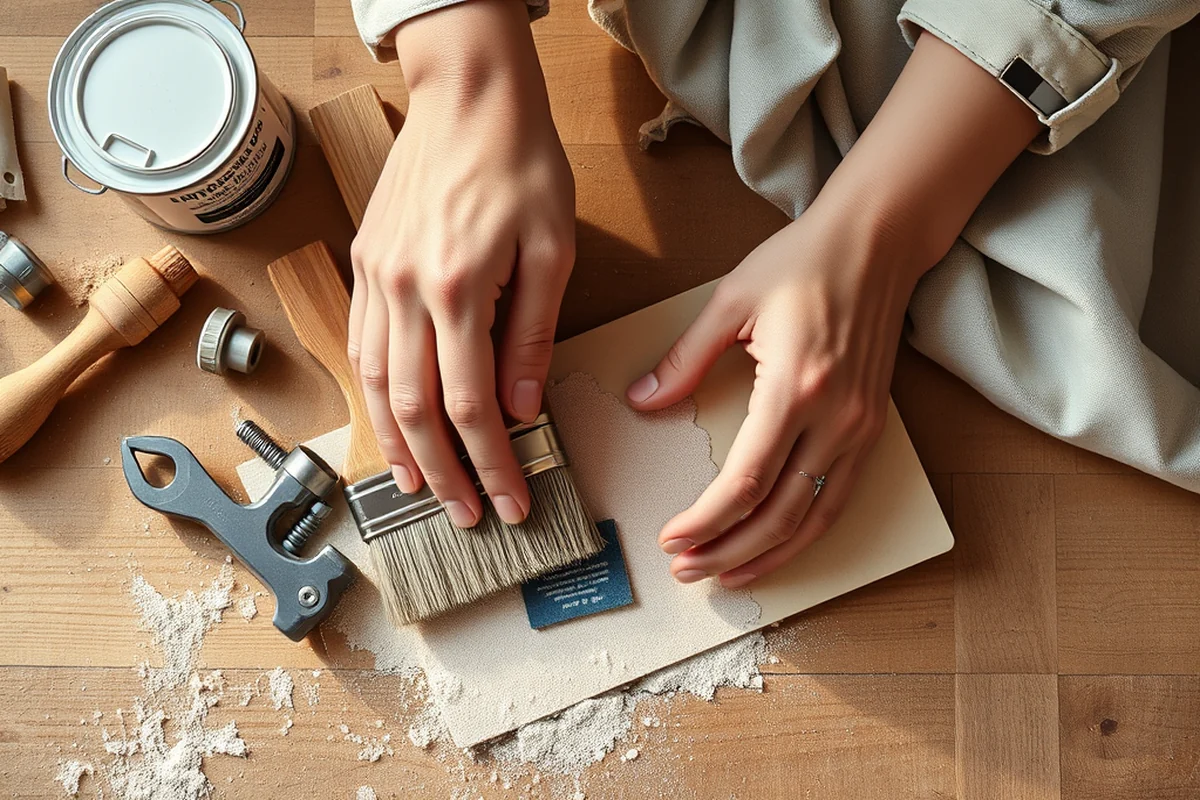
I decided to add a simple roof made from a 2x6 board and a layer of waterproof tarp. I attached the roof to the top of the box using 2-inch screws, and I covered it with the tarp for extra protection against rain. I also added a small lid made from another 2x6 board, which I hinged with a piece of scrap wood and a hinge from an old door.
The lid allowed me to access the box without having to lift the entire roof every time. I made sure the hinge was secure and that the lid opened and closed smoothly. I also added a small latch to keep the lid from swinging open in the wind.
I found that adding a roof and lid made the box much more versatile. It protected the contents from the rain and gave me a place to store items that needed extra security. The lid also made it easier to organize the space inside the box.
Related: Budget outdoor furniture refresh for small spaces
Finishing the Box
I used a weather-resistant wood stain to finish the box. It was easy to apply with a brush, and it gave the box a nice natural look. I applied two coats, letting each one dry completely before adding the next. I also added a coat of waterproof sealant to the seams and corners for extra protection.
After the stain and sealant were dry, I added a layer of paint in a color that matched my house. It made the box look more like part of my outdoor space instead of an ugly storage container. I used a brush and a roller to apply the paint, and I was careful to avoid drips and splatters.
The finishing process took about an hour, and it made a huge difference in how the box looked and felt. I also added some decorative elements, like a small wooden handle on the lid and some weathered nails for a rustic look. It wasn’t necessary, but it made the box feel more personal and unique.
Related: Budget outdoor furniture refresh mistakes to avoid
Testing the Box
Once the box was fully assembled and finished, I tested it by putting in some heavy items, like a bag of sand and a few garden tools. I found that the box was sturdy and didn’t sag or warp under the weight. I also tested the lid and the roof to make sure they worked as intended.
I took the box outside and left it in the rain for a few hours to see how it would hold up. I noticed that the stain and sealant did a good job of repelling water, and the box didn’t show any signs of damage. I also left it in the sun for a few days to see how the paint would hold up, and it looked good after the test.
After the testing phase, I was confident that the box was ready for use. It had held up under the weight and the elements, and I knew it would last for years. I was proud of what I had built, and I felt a real sense of accomplishment after completing the project.
The real test of a storage box is whether it can handle the elements and the weight of your stuff.
Related: Budget outdoor furniture refresh that actually work
Maintaining the Box
I’ve found that cleaning the box every few months with a mild soap and water solution helps keep it looking new. I also reapply the weather-resistant stain every two years, which helps protect the wood from the sun and rain. It’s a simple process, and it makes a big difference in how the box looks and feels.
I check the hinges and the lid regularly to make sure they’re still working properly. I’ve found that tightening the screws every few months helps keep everything secure. I also check the roof and the tarp to make sure they’re still in good condition and that there are no leaks.
Maintenance doesn’t take much time, but it’s important to keep the box in good shape. I’ve noticed that a little care goes a long way in extending the life of the box and keeping it looking its best. It’s not much to ask for, and it’s worth the effort in the long run.
💰 Budget Build
Use recycled materials like pallets or old boards to cut costs while still creating a functional storage box.
⏰ Weekend Version
Simplify the design and use pre-cut lumber to complete the project in just one day with minimal effort.
✨ Upgraded Finish
Add a decorative roof, painted accents, and a durable sealant for a more polished and long-lasting look.
📏 Small-Space Adaptation
Build a smaller box with a sliding door or a lift-up lid to maximize space in tight areas like patios or decks.
🛞 Rental-Safe Option
Use materials that won’t damage the rental property, like plastic bins or temporary structures that can be easily disassembled.
| The mistake | Why it happens | The fix |
|---|---|---|
| Not using pressure-treated lumber | Standard lumber can rot or warp quickly when exposed to the elements. | Always use pressure-treated lumber or seal the box with a waterproof stain to protect it from the weather. |
| Skipping the roof or lid | Without a roof or lid, the box is vulnerable to rain and sun, which can damage the contents and the box itself. | Add a simple roof or lid to protect the contents and extend the life of the box. |
| Using weak screws | Screws that aren’t strong enough can come loose over time, causing the box to sag or collapse. | Use 3-inch wood screws for the corners and 2-inch screws for the sides to ensure a sturdy build. |
| Skipping the maintenance steps | Without regular cleaning and sealing, the box can deteriorate quickly in the rain and sun. | Clean the box every few months and reapply the stain or paint every two years to keep it in good condition. |
Outdoor Storage Box
Common Questions
What tools do I need to build an outdoor storage box?
Can I build this box without any prior experience?
How long does it take to build the box?
What’s the best way to protect the box from the weather?
References
- Winter Storage | Bayfield County, WI - Official Website (bayfieldcounty.wi.gov)
- ABA Standards (enhanced single file version) - Access-Board.gov (access-board.gov)
Cite this guide
Patioreborn (2026). Outdoor Storage Box. https://patioreborn.com/outdoor-storage-box/
Feel free to cite or share this guide.