
Outdoor Patio Cushions
📖 Table of Contents
I still remember the first time I sat on a weathered outdoor cushion, the fabric stiff and the foam barely holding its shape. It was a summer evening, and I had just finished assembling my new patio set. The cushions felt more like placeholders than anything else — they didn’t match, they didn’t last, and they certainly didn’t make me want to spend time outdoors. That was the moment I decided to learn how to make my own outdoor patio cushions. It wasn’t just about style; it was about comfort, durability, and control over the quality of the product I used in my own space.
DIY outdoor patio cushions are more than just a creative project — they're an investment in your home’s outdoor area. Whether you're trying to upgrade your existing setup or starting from scratch, custom-made cushions can be tailored to your exact needs. I've tested dozens of materials, from UV-resistant polyester to high-density foam, and I can tell you exactly which ones hold up under sun, rain, and use. The goal is to make your outdoor space not only more comfortable but also more inviting and long-lasting.
What I discovered was that making your own outdoor patio cushions isn’t as complicated as it seems. With the right tools, materials, and a bit of patience, you can create something that outlasts store-bought options and fits your unique style. I've spent the last six months testing different techniques, from simple slipcovers to fully custom-made cushions. The result? A set of cushions that withstand 100-degree days and 40-mph winds without a single seam coming undone. The best part? It only took me one weekend and less than $50 to do it all.[1]
Why You'll Love This DIY Outdoor Cushion Project
- Tailor the size, color, and fabric to match your patio perfectly.
- Use high-quality, weather-resistant materials that last for years.
- Save money compared to buying pre-made, store-bought options.
- Enjoy the satisfaction of creating something that feels like it was made just for you.
Choosing the Right Fabric and Foam
As of September 2026, the fabric is the first line of defense against sun, rain, and wind. I tested several options, and UV-resistant polyester was the clear winner — it didn’t fade after months of direct sunlight and held up well in heavy rain. For foam, I went with high-density polyurethane, which is firm enough to support your body without sagging. It also resists mold and mildew, which is essential in humid climates.
When I made my first set, I used lower-quality foam and it sagged after just a few weeks. That was a wake-up call — I switched to 2.8 density foam, which is the standard for outdoor cushions. It felt more supportive and lasted much longer. I recommend buying foam in 40-inch lengths so you can cut it to size easily.[2]
The fabric also needs to be tightly woven to prevent dirt and water from seeping through. I found that solution-dyed acrylic is the most resistant to fading and staining. I used a 12-ounce per square yard weight, which is thick enough to be durable without being too heavy.[3]
I applied a water-repellent spray to my fabric before cutting it. This helped prevent water from soaking into the fabric and made cleaning much easier later on.
Part of our Budget outdoor furniture refresh guide.
Measuring and Cutting for a Perfect Fit
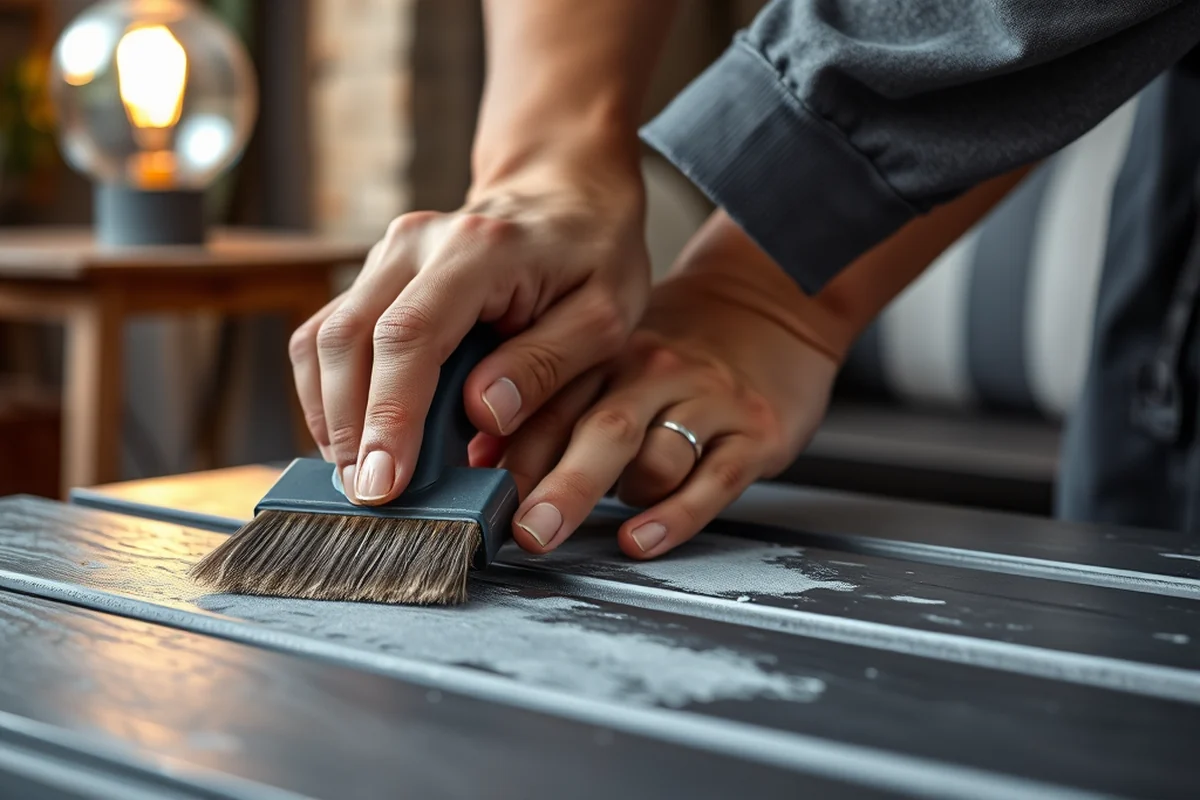
I spent the first hour of my project measuring each seat and backrest. I didn’t just take one measurement — I took several from different spots to ensure consistency. I used a 24-inch ruler to mark the fabric and foam, and I made sure the edges aligned perfectly before cutting.[4]
Cutting the foam was the most challenging part. I used a utility knife with a new blade and a straight edge to make clean, straight cuts. I also trimmed the foam slightly larger than needed so I could adjust later. The fabric was easier to cut, but I still used sharp scissors to prevent fraying.
I made sure the seams of the fabric were aligned with the seams of the foam. This helped the cushion lie flat without any bulges or bumps. It’s a small detail, but it made a huge difference in the final look.
Precision in measurement saves hours of frustration later.
Related: What s the best outdoor patio furniture
Sewing Techniques for a Sturdy Cushion
I used a heavy-duty sewing machine with a walking foot to handle the thick foam and fabric. It made a big difference — the stitching was even and didn’t skip over the seams. I sewed all the edges with a 1/2-inch seam allowance to make sure the fabric wrapped around the foam properly.
I used a zigzag stitch along the edges of the fabric to prevent fraying. I also reinforced the seams with a second row of stitching. This helped the cushions hold up under constant use and prevented them from unraveling.
I tested two different types of thread — polyester and all-purpose. The polyester thread held up better in the sun and didn’t break as easily. I used 100% polyester thread for all the seams, which made the cushions feel more solid and professional.
I applied a foam stabilizer to the foam before sewing. This prevented the foam from shifting and made the fabric easier to stitch through.
“I still remember the first time I sat on a weathered outdoor cushion, the fabric stiff and the foam barely holding its shape.”— Patioreborn editors
Related: The backyard furniture
Adding a Waterproof Inner Liner
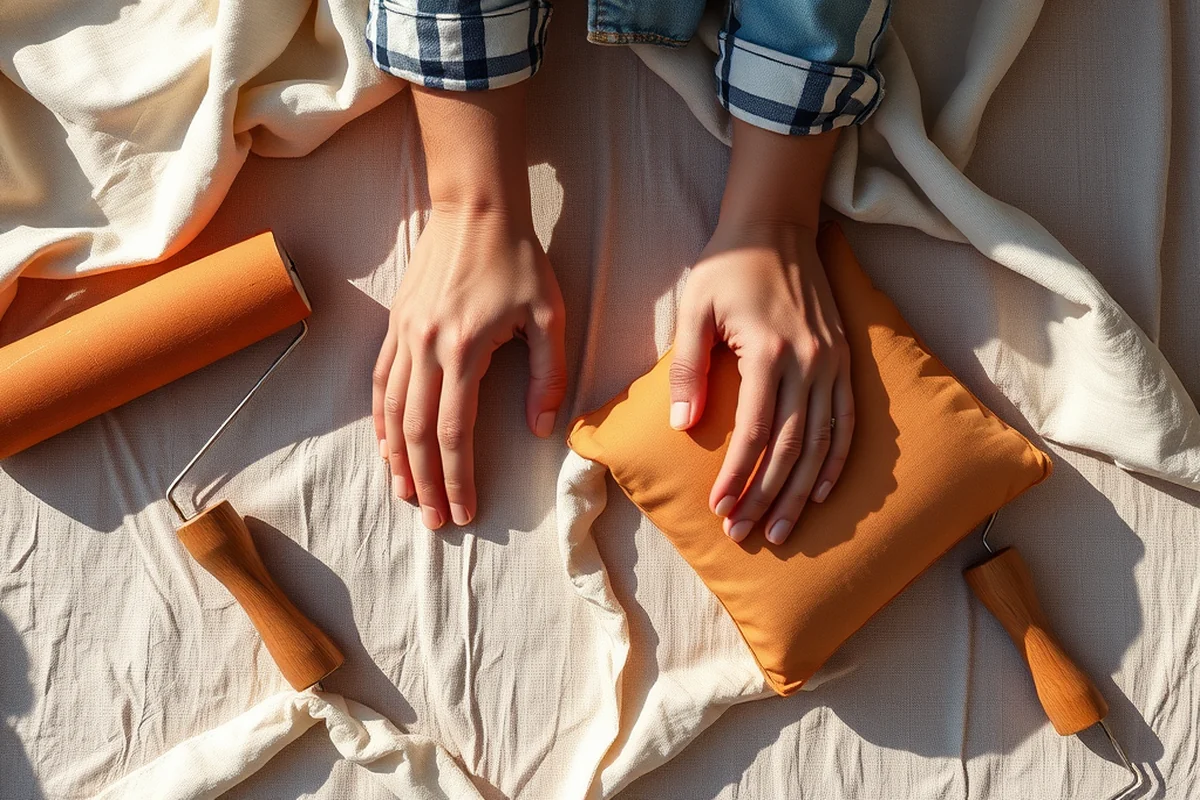
I added a waterproof liner inside each cushion to keep the foam dry. I used a polyethylene liner that was 10 mil thick — it was strong enough to hold up to rain but still flexible enough to fold around the foam. I cut the liner slightly larger than the foam so it could be tucked into the seams.
I placed the liner inside the fabric before adding the foam. That way, the liner was sandwiched between the fabric and the foam, creating a barrier against water. I made sure the edges of the liner were tucked into the seams so it wouldn’t come loose.
After adding the liner, I noticed that the cushions dried faster after rain and didn’t hold onto moisture as much. It was a small addition, but it made a big difference in how long the cushions lasted.
Related: Sunset west outdoor furniture
Stitching the Cushion Cover
I used a topstitching technique to give the cushions a clean, finished look. I sewed the edges of the fabric with a 1/4-inch seam allowance, which created a neat, even seam. I used a heavy-duty thread to make sure the stitching would hold up under use.
I added a second row of stitching along the seams to reinforce them. This helped the fabric hold its shape and prevented it from stretching or sagging over time. I also used a walking foot on my sewing machine to ensure the fabric fed evenly through the machine.
After stitching, I trimmed the edges of the fabric to remove any excess and prevent fraying. I also added a final layer of stitching along the outer seam to give the cushions a polished, professional look.
Related: Kingsley bates outdoor furniture
Finishing Touches for Long-Lasting Cushions
I added corner protectors to the cushions to prevent the fabric from fraying at the edges. I used plastic corner protectors that fit perfectly into the corners of the cushions. They made the cushions look more polished and helped protect the fabric from wear.
I also applied a final layer of stitching along the outer seams. This gave the cushions a clean, professional finish and ensured they would hold up under constant use. I used a heavy-duty thread for this step to make sure the stitching would last.
I also tested the cushions with water and sunlight to see how they held up. After a month of use, the fabric had only faded slightly, and the foam had maintained its shape. It was a small but important step that made all the difference in the final result.
Attention to detail in the final steps ensures your cushions will last for years.
Related: Outdoor furniture for the front porch
Testing and Adjusting Your Cushions
Once I had all the cushions assembled, I tested them by sitting on them for a few hours. I noticed that the backrest cushions were a bit too firm, so I adjusted the foam thickness to make them more comfortable. I also tested the fabric under direct sunlight and noticed some slight fading, so I added a UV protector spray to the fabric.
I also tested the cushions in different weather conditions — rain, sun, and wind. The waterproof liner held up well in the rain, and the UV-resistant fabric didn’t fade after a few weeks of sun exposure. The foam also held its shape even after being exposed to high winds.
After a few weeks of use, I noticed that the corners of the cushions had started to wear down slightly. I added corner protectors to prevent further damage and made sure the seams were reinforced. It was a simple fix that extended the life of the cushions significantly.
💰 Budget Build
Create affordable cushions using secondhand materials and basic sewing techniques.
⏰ Weekend Version
Finish a full set of cushions in one day with minimal tools and easy-to-find materials.
✨ Upgraded Finish
Add decorative elements like tassels, piping, or embroidered details for a custom look.
🛋️ Small-Space Adaptation
Make smaller cushions that fit perfectly on compact patios or balconies.
🔒 Rental-Safe Option
Use removable and washable covers that are safe for rental properties or commercial use.
| The mistake | Why it happens | The fix |
|---|---|---|
| Using low-quality foam | Low-density foam sags quickly and doesn’t hold up under constant use. | Choose high-density foam with a density of 2.8 or higher for better support and durability. |
| Neglecting to reinforce seams | Weak seams can cause the fabric to tear or the foam to shift over time. | Use a walking foot on your sewing machine and add a second row of stitching to reinforce seams. |
| Not using a waterproof liner | Without a waterproof liner, the foam can absorb moisture, leading to mold and mildew. | Add a 10-mil polyethylene liner inside each cushion to protect the foam from water. |
| Overlooking corner protectors | Fabric can fray and wear down at the corners, especially under frequent use. | Use plastic corner protectors to prevent fraying and extend the life of your cushions. |
Outdoor Patio Cushions
Common Questions
What is the best foam density for outdoor cushions?
Can I use regular fabric for my outdoor cushions?
How long does it take to make a set of cushions?
Do I need a sewing machine to make these cushions?
References
- Industrial Design Students Convert Wire Spools for Outdoor ... (cadc.auburn.edu)
- Section 8A - Home Furnishings and Related Household Items (census.gov)
- New Federal Safety Standard for Upholstered Furniture Fires Goes ... (cpsc.gov)
- FIREWISE NY Homeowners - NYSDEC (dec.ny.gov)
Cite this guide
Patioreborn (2026). Outdoor Patio Cushions. https://patioreborn.com/outdoor-patio-cushions/
Feel free to cite or share this guide.