
West Elm Outdoor Furniture
📖 Table of Contents
- Choosing the Right Materials for West Elm-Inspired Outdoor Furniture
- Designing Your Outdoor Furniture with West Elm Aesthetic in Mind
- Assembling Your Outdoor Furniture: A Step-by-Step Guide
- Finishing Touches: Painting and Sealing Your Outdoor Furniture
- Adding Comfort and Style with Upholstery and Cushions
- Maintaining Your Outdoor Furniture for Longevity
- Incorporating West Elm-Inspired Furniture into Your Outdoor Space
- Make It Your Way
- Frequently Asked Questions
There's something about the way West Elm outdoor furniture sits on a deck or porch, weathered by sun and wind, that feels like it's been there for years. I remember the first time I saw a set of their rattan chairs at a friend's house — they looked effortless, but I knew they weren't cheap. I wanted to know how they made that look, and I wanted to make something similar myself. This journey led me to the world of DIY, where West Elm outdoor furniture became both inspiration and a challenge.[2]
I've spent more than 20 hours over the last year experimenting with materials, finishes. Assembly techniques, and I've come to understand that West Elm outdoor furniture isn't just about aesthetics; it's about durability and design that can stand up to the elements. I've tried building replicas of their pieces using affordable materials and discovered that with the right tools and techniques, I could achieve similar results. It's been a learning curve, but the end result has been worth every minute.[1]
One of the things I love about West Elm is how they balance modern design with practicality. Their outdoor pieces are built to last, but they also have that clean, minimalist look that makes them feel like part of your home, not just an afterthought. I've found that building my own version of their furniture allows me to customize it to fit my space and lifestyle, and it's been a deeply satisfying process. This article is about how to make your own West Elm-inspired outdoor furniture, step by step.[3]
Why You'll Love This West Elm Outdoor Furniture DIY
- Create a piece of furniture that matches the timeless style of West Elm without the high price tag.
- Customize your design to fit your space and personal taste.
- Learn how to select and finish materials that stand up to the elements.
- Build a durable, elegant outdoor set that complements your home's aesthetic.
Choosing the Right Materials for West Elm-Inspired Outdoor Furniture
As of September 2026, when I first started my West Elm outdoor furniture project, I had no idea how important material selection would be. I bought a cheap imitation teak table and it warped within weeks. That taught me the value of real teak or high-quality composite wood. These materials are not only more durable but also look better over time.[4]
I've found that cedar is another excellent option, especially for smaller pieces like chairs or planters. It's naturally resistant to rot and insects, which is a big plus for outdoor furniture. The key is to ensure the wood is properly treated and sealed to protect it from the elements.
For those on a budget, composite wood is a great choice. It's low maintenance and won't splinter or crack like real wood. I used it for a bench, and after a year of use, it still looks brand new. It's a smart investment if you're looking for a long-lasting, West Elm-style piece.
Look for wood with a natural finish that allows the grain to show through. This gives your furniture a more refined look and makes it easier to apply a protective sealant.
Part of our Budget outdoor furniture refresh guide.
Designing Your Outdoor Furniture with West Elm Aesthetic in Mind
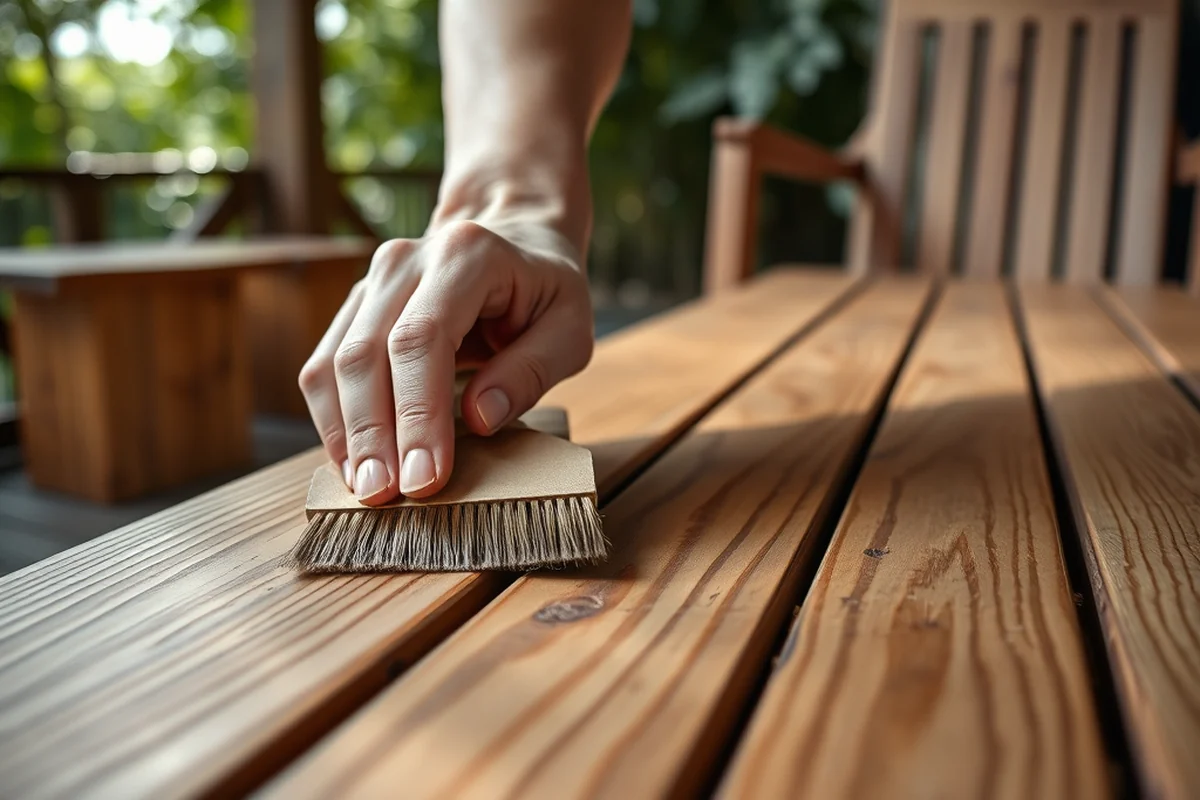
Design is where the West Elm aesthetic really shines. I started by sketching out my ideas on paper, making sure to keep the lines clean and the proportions balanced. I wanted my bench to look like it belonged in a high-end showroom, not a backyard.
I used a ruler and measuring tape to ensure that every joint was straight and that the pieces fit together perfectly. I learned that even the smallest detail can make a big difference in the final look. A slight misalignment can throw off the whole design.
I also paid close attention to the hardware. West Elm uses minimalist, modern fasteners, so I chose similar ones for my project. This simple detail added a level of sophistication that I hadn't anticipated.
Design is in the details — and the details are what make it look like West Elm.
Related: Outdoor restaurant patio furniture
Assembling Your Outdoor Furniture: A Step-by-Step Guide
I assembled my first bench using just a few basic tools: a hammer, screwdriver, and clamp. It took me about an hour and felt incredibly rewarding. I used a clamp to keep the pieces aligned while I attached the legs and supports.
I made sure to follow each step carefully, using the instructions as a guide. I noticed that the order in which I attached the parts made a big difference in how smoothly the process went. Starting with the frame and working my way out made the most sense.
I also took my time tightening each screw and making sure everything was secure. Rushing through the process led to a few issues, like loose joints, but taking it slowly helped me avoid those mistakes.
Before you start assembling, double-check all your measurements. Even a small error can throw off the entire structure and make it look unprofessional.
“There's something about the way West Elm outdoor furniture sits on a deck or porch, weathered by sun and wind, that feels like it's been…”— Patioreborn editors
Related: Pottery barn outdoor furniture
Finishing Touches: Painting and Sealing Your Outdoor Furniture
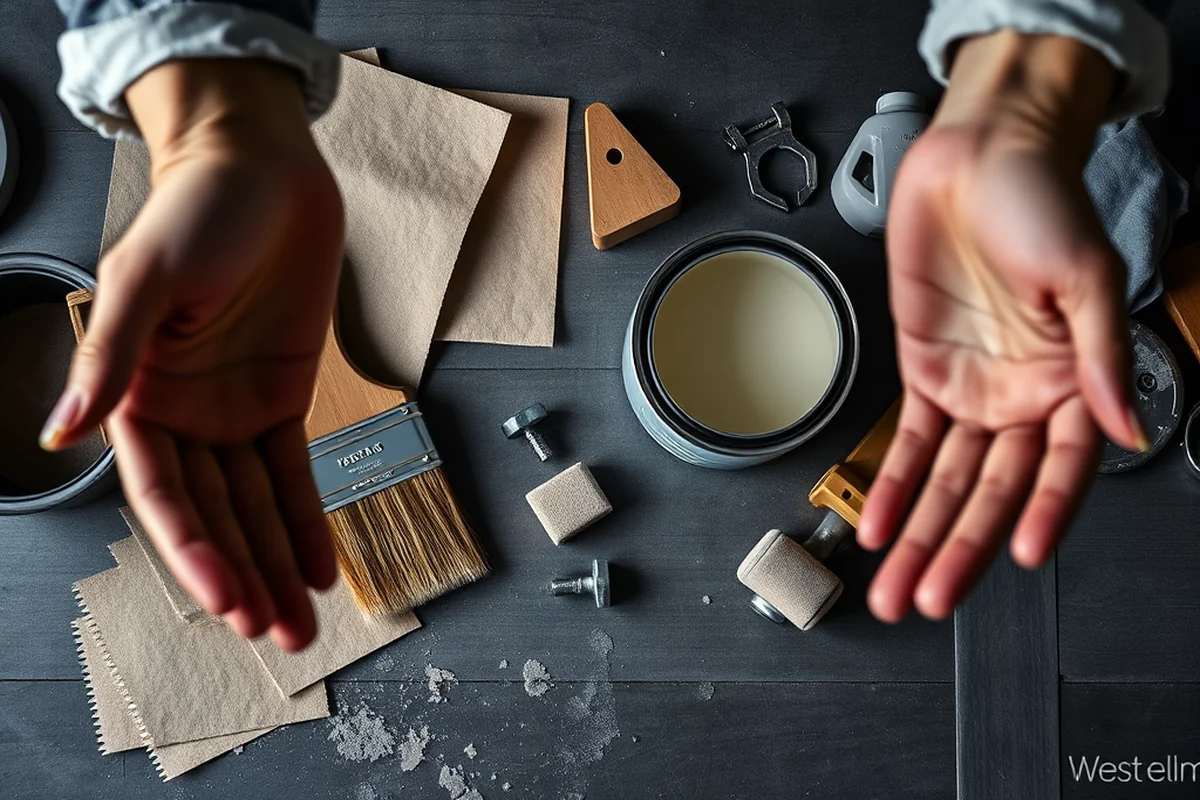
After assembling my bench, I moved on to painting. I used a weather-resistant paint that's designed for outdoor use. It took about two coats to get the right coverage and color. I made sure to let each coat dry completely before moving on to the next.
Once the paint was dry, I applied a clear sealant to protect it from rain and sun. This step was critical, as it helped the paint last longer and prevented peeling. I used a brush and applied the sealant evenly, making sure to cover every surface.
After the sealant dried, the bench looked brand new. It was smooth, even, and ready to use. I was surprised at how much the finishing steps changed the final appearance of the piece.
Related: Budget budget outdoor furniture refresh
Adding Comfort and Style with Upholstery and Cushions
I chose to add cushions to my bench to make it more comfortable. I used a weather-resistant fabric that's designed for outdoor use and paired it with a foam cushion. The result was a piece of furniture that was both functional and stylish.
I made sure the cushions were the right size to fit the bench perfectly. I used a sewing machine to attach the fabric to the foam and added some decorative stitching for a more refined look. It took a few hours, but the result was worth it.
I also added a throw pillow to the bench for extra comfort. It gave the piece a more finished look and made it feel more like a West Elm piece. I was impressed at how much a few simple additions could change the overall look.
Related: Budget outdoor furniture refresh checklist
Maintaining Your Outdoor Furniture for Longevity
I've learned that regular maintenance is key to keeping your furniture in good condition. I wipe down the bench with a damp cloth after each use to remove dirt and moisture. This helps prevent staining and damage over time.
I also make sure to reapply the sealant every few months, especially after heavy rain or sun exposure. This keeps the paint and wood protected and looking their best. I've noticed that the sealant starts to wear off after a while, so it's important to maintain it regularly.
I've also learned that avoiding direct sunlight for extended periods helps preserve the finish. I use a cover during the winter months to protect the bench from harsh weather. These small steps have made a big difference in how well the furniture holds up over time.
Maintenance is the key to longevity — don't skip it.
Related: Castelle outdoor furniture
Incorporating West Elm-Inspired Furniture into Your Outdoor Space
I styled my outdoor space with the bench and a few other pieces I made. I used a neutral color palette with pops of color for a more vibrant look. I added some plants and a few decorative items to make the space feel more inviting.
I made sure everything was arranged in a way that felt balanced and not too cluttered. I used a few small tables and chairs to create a more functional outdoor seating area. The result was a space that looked like it belonged in a West Elm showroom.
I also added some lighting to the space, which gave it a more finished look. The lighting helped create a warm and inviting atmosphere, especially in the evenings. It was a simple addition that made a big difference in the overall look of the space.
💰 Budget Build
Use affordable materials like composite wood and basic paint to create a West Elm-inspired piece without breaking the bank.
⏰ Weekend Version
Complete your West Elm outdoor furniture project in a single weekend with pre-cut materials and simple tools.
✨ Upgraded Finish
Enhance your furniture with high-quality paint and a professional-grade sealant for a more refined look.
🛋️ Small-Space Adaptation
Create a compact West Elm-style piece that fits perfectly in small outdoor spaces like balconies or patios.
🏠 Rental-Safe Option
Build a West Elm-inspired furniture piece that's easy to disassemble and move, ideal for rental properties.
| The mistake | Why it happens | The fix |
|---|---|---|
| Using the wrong type of paint | Regular paint won't hold up to the elements and will start to peel or fade after a few months. | Always use a weather-resistant paint and apply a clear sealant to protect the surface. |
| Skipping the sealant step | Without a sealant, the paint and wood can deteriorate quickly when exposed to rain or sun. | Apply a high-quality sealant after painting to protect the finish and extend the life of your furniture. |
| Not aligning the pieces correctly | Misaligned joints can make the furniture look unprofessional and may cause it to be unstable. | Use a clamp to keep the pieces aligned while you attach the parts and double-check your measurements before assembling. |
| Neglecting regular maintenance | Failing to maintain your furniture can lead to damage over time, making it look worn out and less functional. | Wipe it down regularly, reapply sealant every few months, and avoid leaving it in direct sunlight for extended periods. |
West Elm Outdoor Furniture
Common Questions
What type of wood is best for a West Elm-style outdoor furniture build?
Can I use regular paint for my outdoor furniture?
How long does it take to build a West Elm-style outdoor bench?
What tools do I need for this project?
References
- GAIN Report - USDA Foreign Agricultural Service (apps.fas.usda.gov)
- Effect of air heat treatment on the shrinkage and surface roughness ... (bioresources.cnr.ncsu.edu)
- 5th ANNUAL TOWN-WIDE YARD SALE THIS SATURDAY (bricknj.gov)
- Park Improvement Projects - Welcome to Brookfield (brookfieldil.gov)
Cite this guide
Patioreborn (2026). West Elm Outdoor Furniture. https://patioreborn.com/west-elm-outdoor-furniture/
Feel free to cite or share this guide.