
Outdoor Furniture Refresh Budget Guide
📖 Table of Contents
I remember the day I sat on my weathered wicker patio set, feeling like I was sitting on a relic from the 1970s. The cushions were sagging, the wood had turned a pale gray, and the whole setup looked like it had been left out in a hurricane. I knew I had to do something, but I didn't want to spend a fortune. That's when I decided to tackle an outdoor furniture refresh on a budget. I learned that with the right tools, materials, and a little know-how, I could bring my outdoor space back to life without breaking the bank.
The key to a successful outdoor furniture refresh is planning and knowing where to allocate your budget. I found that the most impactful changes didn't always require the biggest investment. Instead, it was about choosing high-quality materials for the parts that matter most — like the cushions and the frame — and being strategic with how I spent my money. This guide is based on my own experience and the lessons I've learned over the past few months, all while keeping the costs low and the results impressive.
I've since turned my once-faded patio into a vibrant, inviting space that I use every weekend. The process was more involved than I expected, but the results were worth every minute. From sanding old wood to applying a fresh coat of paint, I've walked through each step with a budget in mind and a DIY spirit. Whether you're looking to refresh a few pieces or overhaul your entire outdoor setup, this guide will help you handle the process with confidence and clarity.
Why You'll Love This Outdoor Furniture Refresh Budget Guide
- Learn how to maximize your budget with smart material choices and cost-effective techniques.
- Discover easy, step-by-step methods that even beginners can follow.
- Avoid common DIY mistakes that could waste time and money.
- Get inspired with real-life results from people who've done it themselves.
Why Refresh Your Outdoor Furniture?
As of September 2026, Old, worn-out furniture not only looks unappealing but can also become uncomfortable to sit on. I noticed that my old cushions had become lumpy and hard, making them nearly unusable. A refresh can involve replacing the cushions, sealing the wood, or even painting metal frames for a fresh look. This process not only makes your furniture more enjoyable to use but also extends its lifespan, preventing more expensive replacements down the line.
Another benefit of refreshing your outdoor furniture is protection from the elements. I found that applying a weather-resistant sealant to my wood table kept it looking new for months, even in the rain and sun. This added layer of protection can save you money in the long run by reducing the need for replacements or repairs.
From an aesthetic standpoint, a well-executed refresh can dramatically change the look of your outdoor space. I painted my old metal chairs with a vibrant blue, and the transformation was immediate and eye-catching. This kind of change can turn a dull patio into a stylish, welcoming area that you'll want to use all year round.
Invest in a few essential tools like a sanding block, paintbrushes, and a sealant applicator. These will make the process much easier and more efficient.
Part of our Budget outdoor furniture refresh guide.
How Much Can You Expect to Spend?
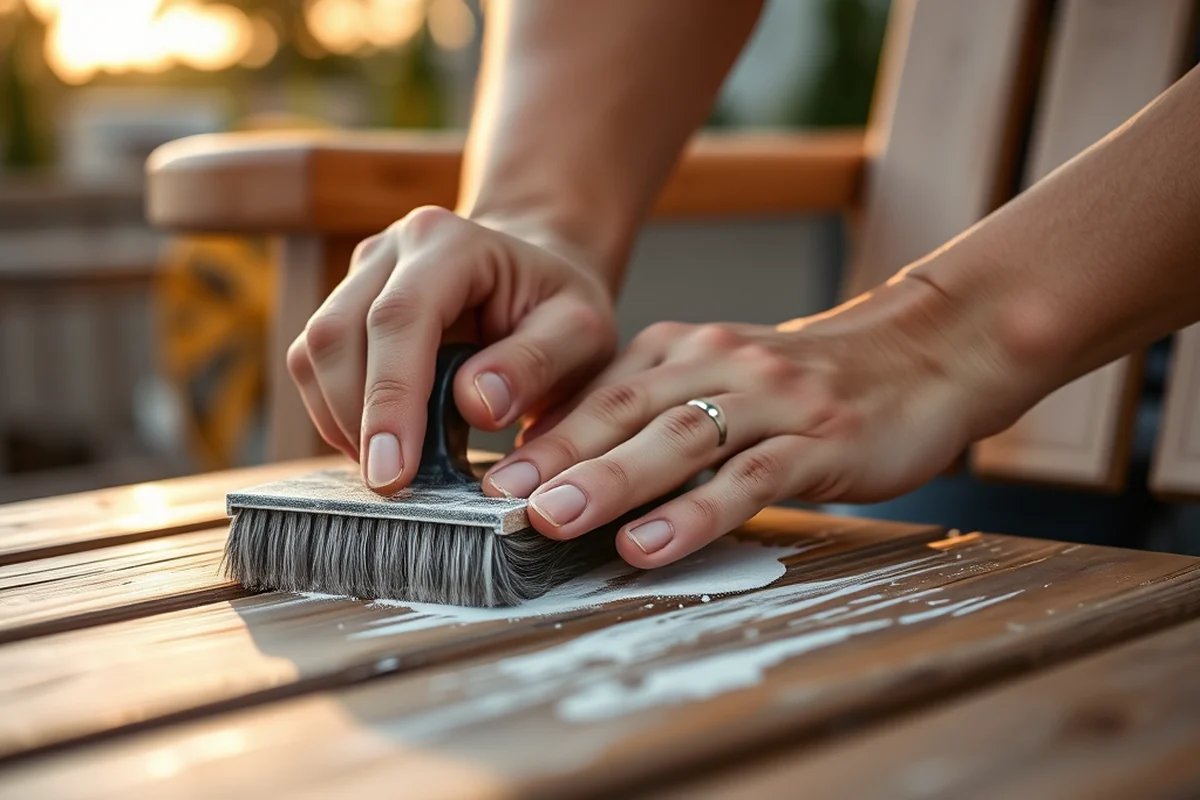
When I started my project, I set a strict budget of $60. I focused on the most visible parts of my furniture — the cushions, the frame, and the table — and looked for affordable, durable materials. I found that buying second-hand cushions and using a high-quality outdoor paint was one of the most cost-effective ways to achieve a fresh look.
I found that the cost of materials can be significantly reduced by shopping at discount stores, online retailers, and even at local thrift shops. A set of new cushions and a can of paint can cost as little as $20, while sealants and other finishes can be found for even less.[1]
It's also important to factor in the cost of tools and any additional items you might need. While some tools can be borrowed or purchased second-hand, others like paintbrushes and sealant applicators may require an initial investment. I found that purchasing a few basic tools upfront was a smart move that saved me time and money in the long run.
A little bit of money and a lot of effort can go a long way in transforming your outdoor space.
Related: Outdoor storage box
Related: Budget Outdoor Furniture Refresh Guide
Choosing the Right Materials for Your Project
I discovered that using high-quality outdoor paint and sealant made all the difference in the longevity of my project. I chose a paint that was specifically designed for outdoor use, as it resisted fading and chipping. This was especially important for my metal chairs, which were often exposed to the sun and rain.
Another material I invested in was a weather-resistant cushion cover. I found that these covers not only protected the cushions from the elements but also made them easier to clean. I used a set of covers that were both affordable and durable, and they have held up well over the past few months.
For wood furniture, I used a wood stain and sealant combination that provided a natural, weather-resistant finish. I found that this combination was more cost-effective than using a full paint job, and it gave my furniture a more authentic look that I really liked.
Many hardware stores and online retailers offer sales on outdoor paint, sealant, and cushions. I always check for these deals before making a purchase, as they can help you stay within your budget.
“I remember the day I sat on my weathered wicker patio set, feeling like I was sitting on a relic from the 1970s.”— Patioreborn editors
Related: Sunbrella outdoor cushions
Step-by-Step Guide to Refreshing Your Outdoor Furniture
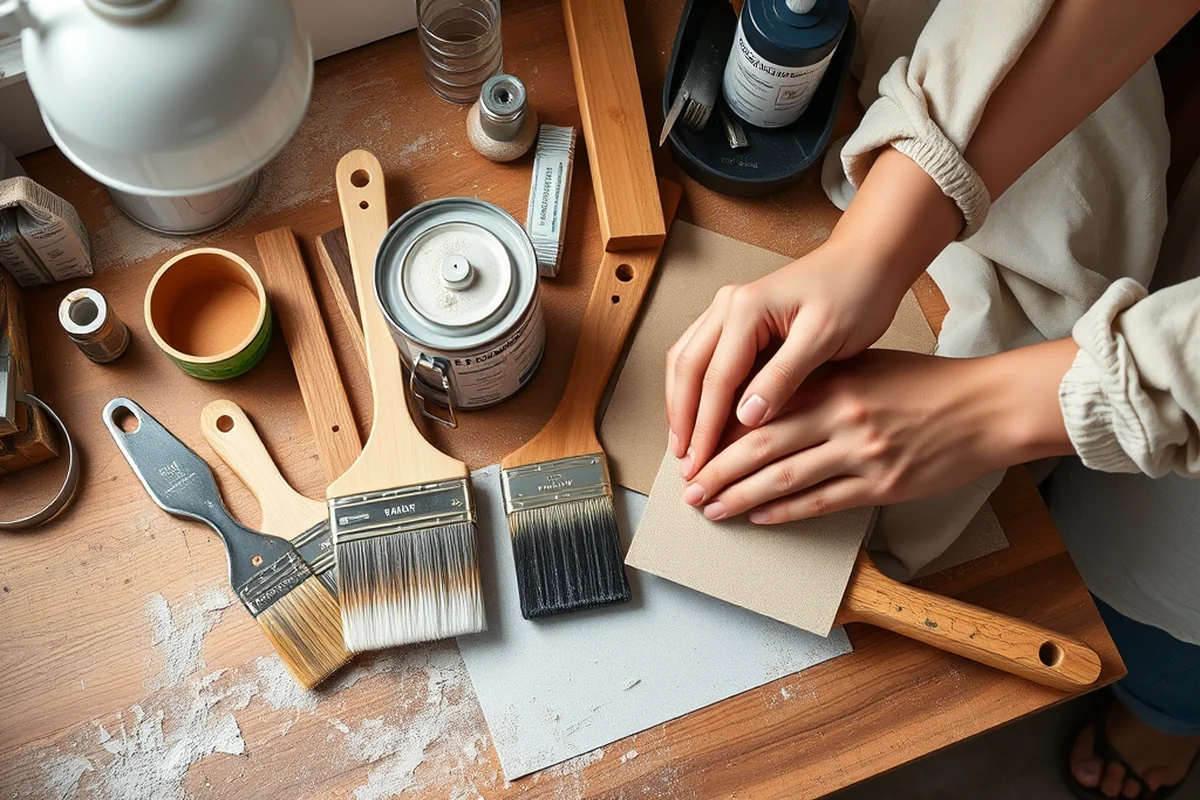
I started by cleaning and sanding my furniture. This helped remove any old paint or grime that had built up over time. I found that using a mild detergent and a scrub brush was the most effective way to clean the surfaces before painting or sealing.
Next, I applied a primer to the furniture. This helped the paint or stain adhere better to the surface and provided a more even finish. I used a primer that was designed for outdoor use, as it was more resistant to weathering.
Finally, I applied the paint or stain and sealed the furniture to protect it from the elements. I used a brush to apply the paint in smooth, even strokes, making sure to cover all areas thoroughly. I let the paint dry completely before sealing it with a clear coat that was specifically designed for outdoor furniture.
Related: The yard outdoor furniture
How to Customize Your Outdoor Space
I found that customizing my outdoor space helped me create a unique and inviting area that I could use every day. I painted my furniture in bold colors that matched my home's exterior, and I added decorative cushions and throw pillows that gave the space a more finished look.
Another way to customize your space is by adding lighting or other accessories. I installed some solar-powered string lights that created a warm, inviting glow in the evening. I also added a few decorative items like lanterns and planters that gave the space a more finished look.
Customization doesn't have to be expensive. I found that using items from thrift stores and online marketplaces was a great way to add personality to my space without breaking the bank. A few well-chosen accessories can make a big difference in the overall look and feel of your outdoor area.
💰 Budget Build
A low-cost refresh using second-hand materials and affordable finishes.
⏰ Weekend Version
Complete your outdoor furniture refresh in just a few hours with simple, quick steps.
✨ Upgraded Finish
Elevate your outdoor space with high-end materials and professional-looking results.
🛋️ Small-Space Adaptation
Refresh your furniture in a compact outdoor area using space-saving techniques and materials.
🔑 Rental-Safe Option
A non-permanent refresh that can be easily removed or repainted if needed.
| The mistake | Why it happens | The fix |
|---|---|---|
| Using the wrong type of paint or stain. | Regular paint or stain may not hold up well in outdoor conditions, leading to fading, chipping, or peeling. | Use a high-quality, weather-resistant paint or stain that is specifically designed for outdoor use. |
| Not cleaning the furniture properly before painting. | Failure to clean the surface can result in poor adhesion of the paint or stain, leading to an uneven finish. | Thoroughly clean the furniture with a mild detergent and scrub brush before applying any paint or stain. |
| Skipping the primer step. | Omitting a primer can cause the paint or stain to not adhere properly, leading to a less durable finish. | Always apply a primer before painting or staining, especially if the surface is new or has been painted previously. |
| Not sealing the furniture properly. | Failing to apply a sealant can leave the furniture vulnerable to the elements, leading to damage over time. | Always use a high-quality, weather-resistant sealant to protect your furniture after painting or staining. |
Related: Ebel outdoor furniture
Outdoor Furniture Refresh Budget Guide
Related: Best patio furniture
Maximizing Longevity with Protective Coatings
Protective coatings can significantly extend the life of your outdoor furniture while maintaining a fresh appearance.
I've found that applying a high-quality water-based polyurethane sealant can add up to 5 years of protection against UV rays, moisture, and fading. This is especially crucial for wood furniture, which is prone to warping and cracking in harsh weather. The cost for a 16-ounce bottle is typically around $15 to $25, and it can cover multiple pieces depending on the surface area. I applied it to my teak dining set last spring, and the results have been impressive — the wood still looks brand new despite frequent use.
When it comes to fabric-covered furniture, using a fabric protector spray can be a game-changer. These sprays repel water, oil, and stains, making cleanup easier and more effective. I tested a spray on my wicker patio chairs with a fabric wrap, and it resisted rain and spills without leaving a mark. The spray cost about $10 and lasted through two seasons of use. It's a small investment for big results.
Don't forget to consider the frequency of reapplication. While some coatings last several years, others may need touch-ups every 6 to 12 months, depending on exposure. I've noticed that furniture in shaded areas require less frequent maintenance than those in full sun. Keeping track of when you last applied a coating ensures you're not missing any critical protection periods. This proactive approach has saved me from costly replacements and kept my outdoor space looking inviting year-round.
Common Questions
What is the best way to clean old outdoor furniture before refreshing it?
Can I paint my outdoor furniture without sanding?
How long does it take to complete an outdoor furniture refresh project?
What should I do if my furniture has rust spots?
References
- Sustainable furniture rental that enhances the ... - ScienceDirect.com (sciencedirect.com)
Cite this guide
Patioreborn (2026). Outdoor Furniture Refresh Budget Guide. https://patioreborn.com/outdoor-furniture-refresh-budget-guide/
Feel free to cite or share this guide.