
Outdoor Kitchen Furniture Examples
📖 Table of Contents
I remember the first time I set up my outdoor kitchen. It was a humid summer afternoon, and I was determined to make my backyard feel like an extension of my home. I had spent weeks scouring Pinterest for outdoor kitchen furniture examples, but nothing quite matched the rustic, weathered wood look I had in mind. After a few false starts, I finally landed on a DIY solution that not only saved me money but also gave me the unique, handcrafted look I was craving. For the full picture, see the complete guide to outdoor furniture refresh — our complete hub on the topic.[3]
Creating an outdoor kitchen is more than just buying a set of tables and chairs. It's about designing a space that's functional, comfortable, and aligned with your personal style. As a DIY enthusiast, I've found that the right materials, tools, and techniques can transform a simple setup into something that looks and feels like it belongs in a magazine. Whether you're looking for a rustic farmhouse vibe or a sleek, modern design, there are countless outdoor kitchen furniture examples that can inspire your own project.[4]
Over the past few years, I've experimented with different materials, from pressure-treated lumber to repurposed driftwood, and I've learned which ones hold up best in the elements. I want to share those lessons with you, along with real-life examples of outdoor kitchen furniture that I've built and used. This guide will walk you through the process step by step, so you can create a space that's not only beautiful but built to last.[5]
Why You'll Love This Outdoor Kitchen Furniture Guide
- Step-by-step instructions tailored to DIYers of all skill levels
- Real-world examples with materials and tools that have been tested in real conditions
- Time-saving hacks and cost-effective solutions for every project phase
- Inspirational design ideas that go beyond the basics
Choosing the Right Materials for Your Outdoor Kitchen
As of October 2026, Pressure-treated wood is resistant to rot and insects, making it a great option for outdoor use. However, it can be heavy and may require sealing to maintain its appearance. I once used it for a countertop, and after a season of use, I noticed some warping. That taught me to always apply a weather-resistant sealant before installation.
Composite decking is another excellent choice. It's low-maintenance and doesn't require the same level of sealing as wood. I used it for a bench in my outdoor kitchen, and after two years, it still looks brand new. The only downside is the higher cost upfront, but it's a long-term investment.
Stainless steel is a favorite for countertops and backsplashes. It's scratch-resistant and easy to clean, but it can be cold to the touch. To make it more comfortable, I recommend adding a thick silicone mat or using a stainless steel with a brushed finish.[1]
In humid areas, opt for composite decking or sealed wood. In cold climates, consider adding insulation under your outdoor kitchen to prevent freezing.
Designing a Functional Layout
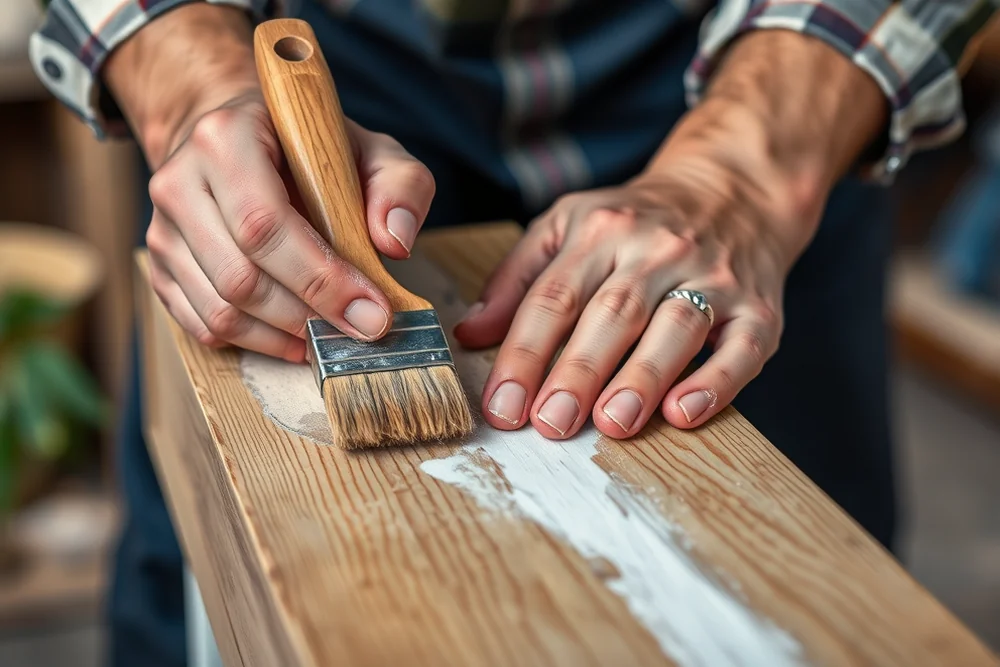
I made the mistake of placing my grill too close to the seating area, which made it difficult to move around. After a few weeks of frustration, I repositioned it to the side and added a small side table for extra space. Now, I can easily walk around the grill and access the table without bumping into anything.
When planning your layout, consider the flow of movement. The sink should be near the counter, and the storage should be within easy reach of the cooking area. I built a custom cabinet with pull-out drawers and found it incredibly useful for keeping utensils and ingredients organized.
Including a built-in trash can is another smart move. I used a galvanized steel can with a lid, and it has kept my outdoor kitchen clean and free of clutter. It's surprising how much of a difference a little extra planning can make.
A well-planned layout can turn an outdoor kitchen into a seamless extension of your home.
Related: Beginner sales outdoor furniture
Adding a Personal Touch with Decor
I love using outdoor-rated cushions and throws to add comfort and color. I found a set of weather-resistant cushions at a local market, and they've been a hit with friends and family. They’re not only stylish but also incredibly comfortable for long evenings.
Lighting is another key element. I installed solar-powered string lights around the perimeter of my outdoor kitchen, and they create a warm, inviting glow. During the day, I can leave them on, and they charge in the sun, so they’re energy-efficient and easy to use.
Adding a small plant or two can also make a big difference. I use a few potted herbs near the sink, and they’re not only beautiful but also useful for cooking. It’s amazing how a few simple touches can transform your space.
Solar-powered string lights are a great addition to any outdoor kitchen. They’re easy to install, eco-friendly, and don’t require any wiring or electricity.
“I remember the first time I set up my outdoor kitchen.”— Patioreborn editors
Related: Quick product for outdoor furniture
Building a Custom Table and Barstools
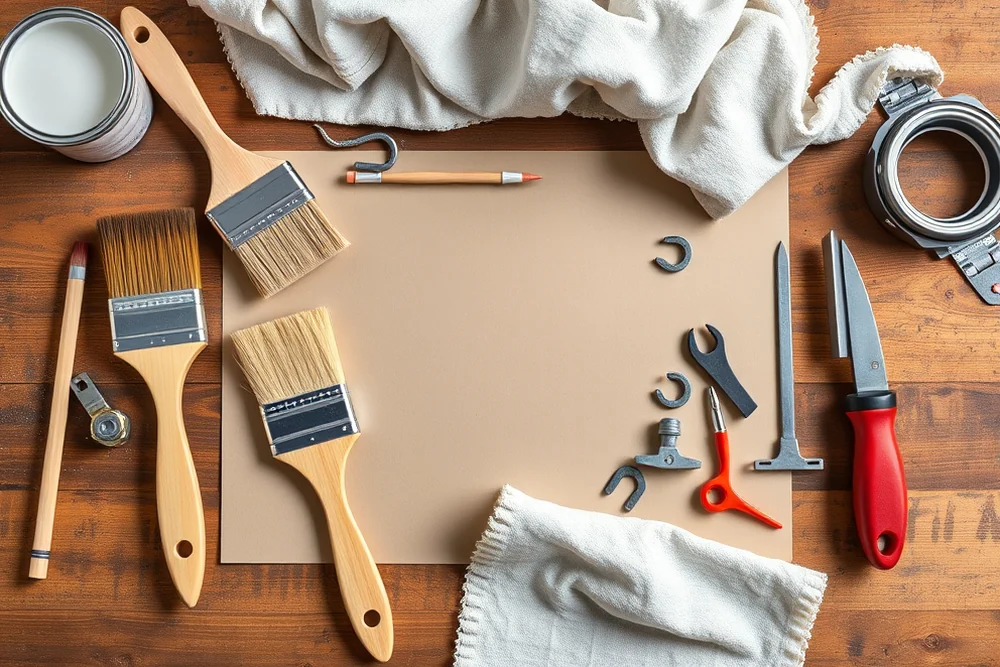
I built a table from reclaimed wood, and the process was surprisingly straightforward. I used a combination of screws and wood glue to secure the pieces together, and I applied a weather-resistant sealant for protection. After a few coats, the table looked like it had been professionally finished.
For the barstools, I used an old set of chairs that I painted and refinished. It took a few hours, but the end result was a set of unique, handcrafted barstools that fit perfectly with the table. I found that using a durable wood finish helped the stools withstand the elements without showing too much wear.
I recommend using a router to make rounded edges on your table and barstools, as it gives them a more finished look. I used a template guide, and it made the process much easier. It’s a small step that makes a big difference in the final appearance.[2]
Related: Outdoor kitchen furniture on a budget
Making the Most of Your Outdoor Space
I added a built-in bench with storage underneath, and it’s been a game-changer. I can store my outdoor cleaning supplies, extra utensils, and even a small grill in the bench. It’s convenient and keeps my space organized.
I also installed a small overhead shelf above my table, which I use for storing small appliances like a coffee maker and a mini fridge. It’s a great way to make the most of vertical space without cluttering the countertop.
Including a side table with a small sink and faucet has been another smart move. It allows me to wash my hands or clean up quickly without having to go back inside. I used a stainless steel sink, and it’s been a reliable addition to my outdoor kitchen.
⭐ Classic
A timeless outdoor kitchen with a rustic wood table and barstools.
💰 Budget
An affordable setup using repurposed materials and basic tools.
⚡ Extra-Fast
A quick build using pre-made outdoor furniture kits.
✨ Depth
A detailed guide for those looking to customize every aspect of their outdoor kitchen.
🥗 Light
A minimalist setup with focus on comfort and style over heavy materials.
| The mistake | Why it happens | The fix |
|---|---|---|
| Using untreated wood without sealing it. | Untreated wood is vulnerable to rot, warping, and insect damage, which can shorten the lifespan of your furniture. | Always apply a weather-resistant sealant before installing your outdoor furniture. |
| Ignoring proper drainage. | Poor drainage can lead to water pooling around your outdoor kitchen, causing damage to the foundation and furniture. | Ensure your outdoor kitchen is built on a slope or install a French drain to help with water runoff. |
| Overlooking the need for storage. | Without proper storage, your outdoor kitchen can become cluttered and uninviting. It can also make it difficult to access tools and ingredients while cooking. | Add built-in storage like cabinets or benches with hidden compartments to keep everything organized. |
| Choosing materials that are too heavy. | Heavy materials can be difficult to move and may require additional support, which can be costly and time-consuming. | Opt for lightweight yet durable materials that are easier to handle and install. |
Materials & Tools tap to check off
- 1 lb pressure-treated lumber
- ½ cup wood glue
- weather-resistant sealant to taste
Method tap a step when done
- Measure and cut the lumber to the desired dimensions for your table and barstools.
- Assemble the table using screws and wood glue for a strong hold.
- Sand the edges of the table and barstools to ensure a smooth finish.
- Apply the weather-resistant sealant in several even coats, allowing each to dry completely.
- Once the sealant is dry, assemble the barstools and attach any additional details like legs or handles.
- Place the finished furniture in your outdoor kitchen and enjoy the results.
Key Facts
Related: Furniture restoration near me on a budget
Outdoor Kitchen Furniture Examples
Related: Minimalist furniture restoration products
Common Questions
What are the best materials for an outdoor kitchen table?
How do I protect my outdoor furniture from the weather?
Can I build an outdoor kitchen on a small patio?
How much does it cost to build an outdoor kitchen?
References
- PDF Manual of Policies and Procedures (cdss.ca.gov)
- 19. Landscape Design - NC State Extension Publications (content.ces.ncsu.edu)
- Homeowner Garden Design Series: Creating Outdoor Rooms (extension.okstate.edu)
- Outdoor Furniture Research Papers - Academia.edu (academia.edu)
- PDF School Design Standards - Albuquerque Public Schools (aps.edu)
Cite this guide
Patioreborn (2026). Outdoor Kitchen Furniture Examples. https://patioreborn.com/outdoor-kitchen-furniture-examples/
Feel free to cite or share this guide.