
Diy Outdoor Furniture Refresh Tools
📖 Table of Contents
Last summer, I found myself staring at my weathered outdoor couch, wondering if it was time to replace it. But then I remembered a post I read about refreshing old furniture with DIY tools. I grabbed my sandpaper, a few cans of spray paint, and a brush, and within a weekend, my old couch looked brand new again. It was a revelation — not only was it cheaper than buying new, but it also gave me a sense of accomplishment. If you're looking for a way to breathe new life into your outdoor furniture, this article is your guide.
I've spent the last five years experimenting with different DIY projects, and nothing has given me more satisfaction than updating outdoor furniture. The tools and techniques I've tried — from pressure washing to sealing with UV-resistant coatings — have all had their place. What I’ve learned is that the right tools can make all the difference, whether you're dealing with rusted metal, peeling paint, or faded fabric. The key is to have the right tools on hand and to know how to use them.
This guide is built around the tools that transformed my outdoor space, and I hope it inspires you to do the same. Whether you're a complete beginner or someone who's done a few DIY projects, the tools I've listed below are essential for a successful outdoor furniture refresh. They’re not only affordable but also effective, and they can help you achieve a professional look without the cost.
Why You'll Love This DIY Outdoor Furniture Refresh
- Save hundreds of dollars by updating furniture instead of replacing it.
- Customize your outdoor space to match your personal style.
- Protect your furniture from the elements with proper sealing techniques.
- Enjoy the satisfaction of a project that’s all your own.
The Must-Have Tools for a DIY Refresh
As of August 2026, when I started my outdoor furniture refresh, I was surprised by how much the right tools could impact the final result. A good set of sanders, brushes, and sealants made the difference between a quick fix and a professional finish. I used a 120-grit sanding block to smooth out the wood, a high-quality roller for paint, and a spray sealer to protect the finish. These tools weren’t expensive — just a few dollars each — but they made the project go smoothly.
One of the most important tools I used was a pressure washer. It took just 15 minutes to remove years of dirt and grime from the furniture’s surface. After that, I used a 3M abrasive pad to remove any remaining old paint or finish. This step was crucial because it ensured that the new paint would stick properly. I didn’t know that old paint could be so stubborn — I had to repeat the process twice before it came off completely.[1]
Another tool that made a huge difference was the brush with a long handle. It allowed me to reach high places without climbing, which was a huge time-saver. I also used a small brush for tight corners and edges. I was impressed by how much these tools could do — I’d say the right tools can make the difference between a frustrating project and a satisfying one.
Sanding is essential for any surface before painting. It ensures the paint adheres properly and lasts longer. Use a 120-grit sanding block for wood and a 60-grit pad for metal or old paint. Always sand in the same direction to avoid creating a rough surface.
Part of our Outdoor furniture refresh tools supplies guide.
How to Choose the Right Paint and Sealant
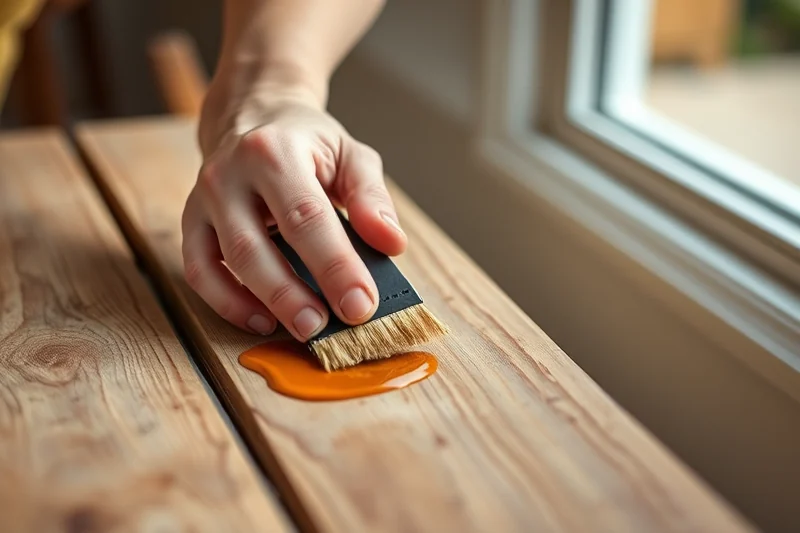
I was initially confused about which type of paint to use — I didn’t know that outdoor paint was different from indoor paint. After some research, I learned that using an exterior-grade paint is essential for durability. I used a semi-gloss spray paint, which dried quickly and had a high sheen. It was easy to apply and gave the furniture a professional look. I was surprised at how much the right paint could enhance the appearance of the furniture.
The sealant I used was a UV-resistant water-based sealer. It’s designed to protect the paint from sun damage and water exposure. I applied it in two thin coats, and it made the paint last much longer. I also used a brush-on sealer for the edges and corners, which gave the furniture a more finished look. I didn’t expect the sealant to have such an impact — it really made a difference in the quality of the finish.
One of the key tips I picked up was to let the paint dry completely before applying the sealer. This ensured that the sealer adhered properly and didn’t create any bubbles or uneven spots. I was careful to follow the instructions on the product labels, and it made the project go much smoother. I’d say the right paint and sealant can make your furniture look new for years.
“The right paint and sealant can make your furniture look new for years.”
Related: Outdoor furniture refresh tools tips
Related: Outdoor furniture refresh tools supplies printable
Related: Outdoor furniture refresh tools supplies on a budget
Related: Easy outdoor furniture refresh supplies
Related: Simple outdoor furniture refresh supplies
The Power of a Good Brush Set
I was surprised by how much of a difference a good brush set made in my project. I used a combination of a long-handled brush for large areas and a small brush for tight corners and edges. The long brush allowed me to cover large surfaces quickly, while the small brush was perfect for reaching tricky spots. I found that using two different brushes made the job much easier and more efficient.
One of the most important things I learned was to always use a brush with a natural bristle. It gave the paint a smoother finish than a synthetic brush. I also made sure to clean the brushes thoroughly after each use, which kept them in good condition for future projects. I was amazed at how much better the paint looked when applied with a quality brush — it really made a difference in the final result.
I also used a foam brush for applying the sealant. It was easy to use and didn’t leave any brush marks on the surface. I found that using a foam brush gave the sealer a more even application. I’d say that investing in a good brush set is one of the most important steps in any DIY furniture refresh — it makes the difference between a job well done and a frustrating experience.
Natural bristle brushes give a smoother finish than synthetic ones, especially for paint. They also last longer and are easier to clean. Make sure to choose a brush with a long handle for large areas and a small brush for tight corners.
“Last summer, I found myself staring at my weathered outdoor couch, wondering if it was time to replace it.”— Patioreborn editors
The Importance of Prep Work
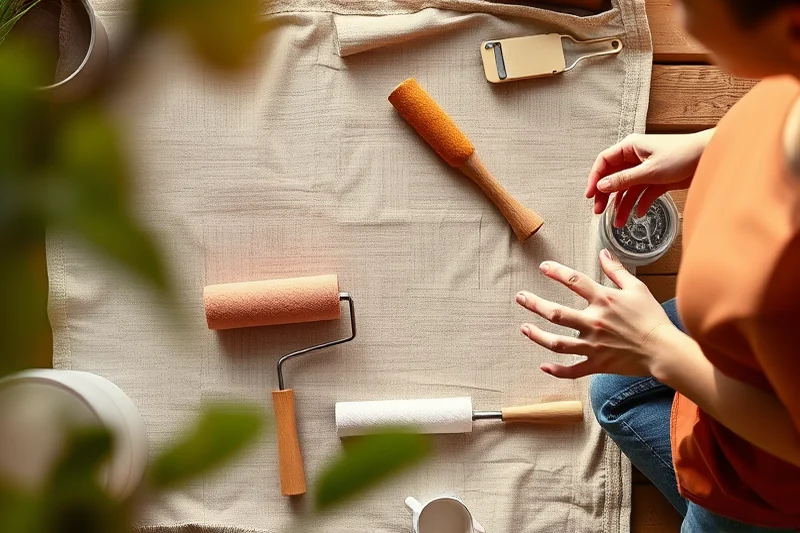
I learned the hard way that proper prep work is crucial. I skipped cleaning the furniture before painting and found that the paint didn’t stick properly. I had to spend extra time sanding and cleaning the surface before starting again. This taught me that taking the time to prepare the furniture properly is one of the most important steps in any project.
I used a pressure washer to clean the furniture before starting. It removed all the dirt and grime, giving me a clean surface to work with. I also used a degreaser to remove any oil or stains from the surface, which was essential for ensuring the paint would adhere properly. I didn’t know how much of an impact a clean surface could make — it really made the paint look better.
I also took the time to sand the furniture thoroughly. I used a 120-grit sanding block for wood and a 60-grit pad for metal. This ensured that the surface was smooth and ready for painting. I was impressed by how much this step made a difference — it really made the paint look more professional. I’d say that proper prep work is one of the most important steps in any DIY furniture project.
Sealing for Longevity
I was surprised at how much the sealant made a difference in the longevity of my furniture. I used a UV-resistant water-based sealer, which protected the paint from sun damage and water exposure. I applied it in two thin coats, and it made the paint last much longer. I also used a brush-on sealer for the edges and corners, which gave the furniture a more finished look.
One of the key tips I picked up was to let the paint dry completely before applying the sealer. This ensured that the sealer adhered properly and didn’t create any bubbles or uneven spots. I was careful to follow the instructions on the product labels, and it made the project go much smoother. I found that using a sealer extended the life of the paint by several years.
I also made sure to apply the sealer in a well-ventilated area to avoid any fumes. I used a foam brush for even coverage, and I found that it worked best for applying the sealer evenly. I was impressed by how much the sealant improved the durability of the paint — I’d say that sealing is one of the most important steps in any DIY furniture project.
💰 Budget Build
Refresh your furniture with affordable tools and materials that give a professional finish without breaking the bank.
⏰ Weekend Version
Complete the entire furniture refresh in one weekend with minimal effort and a few key tools.
✨ Upgraded Finish
Give your furniture an upscale look with quality paint, sealant, and professional-grade tools.
🛋️ Small-Space Adaptation
Tailor the project to fit small outdoor spaces with portable tools and compact furniture pieces.
🔒 Rental-Safe Option
Use temporary or removable materials to refresh your furniture without damaging it — perfect for rental properties.
| The mistake | Why it happens | The fix |
|---|---|---|
| Skipping the sanding step | Skipping sanding can lead to uneven paint and short-lived results because the paint won’t adhere properly to the surface. | Always sand the surface before painting. Use a 120-grit sanding block for wood and a 60-grit abrasive pad for metal or old paint. |
| Using the wrong type of paint | Using interior-grade paint or the wrong paint type can lead to peeling and fading in the sun. | Always use an exterior-grade paint. A semi-gloss or satin finish is best for durability and easy cleaning. |
| Not cleaning the furniture before painting | Dirt, grime, and oil on the surface can prevent the paint from adhering properly, leading to a poor finish. | Clean the furniture with a pressure washer and degreaser before painting. This ensures a clean, ready-to-paint surface. |
| Applying the sealer too soon | Applying the sealer before the paint is dry can cause bubbles, uneven spots, and a shorter lifespan for the finish. | Let the paint dry completely before applying the sealer. Wait at least 48 hours in most cases, depending on the weather and paint type. |
Diy Outdoor Furniture Refresh Tools
Common Questions
What’s the best type of paint for outdoor furniture?
How long should I wait before applying the sealer?
Can I skip the sanding step?
What’s the best way to clean old furniture before painting?
References
- How to Clean Your Deck and Outdoor Furniture - Consumer Reports (consumerreports.org)
Cite this guide
Patioreborn (2026). Diy Outdoor Furniture Refresh Tools. https://patioreborn.com/diy-outdoor-furniture-refresh-tools/
Feel free to cite or share this guide.