
Quick Outdoor Furniture Refresh Mistakes Fixes
📖 Table of Contents
Last summer, I spent hours scrubbing a chaise lounge that had turned into a moldy, stained eyesore. I thought I was saving money by doing it myself, but I ended up with a piece of furniture that looked worse than before. That moment made me realize: quick outdoor furniture refreshes are tricky, and the wrong approach can waste both time and effort. I’ve since learned that avoiding common mistakes is the key to a fast, effective refresh that actually looks good and lasts. This article walks you through the most common DIY missteps and how to fix them so you can transform your outdoor space without the frustration.
As a DIY enthusiast who spends more time in my backyard than my living room, I’ve tried every method imaginable for reviving worn-out outdoor furniture. From using the wrong cleaning products to rushing the process, I’ve made every mistake in the book. But over time, I’ve refined a set of techniques that not only make the job easier but also help you achieve a professional-looking result with minimal effort. It’s not just about looking good; it’s about making sure your furniture is protected from the elements and ready to last through the seasons.
This article is for anyone looking to do a quick outdoor furniture refresh without the hassle of a full-scale renovation. Whether you're dealing with a stained wicker chair, a faded wooden table, or a fabric cushion that’s lost its shape, I’ve got practical, step-by-step advice to help you get it right. The goal isn’t just to clean — it’s to refresh, restore, and protect your furniture so it looks great and stays that way for years to come.
Why You'll Love This Quick Outdoor Furniture Refresh Guide
- Avoid common DIY mistakes that lead to wasted time and money.
- Use affordable, effective products that deliver long-lasting results.
- Finish your project in under a weekend with easy, step-by-step methods.
- Protect your furniture from the elements with professional-grade techniques.
Why Your Cleaning Products Are Hurting Your Furniture
As of October 2026, one of the most common mistakes I've seen is using harsh chemical cleaners on delicate materials like wicker or fabric. These products can strip the finish, cause discoloration, or even break down the fibers over time. For example, I once used a commercial cleaner on a fabric cushion, and within a week, the fabric began to pill and felt rough to the touch.
The fix is to use gentle, pH-neutral cleaners that are safe for the specific material you're working on. For fabric, I recommend using a mild soap like dishwashing liquid mixed with water. For wicker, a solution of vinegar and water works wonders without damaging the fibers. Always spot test first to ensure it's safe.[1]
Investing in the right cleaner can make all the difference. I've noticed a significant improvement in the longevity of my furniture after switching to these products, and the results look much more professional.
Always check the manufacturer's recommendations for cleaning products. Never assume a product is safe for all surfaces — test first, then proceed.
Part of our Outdoor furniture refresh mistakes fixes guide.
The Dangers of Skipping the Sanding Step
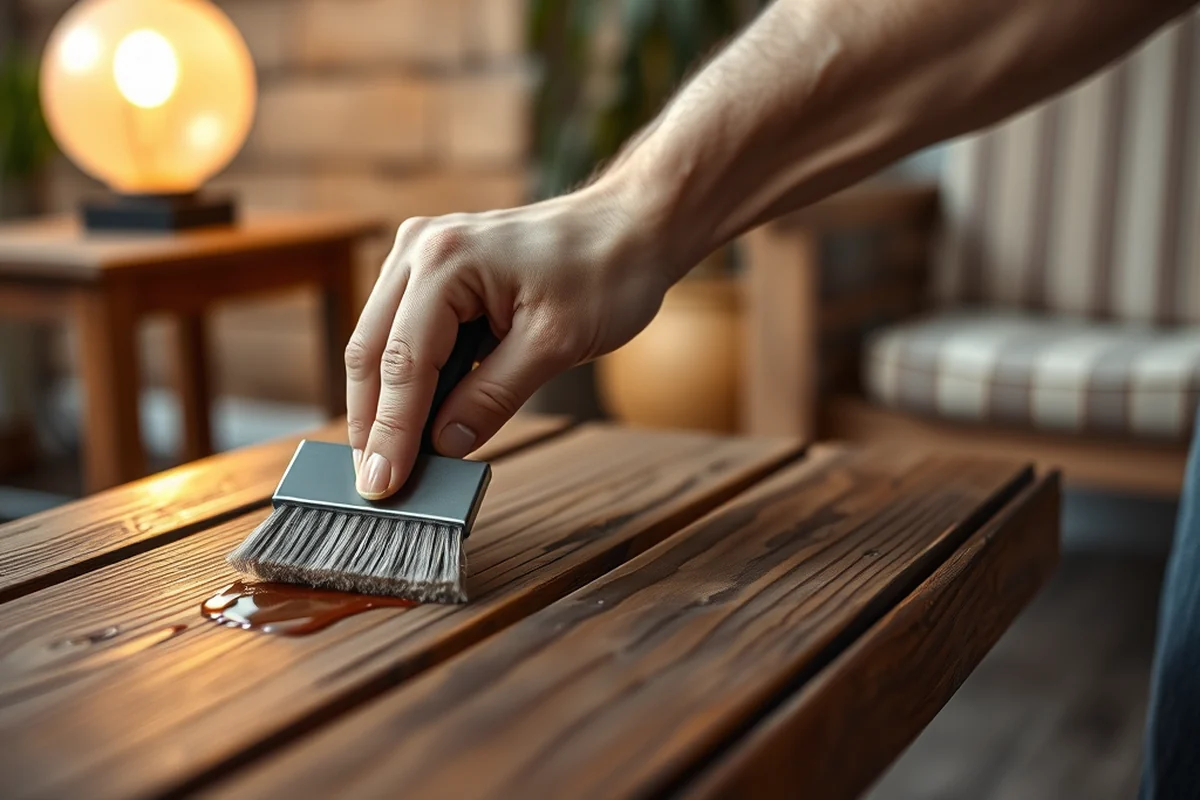
I once tried to refresh a wooden table without sanding, thinking that a quick wipe down would be enough. The result was a patchy, uneven finish that looked like it had been applied by someone with no experience. The surface was still rough in places, making the new paint or stain look uneven and unprofessional.
Sanding is a crucial step that removes old finishes, dirt, and imperfections. I now use a fine-grit sandpaper (around 120 grit) for most surfaces. It’s quick, takes only about 10 minutes, and makes a huge difference in the final look.[2]
After sanding, I always wipe the surface with a damp cloth to remove any dust before moving on. It’s a small step, but it pays off in the end.
A few minutes of sanding can make the difference between a quick fix and a lasting finish.
Related: Furniture restoration and repair
Overlooking the Importance of a Primer
One of the biggest mistakes I made in my early DIY attempts was skipping the primer step. I thought applying paint directly to the wood would be enough, but the paint flaked off within a few weeks, especially during rain. The wood wasn’t properly prepared, and the paint didn’t stick.
A primer creates a smooth, even base for your paint or stain, and it also helps protect the wood from moisture. I now use a water-based primer specifically designed for outdoor use. It’s quick to apply and dries in about an hour.
After using a primer, I’ve seen a noticeable difference in how long the finish lasts. My furniture now looks like it just came out of a showroom, and it’s survived several harsh summers without peeling or flaking.
A quality primer is worth the investment. It helps your finish adhere better and lasts significantly longer in the elements.
“Last summer, I spent hours scrubbing a chaise lounge that had turned into a moldy, stained eyesore.”— Patioreborn editors
Related: How to outdoor furniture refresh mistakes
Rushing the Drying Process Can Ruin Your Work
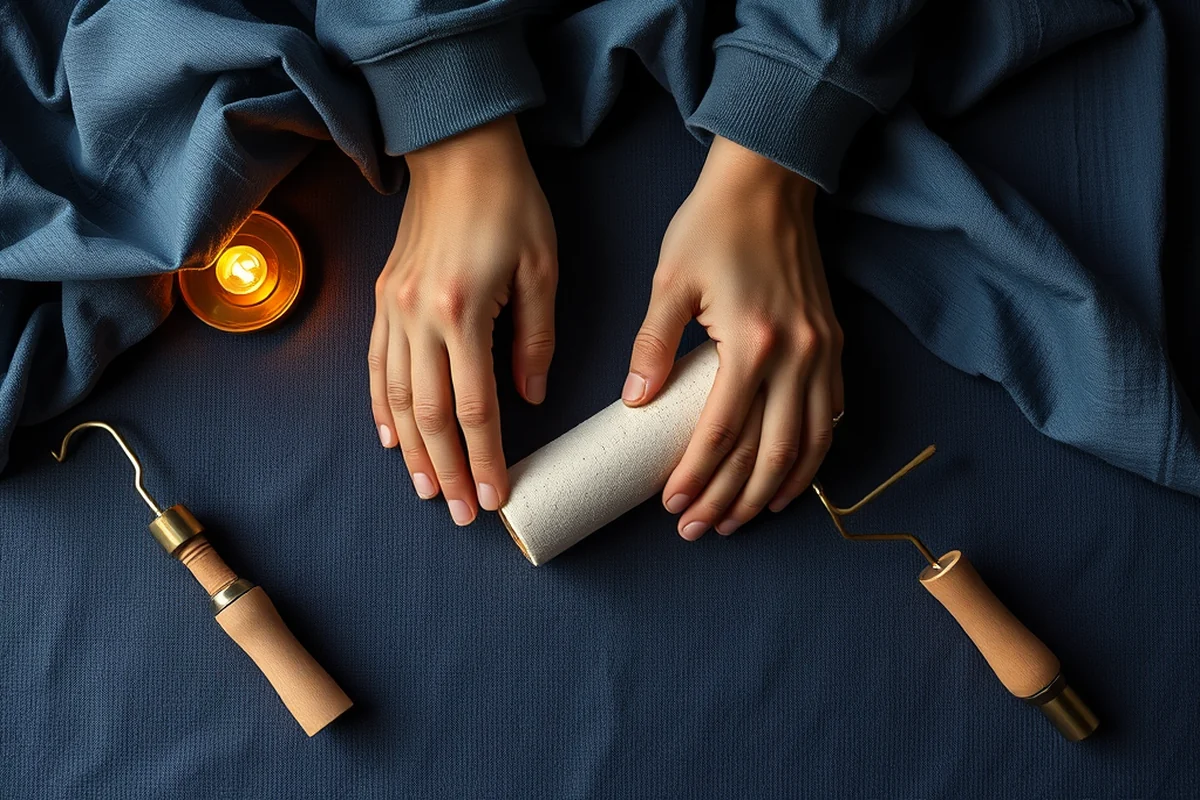
In my early DIY days, I was eager to move on to the next step after painting or applying a sealant, only to find that the finish had not dried properly. The paint was still wet, and I ended up smudging it with my hands, ruining the entire look.
Patience is key here. Most water-based paints and sealants require at least 2 to 4 hours to dry completely. If you’re working in a humid environment, you might need to wait even longer. I’ve learned to leave the furniture undisturbed for the full recommended drying time to avoid any issues.[3]
Taking the time to let everything dry properly makes a world of difference. I’ve noticed that my furniture now has a much smoother, more even finish, and it’s less prone to peeling or cracking over time.
Related: Outdoor furniture refresh mistakes tips
Underestimating the Power of a Protective Sealant
For years, I overlooked the importance of a sealant, thinking that a paint or stain alone would be enough to protect my furniture. But after a few harsh winters, I noticed that the paint had faded and cracked in places, especially on the parts that got the most sun.
A good sealant acts like a shield, keeping your finish safe from UV damage and moisture. I now use a water-based polyurethane or a UV-resistant sealant. It’s easy to apply and adds an extra layer of protection that I didn’t have before.
Since I started using a sealant, my furniture has lasted longer and looked better over time. It’s a small step, but it makes a big difference in the overall durability and appearance.
💰 Budget Build
Use affordable materials like store-bought paint, mild soap, and a few basic tools for a quick, cost-effective refresh.
⏰ Weekend Version
Complete the entire refresh in one weekend with a few hours of focused work and minimal setup.
✨ Upgraded Finish
Invest in a high-quality paint and sealant for a professional-looking finish that lasts through multiple seasons.
🛋️ Small-Space Adaptation
Tailor the process to fit small spaces by using portable tools and focusing on one piece at a time.
🔒 Rental-Safe Option
Choose non-permanent finishes and avoid any products that could damage the rental property or leave residue.
| The mistake | Why it happens | The fix |
|---|---|---|
| Using the wrong cleaner on delicate materials | Harsh chemicals can damage the fibers or finish, leading to discoloration or breakdown. | Always use a pH-neutral cleaner that’s safe for the specific material you’re working on. |
| Skipping the sanding step | A rough surface can make your finish look uneven and cause it to flake or peel. | Use a fine-grit sandpaper to smooth out the surface before applying any paint or stain. |
| Not using a primer | Without a primer, your finish may not adhere properly and can fail in the elements. | Apply a water-based primer designed for outdoor use to create a smooth, even base. |
| Rushing the drying process | Applying a second coat or using the furniture before it’s fully dry can ruin your work. | Wait for the recommended drying time before moving on or using the furniture. |
Related: Budget outdoor furniture refresh fixes
Quick Outdoor Furniture Refresh Mistakes Fixes
Related: Outdoor furniture refresh mistakes fixes mistakes to avoid
Ignoring the Impact of Sun Exposure on Paint Longevity
Sunlight can break down paint faster than you expect, leading to fading and peeling. Taking steps to protect your furniture from UV rays is essential for a lasting refresh.
I once painted a set of metal chairs with a bright blue acrylic paint, only to watch the color fade to a dull gray within six weeks under constant sun exposure. This is because UV rays degrade the chemical bonds in most paints, causing them to lose their vibrancy and structural integrity. To combat this, I now use a high-quality exterior paint that contains UV inhibitors, which significantly extend the life of the finish. I've also learned that applying a clear, water-based polyurethane sealant with UV protection can add an extra layer of defense against the sun’s harsh effects.
The Hidden Cost of Using Low-Quality Paint
Using low-quality paint can lead to peeling, fading, and a shorter lifespan for your outdoor furniture.
I learned the hard way when I used a budget paint for my patio set last summer. Within three months, the paint started peeling in places, and the colors faded unevenly under the sun. It wasn’t just an aesthetic issue—it was a costly mistake. High-quality exterior paints are formulated with UV-resistant pigments and flexible binders that withstand temperature changes and moisture, which are constant threats outdoors. A good paint typically costs between $25 to $40 per gallon, but it’s a small price to pay for durability and a professional finish.[4]
When I finally switched to a premium paint with a 100% acrylic formulation, I noticed a significant difference. The paint adhered better, covered more evenly, and dried faster. I also found that the paint had a higher solids content, which means less shrinkage and fewer coats needed. It’s worth investing in a paint that’s rated for outdoor use and has a minimum 5-year warranty. This helped me avoid the frustration of reworking the project after just a few months.
I also made sure to buy enough paint to cover the entire project in one go. I calculated the surface area of my furniture and added 15% extra for safety. This ensured I didn’t end up with patchy coverage or having to mix different batches, which can lead to visible color differences. Taking the time to choose the right paint and measure accurately saved me both time and money in the long run.
Common Questions
Can I use the same cleaning solution on all types of outdoor furniture?
How long should I wait before using my furniture after painting or sealing?
Can I apply paint directly to weathered wood without sanding?
What should I do if I make a mistake while painting?
References
- Release Notes (astro.princeton.edu)
- The Teaching Principles Influenced by Taoist Thought (aura.antioch.edu)
- 5 Ways a Handyman Can Help Homeowners – The Bookshelf (blogs.cornell.edu)
- Whanau: A Sybil-Proof Distributed Hash Table - DSpace@MIT (dspace.mit.edu)
Cite this guide
Patioreborn (2026). Quick Outdoor Furniture Refresh Mistakes Fixes. https://patioreborn.com/quick-outdoor-furniture-refresh-mistakes-fixes/
Feel free to cite or share this guide.