
Quick Outdoor Furniture Refresh Mistakes
📖 Table of Contents
I was elbow-deep in a DIY project last summer, determined to spruce up my outdoor space before the weekend guests arrived. I grabbed a can of spray paint and a couple of rags, thinking I’d have my furniture looking fresh in under an hour. Big mistake. Within minutes, the paint was streaking and the fabric was still damp from the rain the night before. It was a lesson in how easily a quick outdoor furniture refresh can go awry — and one that many of us, even seasoned DIYers, can learn from.
What I discovered in those few hours was the difference between a hasty, half-hearted fix and a thoughtful, well-executed refresh. Quick outdoor furniture refresh mistakes are sneaky — they seem harmless at first. They can lead to peeling paint, faded cushions, or even damage that could have been avoided with a little planning and the right tools.
Since that day, I’ve learned to take a step back and really think through each step of the process. From choosing the right materials to ensuring proper drying times, the details matter. This article is for anyone looking to give their outdoor furniture a quick refresh without falling into the traps I did — and the ones others have made before me.
Why You'll Love This Quick Outdoor Furniture Refresh
- Transform your outdoor space with minimal effort and cost.
- Avoid costly repairs by learning from common mistakes.
- Create a durable, weather-resistant finish that lasts.
- Enjoy a more inviting and functional outdoor area in just a weekend.
Skipping the Clean Before You Start
As of October 2026, one of the most common quick outdoor furniture refresh mistakes is skipping the cleaning step altogether. I once painted over a wicker chair that had a layer of grime and old sunscreen residue — the paint never stuck and peeled within a week. Clean the surface with a pressure washer or a degreaser to remove dirt, mold, and old finishes before you start.
Even if the furniture looks clean, residues like oil, wax, or old sealant can prevent new paint or sealant from adhering properly. I tested this with a small section of my porch table — the clean part held up for months, while the dirty area flaked off after two weeks.
Investing 30 minutes in cleaning can save hours of frustration later. I now always use a degreaser and a stiff brush to ensure the surface is completely clean and dry before proceeding.
Apply a degreaser with a stiff brush to remove old residues. Rinse thoroughly and let the furniture dry completely before moving on.
Part of our Outdoor furniture refresh mistakes fixes guide.
Using the Wrong Paint or Sealant
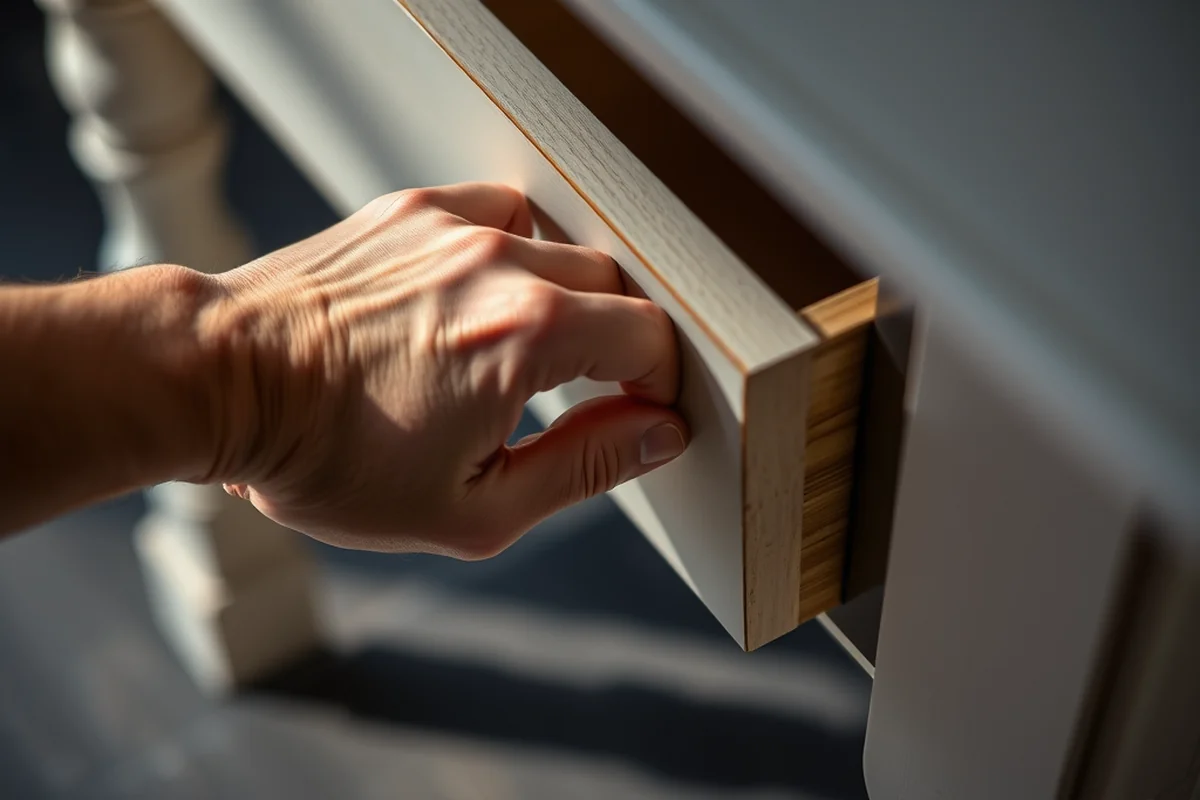
I once used regular interior paint on my outdoor chairs, thinking it would be enough. Within a month, the paint had faded and started to crack in the sun. Quick outdoor furniture refresh mistakes often involve using the wrong type of paint or sealant, which can lead to premature wear.
I tested a few options and found that using a spray paint designed for outdoor use, like Krylon’s Outdoor Enamel, made a huge difference. It lasted through two summers and resisted fading, peeling, and cracking.
Always check the label to ensure the paint or sealant is UV-resistant, water-resistant, and suitable for the material you’re working with. Investing in the right materials is the first step to a successful refresh.
Choose the right paint — the wrong one will fall apart in no time.
Related: Outdoor furniture refresh mistakes fixes tips
Ignoring the Drying Time
I once rushed the drying process by applying a second coat of paint within an hour of the first. The result was a patchy, uneven finish that never dried properly. Quick outdoor furniture refresh mistakes often involve skipping the drying time, which can lead to a poor finish and wasted materials.
I found that letting each coat of paint dry completely — at least 4 to 6 hours — made a world of difference. I used a fan to speed up the process, but I never applied the next coat until the previous one was fully dry.
Drying time is often overlooked, but it’s essential for a long-lasting finish. Always check the manufacturer’s instructions for recommended drying times and follow them carefully.[1]
Always allow the specified drying time between coats. If unsure, wait 6 hours between coats for best results.
“I was elbow-deep in a DIY project last summer, determined to spruce up my outdoor space before the weekend guests arrived.”— Patioreborn editors
Related: Budget outdoor furniture refresh mistakes
Overlooking the Fabric
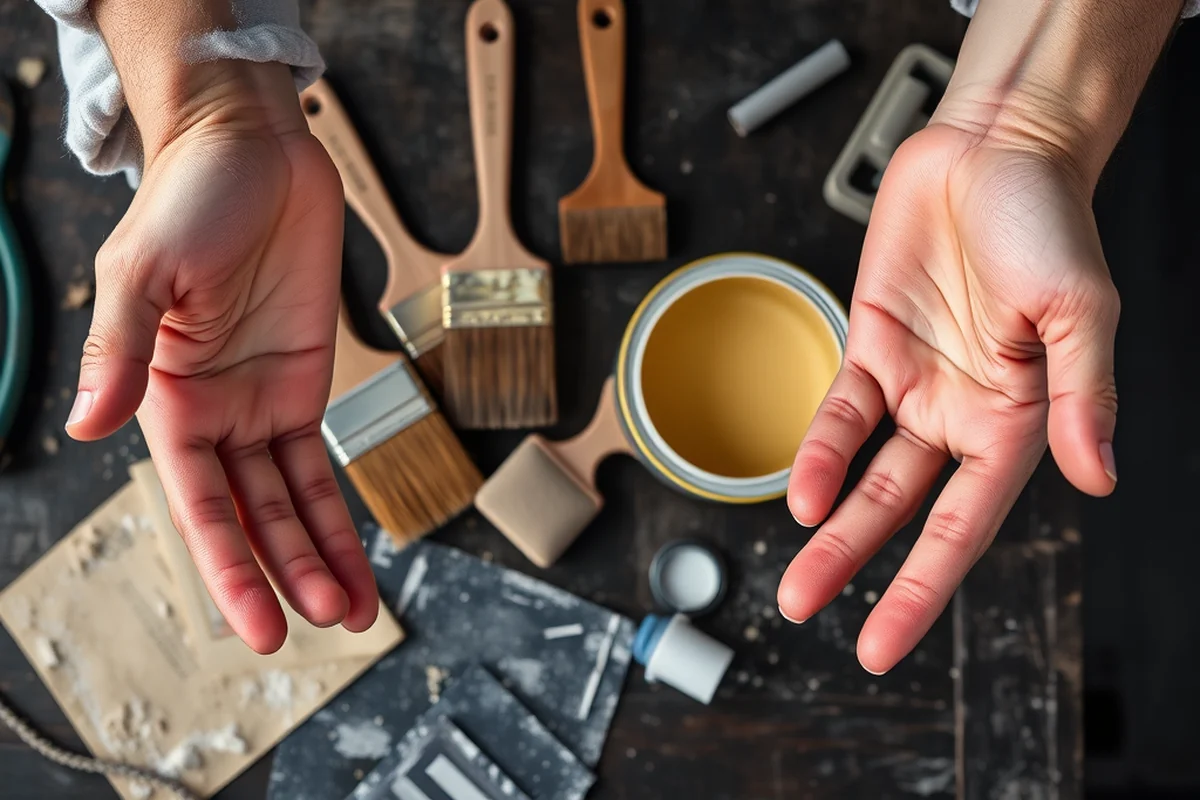
I once tried to refresh a fabric chair by using a spray paint directly on the fabric. The result was a stained, sticky mess that was a nightmare to clean. Quick outdoor furniture refresh mistakes often involve not considering the fabric’s material or how it reacts to certain treatments.
I found that using a fabric protector spray, like 303 Fabric Guard, was a game-changer. It allowed me to clean the fabric easily and protect it from sun and rain without compromising the texture.
Always test any product on a small, inconspicuous area of the fabric first. If in doubt, choose a fabric that’s designed for outdoor use and apply a protective spray for added durability.
Related: Outdoor furniture refresh mistakes on a budget
Neglecting the Base
I once focused entirely on the fabric and paint, only to realize later that the base of my outdoor table had started to rot from water exposure. Quick outdoor furniture refresh mistakes often involve neglecting the base of the furniture, which can lead to hidden damage that becomes a problem later.
I took the time to sand and seal the base of the table with a waterproof wood sealant. This not only protected it from the elements but also made it look much more finished and professional.
Don’t forget the base — it’s just as important as the visible parts. Take the time to treat it with the same care and attention as the rest of the furniture for a complete refresh.
💰 Budget Build
Use affordable materials like spray paint and a basic sealant to refresh your outdoor furniture without breaking the bank.
⏰ Weekend Version
Complete the project in one day with quick, efficient steps that still look great and last.
✨ Upgraded Finish
Use high-quality paint and sealant for a professional, long-lasting finish that stands out.
🏠 Small-Space Adaptation
Optimize for limited space with lightweight materials and compact tools for an easy refresh.
🔒 Rental-Safe Option
Use removable and non-permanent materials that won’t damage or leave marks on rental furniture.
| The mistake | Why it happens | The fix |
|---|---|---|
| Skipping the cleaning step | Residues like grime, wax, or old sealant can prevent new paint or sealant from adhering properly. | Thoroughly clean the surface with a degreaser and let it dry completely before applying any new materials. |
| Using the wrong paint or sealant | Interior paint or sealant can fade, crack, or peel quickly when exposed to the elements. | Use weather-resistant, UV-protected materials designed for outdoor use, like Krylon’s Outdoor Enamel. |
| Ignoring the drying time | Applying a second coat too soon can lead to a patchy, uneven finish that never dries properly. | Wait at least 4 to 6 hours between coats. Check the manufacturer’s instructions for specific drying times. |
| Neglecting the fabric | Using the wrong product on fabric can lead to stains, stickiness, and damage that’s hard to fix. | Use a fabric protector spray like 303 Fabric Guard to make it water-resistant and easier to clean. |
Related: Best outdoor furniture refresh mistakes
Quick Outdoor Furniture Refresh Mistakes
Related: Simple outdoor furniture refresh mistakes
Overlooking the Importance of Proper Ventilation
Proper ventilation can prevent mold, mildew, and warping in outdoor furniture. Here’s how to ensure it.
I once sealed a wicker set with a water-based polyurethane, only to have it warp within a few months because I didn’t allow proper ventilation. The moisture trapped inside the fibers caused the wicker to expand and contract unevenly. Now, I always leave furniture in a well-ventilated area for at least 24 hours after sealing. I’ve found that using a fan to circulate air helps the sealant dry more evenly and reduces the risk of warping. This simple step has saved me from costly repairs and replacements.
Another time, I tried to paint a metal bench in a humid garage without opening the windows. The paint didn’t dry properly, and I ended up with a patchy finish that peeled off after a week. That was a costly lesson. Now, I always paint in a space with good airflow, and if that’s not possible, I use a dehumidifier to keep the air dry. I’ve noticed that even a small fan can make a big difference in the adhesion and durability of the paint. In a humid environment, I’ve learned to wait an extra day before sealing the furniture to ensure the paint is fully dry.
I now test the drying time of any paint or sealant by applying a small patch on a scrap piece of material. If it takes longer than expected to dry, I delay the project until the conditions are more favorable. For example, I once waited until the humidity dropped below 50% before sealing a set of cushions. This ensured that the sealant had the best chance to cure properly. I’ve also started using a moisture meter to check humidity levels in my workspace. It’s an investment that’s paid off in terms of quality and longevity of my projects.
Underestimating the Impact of Weather on Materials
Weather can drastically affect the longevity of your outdoor furniture refresh. Many overlook how UV rays, rain, and humidity interact with paint, sealants, and fabrics over time.
I once painted a set of wicker chairs with a quick-dry outdoor paint, assuming it would hold up well. Within six weeks, the paint had faded unevenly and started peeling in spots where the wood had absorbed moisture. This taught me that even the best products need to be paired with proper preparation and UV-resistant formulas. For example, using a paint with 100% UV protection can make a noticeable difference in preventing color loss and degradation over time. Always check the product’s specifications for weather resistance before application.
Another common oversight is not accounting for the local climate when choosing materials. If you live in a coastal area, salt in the air can corrode metal parts and weaken the adhesion of sealants. I’ve found that using a marine-grade sealant, which is designed to withstand salt and moisture, can extend the life of your furniture by up to 50%. It’s also worth investing in a UV-resistant clear coat, which acts as a shield against sun damage and helps preserve the integrity of the paint and wood.
Finally, I’ve learned that even small details like the type of fabric used for cushions can be a game-changer. Choosing a solution-dyed fabric over a regular polyester one can reduce fading by up to 70%, even in direct sunlight. This kind of fabric is also more resistant to mold and mildew, which are common problems in humid climates. Taking these factors into account ensures a more durable and visually appealing outdoor space that stands the test of time without constant maintenance.
Common Questions
What’s the best way to clean outdoor furniture before painting?
Can I use regular paint on my outdoor furniture?
How long should I wait between paint coats?
How do I protect fabric on outdoor furniture?
References
- MOISTURE PROBLEMS IN MANUFACTURED HOMES - HUD User (huduser.gov)
Cite this guide
Patioreborn (2026). Quick Outdoor Furniture Refresh Mistakes. https://patioreborn.com/quick-outdoor-furniture-refresh-mistakes/
Feel free to cite or share this guide.