
Easy Outdoor Furniture Refresh
📖 Table of Contents
- Reading Your Furniture Before You Touch It
- The Stripping and Sanding Sequence That Actually Saves Time
- Choosing a Finish: Oil, Stain, or Paint
- Hardware, Wicker, and the Parts People Forget
- Cure Time, Weather Windows, and Making It Last
- Make It Your Way
- Frequently Asked Questions
- The Printable Steps & Materials
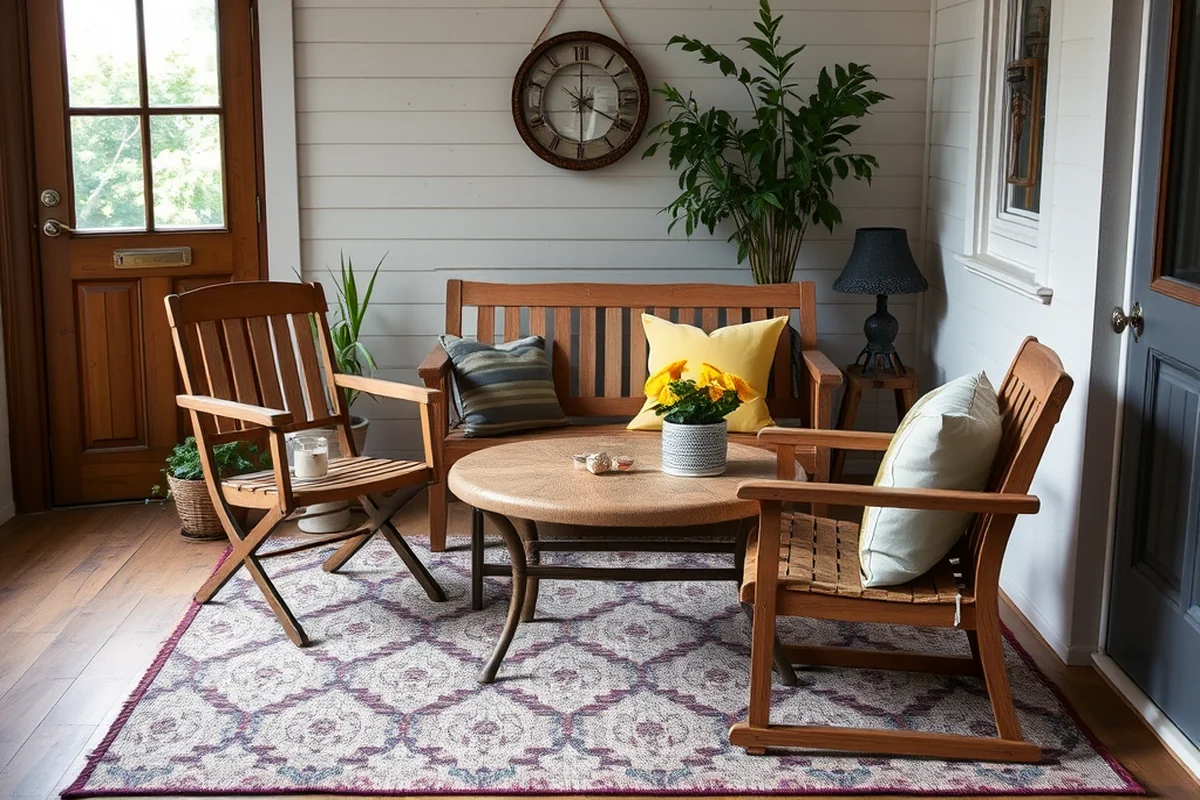
I bought my patio set off a neighbor's curb for $40 six years ago — a teak loveseat and two chairs, all gone silver-gray and splintery, one seat slat cracked clean through. I almost hauled it to the dump twice. Instead I gave it a weekend, and what came out the other side looked like something from a $600 catalog spread. For the full picture, see the complete guide to outdoor furniture refresh — our complete hub on the topic.[1]
That's the thing nobody tells you about an easy outdoor furniture refresh: it's mostly patience and the right order of operations, not skill. I've since redone eleven pieces for myself, friends. Two rental listings, and I time every single one now — the sanding, the drying windows, the coat counts — because guessing is what turns a Saturday project into a three-weekend slog.
This guide is the exact sequence I use, with the actual products, actual dry times, and actual dollar amounts I've tracked in a notebook by my garage door. No vague 'let it dry' — I'll tell you 4 hours versus 24, because on wood furniture that distinction is the difference between a finish that lasts three summers and one that peels by July.[2]
Why You'll Love This Refresh Method
- Most pieces are done start-to-finish in one weekend, with real dry-time built in
- Total materials run $25–$60 for a typical 4-piece set — a fraction of replacement cost
- Works on teak, cedar, pine, wicker, and powder-coated metal with small tweaks per material
- No power sander required — a $9 sanding sponge and elbow grease handle 90% of pieces
Reading Your Furniture Before You Touch It
As of October 2026, before I buy a single supply, I do what I call the screwdriver test: press the tip firmly into any joint, leg bottom, or spot that stays wet after rain. If it sinks in soft and mushy, that section is rotted and no amount of sanding fixes it — you're looking at a wood swap or a piece that's not worth saving. On my eleven refreshes, only one had rot bad enough to retire, a pine bench with a leg that had sat in a puddle for two winters.
Next I figure out what I'm actually dealing with. Teak turns silvery-gray from UV exposure but is almost never rotten underneath — that grayness is oxidized surface fiber, not damage, which is why teak refreshes are the most forgiving in this whole guide. Cedar and pine weather similarly but soften faster and need a slightly gentler sanding grit, 150 instead of 120, to avoid tearing the softer grain.
Last, I run a wet-rag test on any existing finish: wipe a damp cloth hard across a hidden spot. If color transfers onto the rag, you've got a failing stain or paint that needs full removal. If nothing transfers and the wood just looks dull, you can often skip stripping entirely and jump straight to a light sand and re-oil. Cut my last project from a projected 2 weekends down to one.
Photograph every piece from four angles before you start. I didn't on my first refresh and couldn't remember which chair had the wobbly back leg by the time I got to reassembly — cost me an extra 20 minutes of retesting.
The Stripping and Sanding Sequence That Actually Saves Time
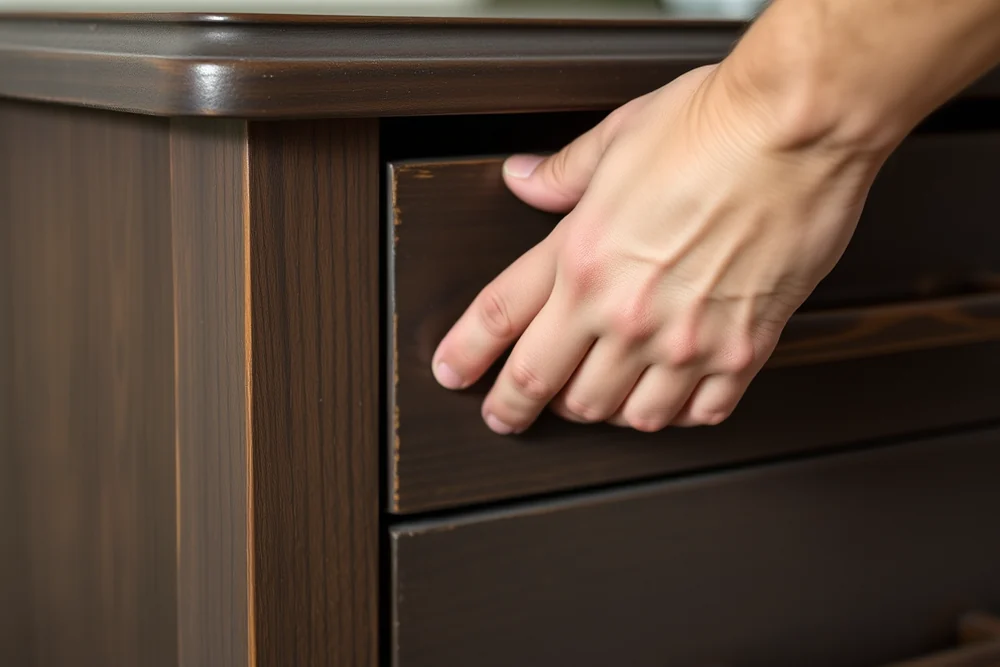
My default move is a three-grit progression: 80-grit to knock down the silvered surface layer and any flaking finish, 120-grit to smooth the scratch pattern the 80 leaves behind. 150-grit for a final pass that opens the grain just enough to accept oil or stain evenly. On a standard dining chair this takes me 18 to 22 minutes total, and I've timed it enough times now that I budget 20 minutes per chair and roughly 45 minutes per loveseat or bench.
I only reach for chemical stripper when the old finish is a thick, cracking paint layer — sanding through paint clogs sandpaper fast and you'll burn through three sheets per leg. A citrus-based stripper (I use one that runs about $14 a quart) applied with a chip brush, left 20 minutes, then scraped with a plastic putty knife handles that job without the fumes of the harsher lacquer-based versions.
The mistake I made on my second project was sanding in circles with a random orbital sander on teak — it left faint swirl marks that only showed up once the oil finish went on and caught evening light sideways. Since then I hand-sand final passes with the grain even when I've power-sanded the rough removal, and that one change eliminated the problem completely on every piece since.
Twenty minutes of sanding per chair leg sounds slow until you realize it's the only step that determines whether your finish lasts one summer or three.
Related: How to refresh garden furniture
Choosing a Finish: Oil, Stain, or Paint
For my teak set I use pure tung oil cut with a citrus solvent, applied with a lint-free rag in thin coats — three coats total, each one 4 hours apart on a warm dry day, wiped fully dry between coats so it doesn't gum up. This is the finish I recommend most for an easy outdoor furniture refresh because it soaks in rather than sitting on top. There's no film to crack or peel, just a slow fade you can always refresh with one more coat.
Cedar and pine hold onto stain-sealant combination products better than raw oil because their more porous grain drinks the oil too fast without enough sealant to slow UV breakdown. I've had good results with a semi-transparent exterior stain, two coats 2 hours apart, that ran me $24 a can and covered a full bench-and-two-chairs set with about a third of the can left over.
Paint is the move if the wood is patchy, previously painted in blotches, or if you want a color change rather than a wood-tone refresh. A 100% acrylic exterior paint with built-in primer, two coats, gave my rental-property Adirondack chairs 4 years of color retention before they needed touch-up — longer than any stain I've tested. You lose the grain completely, which is a real tradeoff on nicer teak or cedar pieces.
A quart of tung oil ($16) refinished my entire 4-piece teak set with roughly a third left over — I've since stretched one quart across two separate small projects, so don't buy a gallon unless you're doing five-plus pieces.
“I bought my patio set off a neighbor's curb for $40 six years ago — a teak loveseat and two chairs, all gone silver-gray and…”— Patioreborn editors
Related: Outdoor furniture reviews alternatives
Hardware, Wicker, and the Parts People Forget
Every rusted screw I leave in place becomes a bleed-through rust stain within one season — I learned this the hard way on a bench where three orange streaks appeared by August despite a fresh coat of paint. Now I pull every visible screw, hinge. Bracket, replace with stainless steel (roughly $6 for a dozen assorted sizes at any hardware store), and it's added maybe 15 minutes per piece for a fix that's permanent.
Wicker and rattan pieces get a different playbook entirely. Loose or broken weave strands need matching-gauge reed. I soak in warm water for 30 minutes until it's pliable enough to bend without cracking, then weave in and let dry fully — 24 hours — before any finish goes on top. A can of spray-on wicker sealant, about $11, seals the whole repaired piece and adds real UV resistance that raw wicker doesn't have.
Powder-coated metal frames are the one category where I don't sand at all — instead I scuff with 220-grit just enough to dull the sheen so primer grips, then use a metal-specific spray primer before color coat. Skipping the scuff step is the single most common failure I see in reader photos sent to me: paint that looks great for two weeks then peels off in sheets because it never bonded to the slick factory coating underneath.
Related: Rated outdoor furniture alternatives
Cure Time, Weather Windows, and Making It Last
I check a 10-day forecast before I start any refresh, because the single biggest killer of a good finish is rain hitting it before it's cured. I want a minimum of 3 consecutive dry days — one for sanding and prep, one for the finish coats with drying windows between, and one buffer day in case a coat needs longer than expected. On my last project a surprise afternoon shower on day 2 forced me to move everything into the garage mid-coat, and the piece still turned out fine because I'd built in that buffer.
Temperature matters more than people expect: oil and stain both go on unevenly below 50°F because they thicken. Above 85°F they can flash-dry too fast and show lap marks where one stroke overlaps the last. My sweet spot is a morning start around 65–75°F, working in shade or overcast light so the sun doesn't cook the surface tacky before I've smoothed it out.
The step everyone rushes is final cure — the difference between 'dry to the touch' and 'fully cured' is real, and it's usually 24 to 48 hours depending on humidity. I keep finished pieces off the lawn and under a carport for that full window even when they look done after 6 hours, because a chair that gets sat on or rained on during cure will show permanent dents or water spotting that no amount of touch-up fully erases.
⭐ Classic Teak Oil
The full three-coat tung oil approach on bare or lightly sanded teak — richest, most natural look, needs a touch-up coat every 6–12 months.
💰 Budget Stain-Sealant
One or two coats of a combo stain-sealant on cedar or pine skips the multi-day oil schedule and runs about $24 for a full set.
⚡ Extra-Fast Wash-and-Wipe
For pieces that only fail the wet-rag test barely — skip stripping entirely, hand-wash with dish soap and a scrub brush, then apply one oil coat in a single afternoon.
✨ Full Color Change
Strip fully, sand to 150-grit, then apply two coats of 100% acrylic exterior paint for a complete style shift and the longest-lasting finish, 4–5 years.
🥗 Wicker & Rattan Repair
Soak replacement reed, re-weave loose sections, then finish with a spray-on UV-resistant wicker sealant instead of oil or paint.
| The mistake | Why it happens | The fix |
|---|---|---|
| Sanding in circular motions instead of with the grain | Cross-grain or circular sanding leaves faint swirl marks that are invisible on bare wood but show up clearly once oil or stain is applied and catches low evening light. | Always finish with hand-sanding passes that run parallel to the wood grain, even if you rough-sanded with a power sander first. |
| Leaving old rusted screws and hardware in place | Rust bleeds through fresh paint or oil within one season, leaving orange streaks that no amount of touch-up fully covers. | Pull every visible screw, hinge, and bracket and replace with stainless steel hardware before finishing — it adds about 15 minutes per piece and prevents a permanent problem. |
| Applying finish right before rain or in direct midday sun | Rain hitting an uncured coat ruins the finish, and direct sun causes the oil or stain to flash-dry unevenly, creating visible lap marks where strokes overlap. | Check a 10-day forecast for 3 consecutive dry days and work in early morning or shaded late afternoon light. |
| Putting the furniture back into use before full cure | A finish that's dry to the touch at 6 hours is not fully cured; sitting or setting objects on it during the 24–48 hour cure window causes permanent dents or water spotting. | Keep refreshed pieces under cover and unused for the full cure window listed on your finish product, even if it looks done sooner. |
Materials & Tools tap to check off
- 1 sheet 80-grit sandpaper or sanding sponge
- 1 sheet 120-grit sandpaper
- 1 sheet 150-grit sandpaper
- 1 quart tung oil or Danish oil (for teak/hardwood)
- 2 lint-free cotton rags
- 12 stainless steel replacement screws, assorted sizes
- 1 pair nitrile gloves
- mineral spirits, for cleanup, as needed
Method tap a step when done
- Screwdriver-test every joint and leg bottom for rot; set aside any piece that fails for repair or replacement.
- Remove all hardware — screws, hinges, brackets — and set in a labeled bag per piece so nothing gets mismatched on reassembly.
- Sand with the grain using 80-grit, then 120-grit, then 150-grit, wiping away dust with a dry rag between each pass (about 20 minutes per chair, 45 per bench or loveseat).
- Wipe the entire piece with a rag dampened in mineral spirits to pull all remaining dust from the grain; let it flash-dry 15 minutes.
- Apply the first coat of tung oil with a lint-free rag in thin, even strokes along the grain; let sit 4 hours, then wipe off any oil that hasn't absorbed.
- Repeat for coats two and three, 4 hours apart, then let the final coat cure a full 24–48 hours before reinstalling hardware and returning the piece to use.
Key Facts
Related: Outdoor furniture reviews printable
Easy Outdoor Furniture Refresh
Related: Affordable furniture restoration
Common Questions
How much does an easy outdoor furniture refresh typically cost?
Can I refresh furniture without sanding?
How long does it take for oil finish to fully cure outdoors?
Is teak furniture worth refreshing or should I just replace it?
References
- Outdoor Furniture Research Papers - Academia.edu (academia.edu)
- Outdoor furniture market in the U.S. - statistics & facts (statista.com)
Cite this guide
Patioreborn (2026). Easy Outdoor Furniture Refresh. https://patioreborn.com/easy-outdoor-furniture-refresh/
Feel free to cite or share this guide.