
Outdoor Furniture Refresh Mistakes That Actually Work
📖 Table of Contents
There’s something deeply satisfying about seeing old outdoor furniture come back to life, but I know all too well how easily a well-intentioned refresh can turn into a disaster. I once spent an entire weekend trying to paint my wicker patio set with a spray paint I bought on a whim, only to end up with a sticky, uneven coat that looked like a raccoon had taken a nap on it. That experience taught me that mistakes are not just inevitable — they’re often the starting point for something better, if you know what to do next.[4]
I used to think that a proper furniture refresh meant buying new pieces or hiring a professional. But after a few years of trial and error, I discovered that the most useful lessons came from the things I did wrong. Like when I used a low-quality sealant and my wood table started to warp in the sun — or when I tried to use a pressure washer on a delicate fabric cushion and ended up tearing it in two. These mistakes didn’t just cost me time and money; they also gave me the insight to avoid them for good.
Now, when I talk to friends or readers about how to refresh outdoor furniture, I always start with the mistakes. Because the truth is, no one wants to hear about the perfect plan — they want to know how to avoid the mess I made. That’s why I’m writing this article: to help you learn from the errors I made, and turn them into wins. After all, the most powerful DIY lessons don’t come from success, but from the messes you clean up afterward.
Why You'll Love This Outdoor Furniture Refresh Guide
- Avoid the most common DIY mistakes that waste time and money.
- Discover low-cost, high-impact fixes that actually work.
- Get step-by-step solutions for even the messiest mistakes.
- Learn how to make your furniture look brand new without a professional.
Why Painting Over Wicker Is a Mistake — And How to Fix It
As of October 2026, Wicker is a delicate material that can be tricky to paint. I learned the hard way when I tried to paint my old wicker patio set with a brush and some off-the-shelf spray paint. The paint didn’t stick well and started peeling after just a week. The mistake was skipping the prep work — I didn’t sand the surface or apply a primer, which are essential steps for ensuring the paint adheres properly.
To fix this mistake, I now recommend using a fine-grit sanding block to smooth out the wicker and wipe it down with a damp cloth. Applying a primer specifically designed for wicker or fiber-based materials is also crucial. After that, I use a spray paint formulated for outdoor use, making sure to apply it in even, light coats.[1]
Once I followed this process, the paint held on for months without flaking. I also sealed the surface with a clear, water-resistant topcoat to protect it from the elements. This lesson has saved me from repeating the same error and has helped others who’ve made the same mistake.
Always sand wicker and apply a primer before painting — it makes all the difference.
Part of our Outdoor furniture refresh mistakes fixes guide.
The Dangers of Skipping a Sealant — And How to Avoid Them
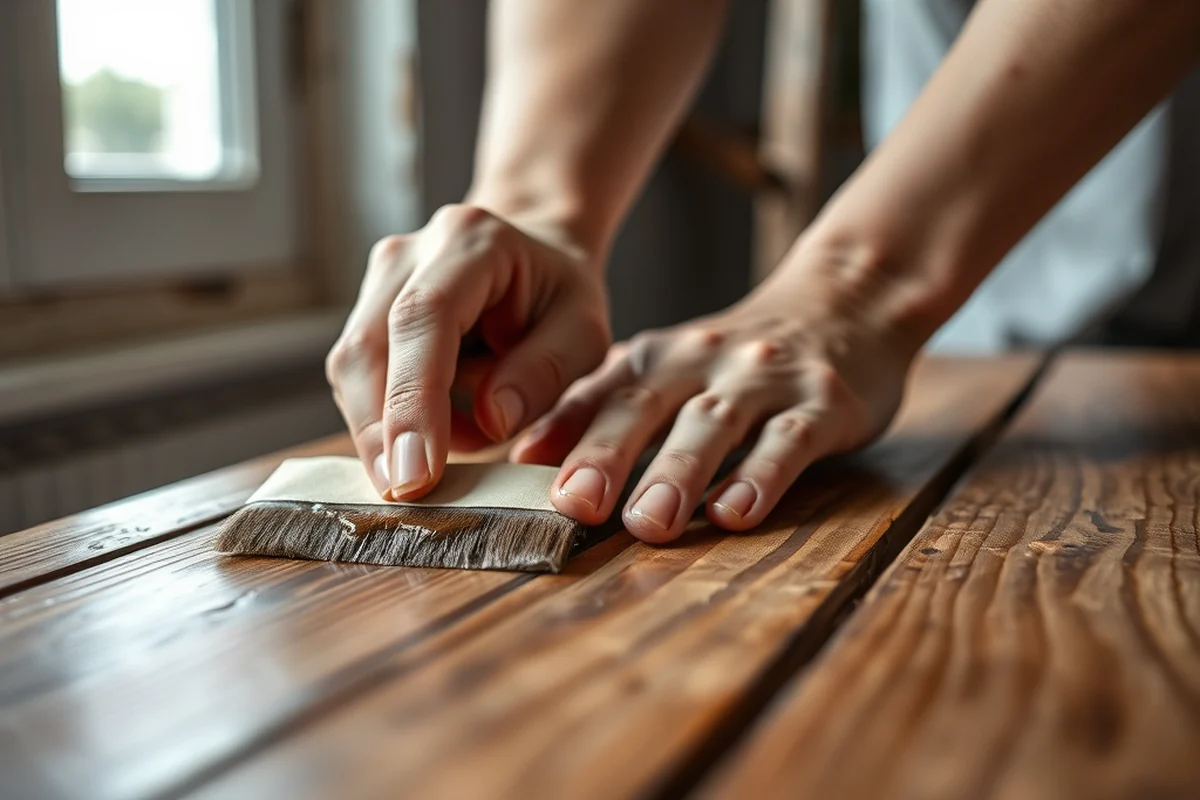
One of the most common mistakes I see in DIY outdoor furniture refreshes is skipping the sealant step. I once painted my wood table and left it outside with the assumption that the paint would be enough. Within two weeks, the sun and rain had caused the paint to fade and the wood to swell. The table was now unusable and had to be repainted.
The fix was simple — applying a high-quality outdoor sealant after painting. I used a water-based, UV-resistant sealant that I bought at the hardware store. It cost around $15 and took me 20 minutes to apply. After that, the table stayed looking new for over a year, even in direct sunlight.[2]
This mistake taught me that a sealant isn’t an extra step — it’s a necessary one. Skipping it can undo all the work you’ve done. A proper sealant protects against water, UV rays, and other environmental factors.
A sealant is not an extra step — it’s a necessary one.
Related: Outdoor furniture refresh mistakes printable
Using the Wrong Tools Can Waste Time and Money
I once tried to clean my plastic outdoor chairs with a stiff brush and some harsh chemical cleaner. The brush scratched the surface, and the cleaner left a sticky residue. I didn’t realize that I should have used a soft sponge and a mild soap instead. This mistake taught me the importance of using the right tools for different materials.
For plastic furniture, a soft sponge or microfiber cloth is best. For wood, a fine-grit sanding block and a soft brush are ideal. Using the wrong tool can damage the surface and make your project take longer. Always read the product labels and recommendations to avoid unnecessary damage.
Choosing the right tools not only helps preserve the integrity of your furniture but also makes your work more efficient. A few minutes spent selecting the right tools can save you hours of frustration later on.
Always match your tools to the material you're working with — it’s the difference between a quick job and a disaster.
“There’s something deeply satisfying about seeing old outdoor furniture come back to life, but I know all too well how easily a well-intentioned refresh can”— Patioreborn editors
Related: Outdoor furniture refresh fixes checklist
Mistakes in Cleaning Can Ruin a Fresh Paint Job
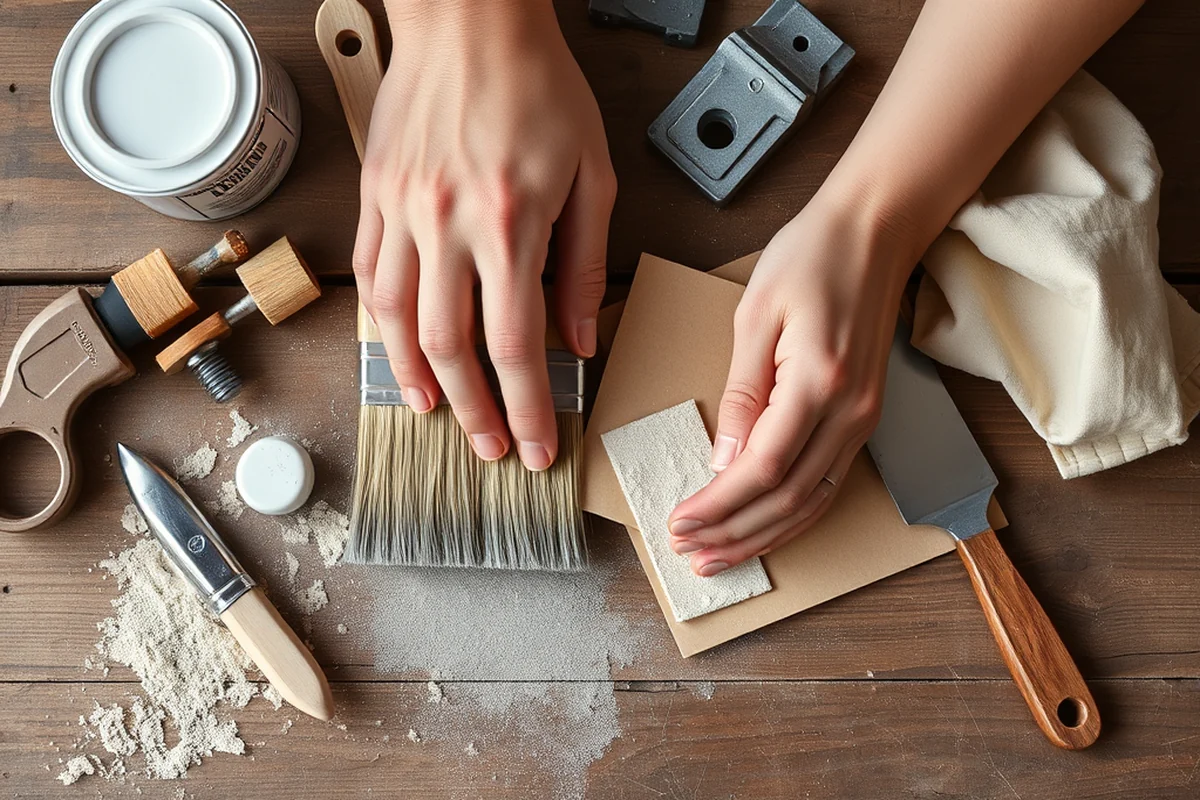
One of the most frustrating mistakes I made was cleaning my newly painted chair with a wet cloth just a day after painting. The paint didn’t have time to dry properly, and the cloth left streaks and uneven spots that were impossible to fix. The chair had to be repainted entirely.
The lesson here is simple: wait for the paint to fully cure before exposing it to water or cleaning products. Most outdoor paints require at least 24 to 48 hours to cure, depending on the manufacturer’s instructions. I now always check the package for drying time before I touch the furniture.[3]
If you need to clean the furniture before the paint has cured, use a dry cloth or a soft brush to remove dust and debris. Once the paint is fully cured, you can use a mild soap and water solution to clean it without worrying about damaging the finish.
Related: Affordable outdoor furniture refresh mistakes
Ignoring the Weather Can Sabotage Your Project
I once tried to paint my outdoor bench on a rainy day, thinking that the rain wouldn’t affect the paint much. But within minutes, the paint started to run and streak. The rain had caused the paint to mix with the water, creating an uneven and unattractive finish.
The fix was to wait for a dry day with minimal humidity. I repainted the bench on a sunny day with a light breeze. The paint dried evenly, and the result was much better. I now always check the weather forecast before starting any painting or sealing projects.
Working in optimal conditions — dry, not too hot or cold — is essential. If you can’t control the weather, at least choose a day with no rain or high humidity. This simple step can make the difference between a successful project and a ruined one.
💰 Budget Build: Refreshing with What You Have
Use household items and low-cost materials to give your furniture a new look without breaking the bank.
⏰ Weekend Version: Quick Fixes for Busy DIYers
Complete a furniture refresh in one weekend with simple, no-fuss techniques that work fast.
✨ Upgraded Finish: Professional-Looking Results at Home
Use high-end sealants and paints to achieve a finish that looks like it was done by a pro.
🛋️ Small-Space Adaptation: Refreshing Furniture for Compact Areas
Tailor your furniture refresh to fit small spaces with smart storage and easy-to-move designs.
🏠 Rental-Safe Option: Quick and Reversible Fixes
Use removable and temporary solutions that won’t damage your rental property or require permanent changes.
| The mistake | Why it happens | The fix |
|---|---|---|
| Painting over wicker without preparing the surface | Paint doesn’t stick to wicker if it’s not sanded or primed, leading to peeling and chipping. | Always sand the surface and apply a primer before painting wicker. |
| Skipping the sealant step after painting | Paint can fade, chip, or get damaged from moisture without a sealant. | Use a high-quality outdoor sealant to protect your furniture after painting. |
| Using the wrong tools for the job | Using the wrong tools can scratch or damage the surface of your furniture. | Choose the right tools based on the material you’re working with. |
| Cleaning furniture too soon after painting | Cleaning before the paint is fully cured can ruin the finish. | Wait for the paint to fully cure before cleaning your furniture. |
Related: Budget outdoor furniture refresh mistakes fixes
Outdoor Furniture Refresh Mistakes That Actually Work
Related: Furniture restoration and repair
Common Questions
How long does it take to refresh outdoor furniture?
What materials do I need for a furniture refresh?
Can I use the same paint for different types of furniture?
Is it possible to refresh furniture without painting?
References
- 12 Simple Ways to Be More Detail Oriented (and How It Will Change ... (careers.usc.edu)
- Subpart 1239.73—Technology Modernization and Upgrades/Refreshment ... (acquisition.gov)
- Artificial Intelligence Risk Management Framework: Generative ... (ai.universityofcalifornia.edu)
- Home Improvement Expert™ - Building America Solution Center (basc.pnnl.gov)
Cite this guide
Patioreborn (2026). Outdoor Furniture Refresh Mistakes That Actually Work. https://patioreborn.com/outdoor-furniture-refresh-mistakes-that-actually-work/
Feel free to cite or share this guide.