
Outdoor Furniture Refresh Mistakes Fixes For Beginners
📖 Table of Contents
There’s nothing quite like the feeling of stepping outside onto a sun-drenched deck with a perfectly refreshed set of outdoor furniture, the cushions plump, the wood gleaming. The metal rails free of rust. But if you’re like most DIYers who’ve tried to do this on their own, you might be sitting there with a toolkit in one hand and a pair of mismatched cushions in the other, wondering where you went wrong. I know this feeling all too well — after spending hours sanding a wicker chair only to find it still looked faded, or trying to paint a metal table and ending up with drips and streaks that made it look worse than before. That’s why I’ve written this guide to help beginners avoid the most common mistakes when refreshing their outdoor furniture. Instead walk away with a space that feels fresh, functional, and worthy of your time.[1]
I’m not here to sell you a product or promise you a ‘perfect’ finish — I’m here to tell you exactly what I’ve done, what worked, what didn’t. How much time and money I spent in the process. Whether you’re looking to revamp your porch, fix up a patio set, or simply bring new life to an old chair, this guide is for you. I’ll walk you through the mistakes I made, the lessons I learned, and the techniques that finally gave me the results I was aiming for. Let’s be honest — DIY can be frustrating, but it doesn’t have to be. With the right approach, even the most stubborn outdoor furniture can be brought back to life, and you’ll feel proud of the work you’ve done.[2]
So, if you’re looking for a reliable, step-by-step guide that avoids the common pitfalls of outdoor furniture refresh, you’ve come to the right place. I’ll be honest with you: this guide is not just about fixing your furniture — it’s about fixing your confidence with DIY. After all, one of the most frustrating parts of a DIY project is when you end up with a mess instead of a masterpiece. That’s why I’ve included everything you need to know — from the tools you’ll need to the most common mistakes beginners make — so you can avoid the same mistakes I did and create something that looks great and lasts for years.[3]
Why You'll Love This Outdoor Furniture Refresh Guide
- Avoid expensive replacements by breathing new life into old furniture
- Glean actionable tips from a real DIYer’s experience
- Save time and money with clear step-by-step instructions
- Boost the curb appeal and comfort of your outdoor space
The Most Common Mistake: Skipping the Prep Work
As of October 2026, I’ve seen it time and time again — people rushing into painting or sealing their outdoor furniture without properly cleaning or sanding it first. It’s a mistake I made myself, and it cost me more time and money than I’d like to admit. When I tried to apply a fresh coat of paint to an old, stained metal table without cleaning it, the paint didn’t adhere properly, and I ended up with a patchy, uneven finish.[4]
Proper prep work includes cleaning the surface with a pressure washer or a degreaser, sanding it to remove old paint or rust, and ensuring it’s completely dry before applying any new materials. This is especially important for wood and metal surfaces, which can be tricky to work with if not prepared properly.
I learned the hard way that skipping prep work is one of the most common mistakes beginners make. Now, I always take the time to clean, sand, and dry my furniture before starting any project — and it makes a world of difference in the final result.
Use a pressure washer or a degreaser to clean your furniture thoroughly. For wood, use a wire brush to remove old paint or debris. Always allow the surface to dry completely before applying any new materials.
Part of our Outdoor furniture refresh mistakes fixes guide.
Choosing the Wrong Materials for Your Climate
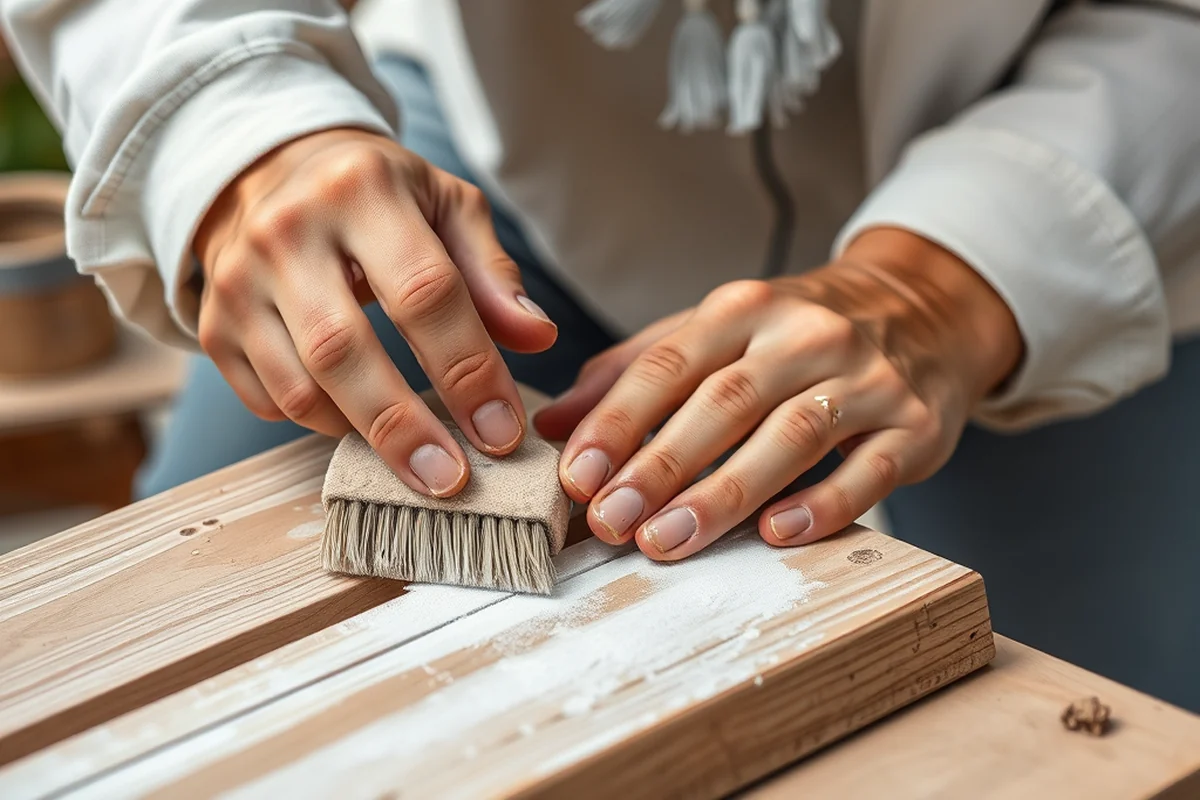
I once tried using a water-based paint on my outdoor chair, thinking it was more eco-friendly. What I didn’t realize was that it wasn’t formulated for outdoor use and began to crack and peel within weeks. The same goes for using the wrong sealant or stain — it can lead to peeling, fading, or even mold growth.
It’s crucial to use materials that are specifically designed for outdoor use, like UV-resistant paint or high-quality sealants. These materials are formulated to withstand the elements and will last longer, even in extreme weather conditions.
I now always check the product labels to ensure they’re suitable for outdoor use. It’s an extra step, but it’s worth it to avoid having to redo the entire project in a few months.
Choose materials that are built to last — your furniture (and your wallet) will thank you.
Related: Outdoor furniture refresh mistakes examples
Overlooking the Importance of Proper Ventilation
I once painted an entire set of patio furniture in my garage, thinking it was the perfect place to work. What I didn’t realize was that the fumes from the paint were building up, making it hard to breathe and even causing a slight headache. Plus, the paint didn’t dry as evenly as I had hoped.
Proper ventilation is crucial when working with paints, sealants, or other materials that emit fumes. Working in a well-ventilated area, like a garage with open windows or an outdoor space, can help ensure a safer, more effective project.
I now always take the time to work in an area with good airflow. It not only makes the process more comfortable, but it also helps the materials cure properly and last longer.
Always paint or seal in a well-ventilated space. If you're working indoors, open windows and use a fan to circulate air. This can prevent fumes from building up and ensure a better finish.
“There’s nothing quite like the feeling of stepping outside onto a sun-drenched deck with a perfectly refreshed set of outdoor furniture, the cushions plump”— Patioreborn editors
Related: Quick outdoor furniture refresh mistakes
Neglecting to Test Colors and Materials Before Applying Them

I once painted an entire set of wicker chairs without testing the paint first, only to find out that the color didn’t look right in natural light. The shade looked completely different under the sun than it did in the store. It was a frustrating and expensive lesson.
Testing colors and materials on a small, inconspicuous area of the furniture before applying them to the entire piece is a simple but effective way to avoid costly mistakes. This is especially important for wood and metal, which can reflect light differently than you expect.
I now always test colors and materials before committing to them. It’s a small step that can make a huge difference in the final outcome and help you avoid the frustration of redoing the entire project.
Related: Outdoor furniture refresh fixes mistakes to avoid
Using the Wrong Techniques for Application
I once tried using a brush to paint a large metal table, thinking it would be quicker than using a spray can. What I didn’t realize was that the brush left behind streaks and drips, and the paint didn’t cover the surface evenly. It was a mess that took me hours to fix.
The right technique depends on the material you're working with — for example, using a spray can for even coverage on large surfaces, or using a brush for more control on smaller, detailed areas. It's also important to apply the material in thin, even coats to avoid drips and ensure a smooth finish.
I now use a combination of spray cans and brushes depending on the surface I’m working with. It’s a small change that has made a big difference in the quality of my projects.
🛠️ Budget Build: Refreshing with What You Have
Use what you already have — like old paint and a few basic tools — to give your furniture a fresh look without spending much.
⏳ Weekend Version: Quick Fixes for Small Projects
Tackle small, quick projects like painting a single chair or replacing cushion covers in just a few hours.
✨ Upgraded Finish: High-Quality Materials for Long-Lasting Results
Invest in premium materials like UV-resistant paint or durable sealants to ensure your furniture lasts for years.
🛋️ Small-Space Adaptation: Refreshing a Compact Outdoor Area
Use compact tools and techniques to refresh a small outdoor space, like a balcony or a small patio.
🧼 Rental-Safe Option: Easy-to-Remove Fixes for Temporary Spaces
Use removable materials like temporary paint or non-permanent stickers to refresh furniture in a rental space.
| The mistake | Why it happens | The fix |
|---|---|---|
| Skipping the Prep Work | Without proper cleaning and sanding, the new materials won’t adhere properly to the surface. | Always clean and sand your furniture before applying any new materials. This ensures a smooth, even finish and helps the materials last longer. |
| Using the Wrong Materials for Your Climate | Materials that aren’t suited for your local climate can degrade quickly and lead to a failed project. | Choose materials that are specifically designed for outdoor use, like UV-resistant paint or high-quality sealants. |
| Neglecting Proper Ventilation | Working in a poorly ventilated area can lead to health issues and a subpar finish. | Always work in a well-ventilated area, like a garage with open windows or an outdoor space. |
| Testing Colors and Materials on the Entire Surface | Applying colors and materials without testing them first can lead to unexpected results and costly mistakes. | Always test colors and materials on a small, inconspicuous area before applying them to the entire piece. |
Related: Outdoor furniture refresh mistakes ideas
Outdoor Furniture Refresh Mistakes Fixes For Beginners
Related: Outdoor furniture refresh mistakes step by step
Common Questions
What tools do I need for an outdoor furniture refresh?
How long does an outdoor furniture refresh project take?
What materials are best for outdoor use?
Can I refresh old wicker furniture?
References
- REDCap Version Changes (cb2.arizona.edu)
- data.census.gov Updates (census.gov)
- Common mistakes in technical writing - Dartmouth Computer Science (cs.dartmouth.edu)
- Federal Supply Schedule Service - Office of Procurement ... (department.va.gov)
Cite this guide
Patioreborn (2026). Outdoor Furniture Refresh Mistakes Fixes For Beginners. https://patioreborn.com/outdoor-furniture-refresh-mistakes-fixes-for-beginners/
Feel free to cite or share this guide.