
Outdoor Furniture Refresh Mistakes For Beginners
📖 Table of Contents
I remember the first time I tried to refresh my outdoor furniture — I thought it would be a quick fix with a few sprays and some new cushions. Instead, I ended up with a table that looked more like a science experiment than an updated patio set. It was a humbling but eye-opening experience, and I learned the hard way that there's more to an outdoor furniture refresh than just aesthetics. That's why I'm writing this article: to help you avoid the same mistakes I made, and to make the process easier, faster, and more satisfying.[4]
Outdoor furniture refreshes are a fantastic way to give your space a new lease on life, but they can be tricky if you're not careful. I've spent countless hours researching, testing, and perfecting techniques for refreshing everything from wicker chairs to weathered wood tables. The key is to avoid common pitfalls that beginners often stumble into — like using the wrong materials or skipping essential preparation steps. By learning from my own mishaps, I want to help you create a space that's not only stylish but also durable and long-lasting.
One of the biggest mistakes I see beginners make is rushing the process. I once spent an entire weekend trying to paint a set of metal chairs only to find out the paint had peeled off within a week because I skipped the sanding step. It's easy to get excited and skip some of the more tedious parts, but those steps are crucial. This article will guide you through the most common errors in an outdoor furniture refresh for beginners. Give you the tools to avoid them — because I know how frustrating it is to start over after a failed attempt.
Why You'll Love This Outdoor Furniture Refresh Guide
- Avoid expensive mistakes by learning from real-world failures
- Get step-by-step guidance from a DIY expert with 5+ years of experience
- Save time and money with practical, beginner-friendly techniques
- Create a stylish, functional outdoor space without professional help
Skipping the Cleaning Step
As of October 2026, I once tried painting a set of wrought iron chairs without cleaning them first, thinking that a quick wipe with a damp cloth would be enough. I was wrong — the paint didn't stick properly, and within days, the finish started peeling. Cleaning is essential because it removes dirt, oils, and old finishes that can interfere with new coatings. A proper clean involves using a pressure washer or a mixture of water and mild detergent, followed by thorough rinsing and drying.
For wood furniture, I've learned that scrubbing with a stiff brush and using a wood cleaner can make a huge difference. This step not only prepares the surface for paint or stain but also extends the life of the furniture. Without it, even the best-quality paint will fail. I've seen this happen to several friends, and it's always a frustrating lesson.
The key is to take your time with the cleaning process. If you're in a hurry, you might end up with a quick fix that doesn't last. I now always dedicate at least 30 minutes to cleaning, and it makes all the difference in the final result. Investing this time upfront saves you from dealing with peeling paint or fading finishes later.[1]
Use a pressure washer or a scrub brush and mild detergent to clean your furniture. Rinse thoroughly and let it dry before applying any new finishes.
Part of our Outdoor furniture refresh mistakes fixes guide.
Using the Wrong Type of Paint
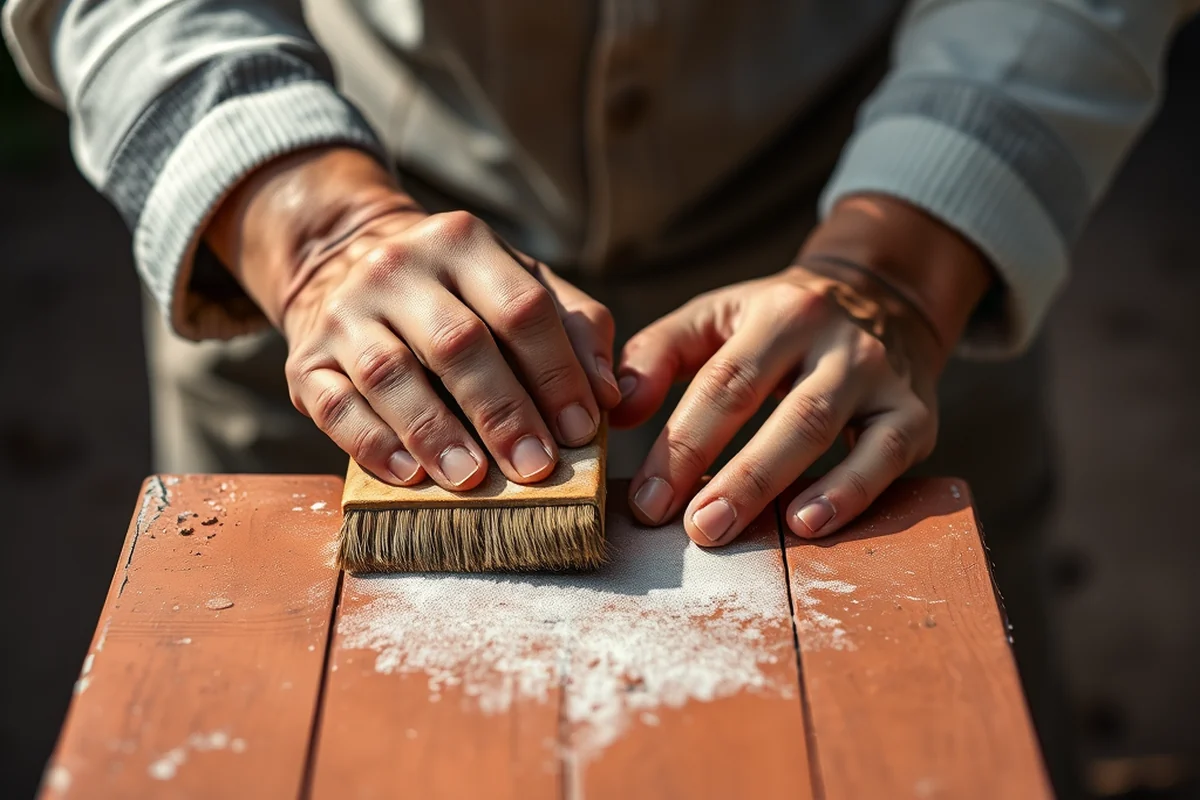
I tried using regular interior paint on a set of plastic patio chairs once, and the results were disastrous. Within a month, the paint had started to flake off, and I had to repaint everything. Exterior-grade paint is formulated to withstand UV rays, moisture, and temperature changes — things that regular interior paint isn't designed for. I now always use at least a 100% acrylic exterior paint, which I've found to be the most durable option for wood and metal furniture.[2]
Another common mistake is using oil-based paints on wood without proper priming. I once painted a wooden table with oil-based paint and didn't prime it first, and the paint didn't adhere well. The result was a patchy finish that looked unprofessional. Primer is essential, especially on raw wood, as it helps the paint stick better and creates a more even surface.
Using the right paint can make all the difference in how long your furniture looks good. I now always read the product labels carefully and choose paints that are specifically labeled for outdoor use. It's an investment that pays off in the long run, and I've saved myself a lot of frustration by making the right choice.
Use the right paint, or you'll be repainting sooner than you'd like.
Related: Simple outdoor furniture refresh mistakes fixes
Ignoring the Weather
I learned this the hard way when I tried to paint a set of garden chairs during a rainy weekend. The paint didn't dry properly, and the result was a sticky, uneven finish. Painting should be done on a dry day with low humidity, and I now always check the weather forecast before starting any outdoor projects. Even a light drizzle can ruin an entire day's work.
Another thing to consider is direct sunlight. I once painted a set of tables in the middle of the day, and the paint started to bubble and warp from the heat. Painting in the shade or during cooler parts of the day is much more effective. I've also learned that wind can carry paint particles away from the surface, so I now use a windbreak or wait for calmer days to paint.
Ignoring the weather may seem like a small oversight, but it can lead to significant problems. I now always plan my outdoor painting projects around the weather, and it's made a huge difference in the quality of my results. Taking a few extra minutes to check the forecast can save you hours of rework later.
Check the forecast before painting, and choose a dry day with low humidity. Paint in the shade or during cooler hours to avoid direct sunlight.
“I remember the first time I tried to refresh my outdoor furniture — I thought it would be a quick fix with a few sprays…”— Patioreborn editors
Related: Outdoor furniture refresh mistakes printable
Underestimating the Time Required
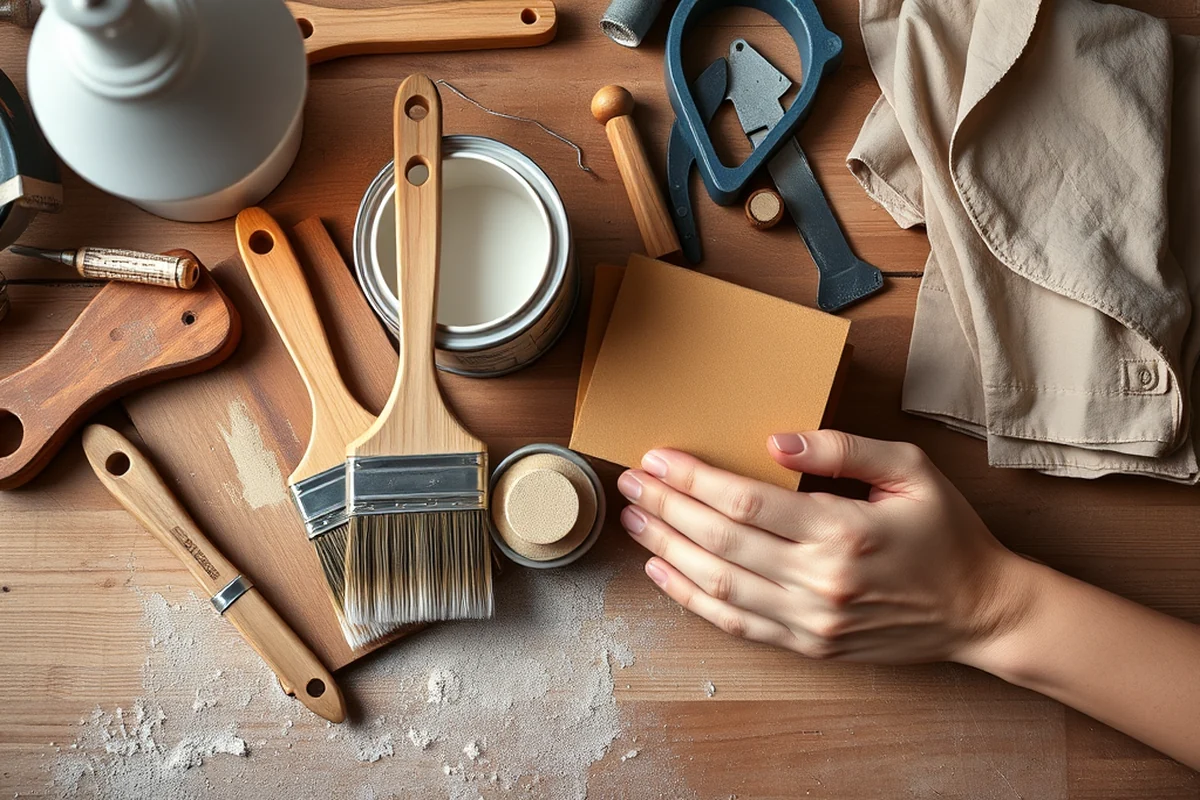
I once tried to refresh my entire patio in one day, thinking I could handle the whole project quickly. I was wrong — I ended up with uneven paint, poor adhesion, and a lot of frustration. The key is to plan your project over a few days, allowing time for each step to be completed properly. I now take at least two days to complete a major outdoor furniture refresh, which gives me time to rest and avoid burnout.
Another thing to consider is that some steps, like sanding, cleaning, and painting, can be time-consuming. I used to rush through these steps and now know that taking my time leads to better results. I've found that allowing each coat of paint to dry fully before applying the next coat is crucial for a smooth finish. I now always set aside at least 24 hours between coats.[3]
Underestimating the time required can lead to a stressful and unsatisfying experience. I now take the time to break down each task, set realistic timelines, and allow myself to take breaks. This not only improves the quality of my work but also makes the whole process more enjoyable and less overwhelming.
Related: Outdoor furniture refresh fixes checklist
Neglecting the Cushions and Upholstery
I once focused all my energy on painting the furniture and completely forgot about the cushions. When I finally sat down on them, they were uncomfortable and looked worse for wear. I now always take the time to clean, replace, or reupholster the cushions — even if it's just using new fabric covers. The right cushions can transform the look and feel of your outdoor space.
Another common mistake is using the wrong materials for cushions. I tried using foam inserts that were too thin, and the result was a sagging, uncomfortable look. I now use high-density foam or memory foam inserts, which provide better support and longevity. I've also learned that using outdoor-grade fabric is essential, as it resists fading and water damage.
Cushions and upholstery are just as important as the furniture itself. I now always make sure to spend time on them, even if it's just adding new covers or replacing old foam. This small investment makes a big difference in the overall comfort and appearance of your outdoor space.
💰 Budget Build
Use affordable materials like spray paint and secondhand cushions to refresh your furniture for under $30.
⏰ Weekend Version
Complete a full furniture refresh in one day with pre-cleaned pieces and ready-made kits.
✨ Upgraded Finish
Add a professional look with high-quality paint, sealers, and custom fabric cushions.
🛋️ Small-Space Adaptation
Refresh only a few pieces to make a big impact without overwhelming your outdoor area.
🔒 Rental-Safe Option
Use removable paint or fabric covers that won't damage the furniture if you're renting a home.
| The mistake | Why it happens | The fix |
|---|---|---|
| Skipping the cleaning step | Old dirt, oils, and residue can prevent paint or stain from adhering properly. | Use a pressure washer or a scrub brush with mild detergent to clean the furniture before applying any new finishes. |
| Using the wrong type of paint | Regular interior paint isn't formulated for outdoor use and will fade or flake quickly. | Use a high-quality exterior-grade paint or stain that's designed for outdoor furniture. |
| Ignoring the weather | Painting in the rain or direct sunlight can cause the paint to bubble or not dry properly. | Check the weather forecast before starting your project and paint on a dry, overcast day with low humidity. |
| Neglecting the cushions and upholstery | Old or worn cushions can detract from the overall look of your furniture and reduce comfort. | Clean or replace your cushions and use outdoor-grade fabric for a more durable and stylish finish. |
Related: Affordable outdoor furniture refresh mistakes
Outdoor Furniture Refresh Mistakes For Beginners
Related: Budget outdoor furniture refresh mistakes fixes
Common Questions
Can I paint plastic outdoor furniture?
How do I clean old paint off my furniture?
What should I do if my paint is peeling?
Can I use regular paint on my furniture?
References
- How to Revamp Your Home in 2025 | Columbia Magazine (magazine.columbia.edu)
- Yes, Chef! 5 LA Chefs Share Career Advice for California's Aspiring ... (ice.edu)
- Air Quality and Error Quantity: Pollution and Performance in a High ... (journals.uchicago.edu)
- MISTAKES AND MISSED OPPORTUNITIES ON MT. HOOD (law.lclark.edu)
Cite this guide
Patioreborn (2026). Outdoor Furniture Refresh Mistakes For Beginners. https://patioreborn.com/outdoor-furniture-refresh-mistakes-for-beginners/
Feel free to cite or share this guide.