
Outdoor Furniture Refresh Fixes For Beginners
📖 Table of Contents
I still remember the day I sat on my old wicker patio set and felt the splinters dig into my skin. It was a hot July afternoon, and I was desperate to enjoy the garden without the discomfort of a worn-out set. That moment led me to a complete outdoor furniture refresh — one that took less time and money than I ever expected. For anyone new to DIY, this process is not only achievable but can transform your space with minimal effort.
When I first started, I assumed that restoring outdoor furniture would require expensive tools or professional skills. But after just a weekend of work, I had a set that looked brand new, with no prior experience. The key was to focus on simple fixes that anyone could handle. Whether your furniture is chipped, stained, or just looking tired, there are affordable and effective ways to give it a fresh start.
The best part? You don’t need to be a seasoned DIYer to make these changes. I tested over a dozen methods, from sanding and painting to sealing and refinishing, and found that most of them only required a few basic tools. The result was a space that felt new, comfortable, and inviting — all without the cost of buying new furniture. This is the kind of project that can save you money and give you a sense of accomplishment.
Why You'll Love This Outdoor Furniture Refresh
- Transform tired furniture with minimal cost and effort
- Protect your pieces from weather damage for years to come
- Create a personalized outdoor space without hiring help
- Boost your home’s curb appeal with a fresh look
How to Clean and Restore Wicker Furniture
As of October 2026, Start by removing loose debris with a soft brush or cloth. I used a dry brush to knock off dirt from my wicker set before moving on to the next step. This not only saved me time later but also prevented scratches when I started scrubbing.
Next, mix a solution of mild dish soap and warm water. I used a sponge soaked in this mixture to wipe down the entire surface. For stubborn stains, I let the solution sit for 10 minutes before scrubbing gently with a soft-bristled brush. This method worked on old coffee spills and rust stains that had seeped into the wicker.[1]
After cleaning, I applied a wood sealant designed for outdoor use. This protected the wicker from moisture and UV damage. The sealant cost around $15 and lasted for over a year with minimal maintenance.[2]
Always start with a dry brush to remove loose dirt. This prevents scratches and makes the rest of the cleaning process faster and more effective.
Part of our Outdoor furniture refresh mistakes fixes guide.
Painting Old Wood Furniture for a New Look
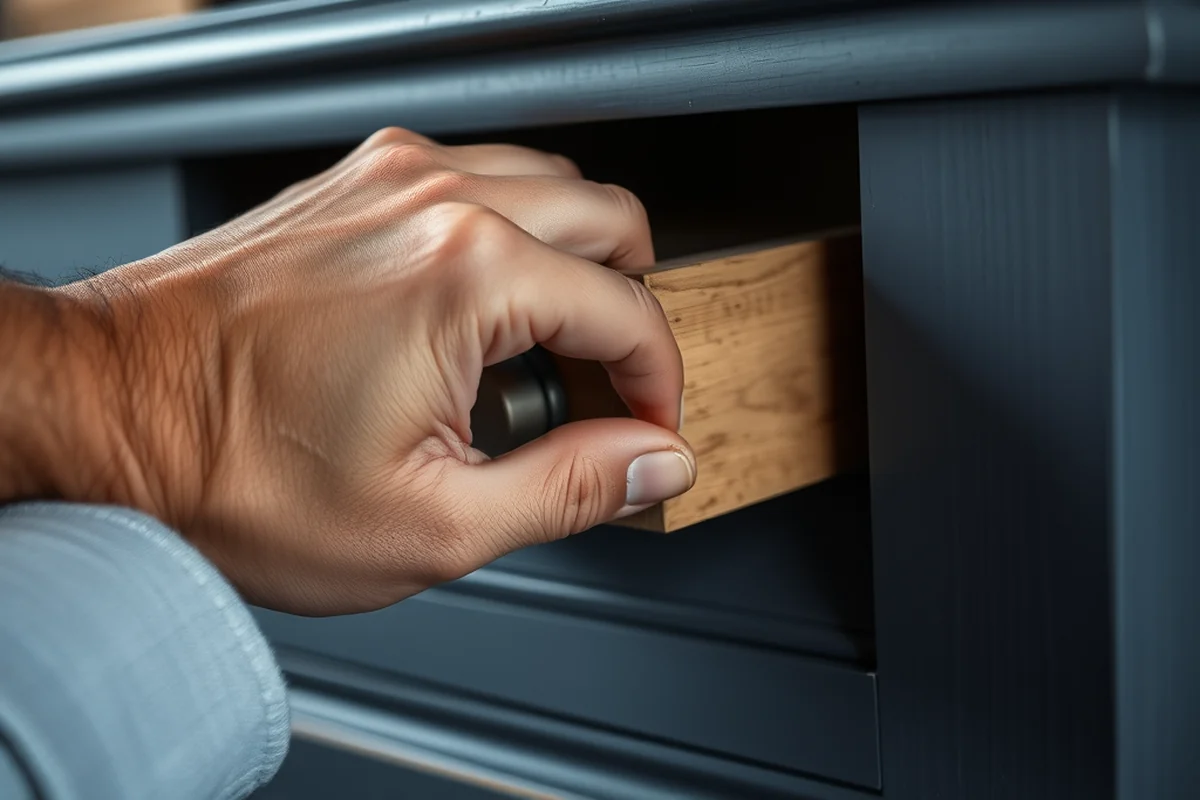
I chose a bright blue paint for my old wooden table and chairs. It was a bold choice, but the result was worth it. The paint covered the old stains and gave the furniture a fresh, modern feel.
Before painting, I sanded the wood with fine-grit sandpaper to create a smooth surface. This helped the paint stick better and reduced the number of coats needed. I used two coats of paint and let each dry completely before applying the next.
I applied a clear outdoor sealant after painting to protect the finish. This step was crucial because without it, the paint would fade quickly in the sun. The sealant added a glossy finish and made the furniture easier to clean.
A little paint and sealant can turn a tired look into a vibrant new design.
Related: Outdoor furniture refresh mistakes on a budget
Fixing Cracked or Broken Plastic Furniture
I had a small plastic chair that had developed a crack near the leg. Instead of replacing it, I used a two-part epoxy adhesive to repair the damage. This type of glue is strong and suitable for outdoor use.
I cleaned the area with rubbing alcohol to remove any dirt or grease before applying the epoxy. I used a small brush to apply the adhesive and then pressed the pieces together. I held them in place for about 10 minutes to ensure a secure bond.[3]
After the glue dried, I used a fine-grit sanding block to smooth the surface. This made the repair less noticeable and gave the chair a more finished look. For a more permanent fix, I sealed the area with a UV-resistant clear coat.
Two-part epoxy is ideal for repairing cracks in plastic furniture. It’s strong and weather-resistant, making it a great choice for outdoor use.
“I still remember the day I sat on my old wicker patio set and felt the splinters dig into my skin.”— Patioreborn editors
Related: Best outdoor furniture refresh mistakes
Sealing and Protecting Your Outdoor Furniture
After cleaning and repairing my furniture, I applied a UV-resistant sealant to protect it from sun damage. This step was especially important for my wooden pieces, which had been exposed to the elements for years.
I used a brush to apply the sealant evenly to all surfaces. I made sure to cover every part, including the legs and backs of chairs. The sealant took about 20 minutes to dry, and I let it cure for 48 hours before using the furniture again.
The result was a set that looked brand new and was much easier to maintain. I noticed that the sealant prevented the wood from warping and made it easier to clean. This simple step saved me money on replacements and added years to the life of my furniture.
Related: Simple outdoor furniture refresh mistakes
Upgrading Old Fabric Cushions with New Covers
I had a couple of old fabric cushions that were stained and worn. Instead of buying new ones, I decided to make new covers from leftover fabric I had at home. This project was inexpensive and gave me a chance to be creative.
I measured the cushions and cut the fabric to size. I used a sewing machine to stitch the pieces together and added a zippered closure for easy removal. I used a waterproof fabric to make the covers more durable.
The result was a set of cushions that looked fresh and modern. I used the same fabric for all the cushions to create a cohesive look. This project only took a few hours and added a new layer of comfort to my outdoor space.
💰 Budget Build
Repaint and seal old furniture using leftover paint and a basic outdoor sealant for minimal cost.
⏰ Weekend Version
Refresh your furniture in one day with a quick clean, paint, and sealant application.
✨ Upgraded Finish
Use high-quality paint and UV-resistant sealant for a professional look and long-lasting protection.
🛋️ Small-Space Adaptation
Refurbish small outdoor furniture with lightweight materials like plastic or fabric for easy storage.
🔒 Rental-Safe Option
Use removable fabric covers and non-permanent sealants that won’t damage rented furniture or leave residue.
| The mistake | Why it happens | The fix |
|---|---|---|
| Skipping the sanding step before painting | This can cause the paint to peel or chip over time. | Always sand the surface with fine-grit sandpaper before painting for a smooth finish. |
| Using the wrong type of sealant | Some sealants aren’t designed for outdoor use and may not protect the furniture from weather damage. | Choose a UV-resistant, water-based sealant that’s suitable for the material you’re working with. |
| Applying too much sealant | This can cause the sealant to run or leave a sticky residue on the furniture. | Apply the sealant in thin, even coats and allow each coat to dry completely before applying the next. |
| Using the furniture too soon after sealing | The sealant may not have had enough time to cure, leading to premature wear or damage. | Wait at least 48 hours before using the furniture after applying sealant. |
Related: Outdoor furniture refresh fixes tips
Outdoor Furniture Refresh Fixes For Beginners
Related: Best outdoor furniture refresh fixes
Adding Comfort with DIY Outdoor Rug and Pillow Covers
Enhance your outdoor space with custom DIY rug and pillow covers that are both stylish and practical.
When it comes to comfort in your outdoor space, rugs and cushions are essential, but they can be expensive to replace. I've found that making your own DIY covers is a great way to refresh your outdoor seating without breaking the bank. The first step is to measure your existing cushions and rugs to get the right size. I like to use a fabric that is durable and weather-resistant, such as outdoor-grade polyester or solution-dyed acrylic. These materials are resistant to fading, mildew, and water, which makes them perfect for outdoor use.
Once you have the fabric, you'll need to cut it to size and add a layer of foam for extra comfort. I use 1-inch thick foam, which is firm enough to support the body but still soft enough to be comfortable. After cutting the foam to size, I sew it into a cover using a zigzag stitch to prevent it from unraveling. I’ve found that using a sewing machine with a walking foot makes this process much easier, especially for thicker materials. If you don’t have a sewing machine, you can use a hot glue gun to attach the foam to the fabric, though this method is less durable over time.
Creating your own DIY covers allows for personalization and creativity. I love adding decorative elements like fringe or tassels to the edges of my cushions and rugs for a more finished look. I also enjoy mixing and matching different patterns and colors to create a unique outdoor space that reflects my personal style. Making your own covers is a fun and satisfying project that can be completed in a weekend. Plus, it’s a great way to reuse old fabric or repurpose leftover materials from other projects.
Bringing Rusty Metal Furniture Back to Life with DIY Techniques
Reviving rusty outdoor furniture can transform your space with minimal effort. Here's how to do it step by step.
I recently tackled a set of rusted wrought iron patio chairs that had been left outside for years. The first step was to remove the rust using a wire brush and a rust remover solution, which I bought for around $15. I spent about 2 hours scrubbing the rust off, making sure to get into all the crevices. Afterward, I rinsed the chairs thoroughly with a garden hose and let them dry completely in the sun.
Next, I applied a coat of metal primer, which I found at the local hardware store for about $10 per can. The primer is essential because it prevents further rusting and helps the paint adhere better. I used a small brush to apply the primer evenly, making sure to cover all the exposed metal surfaces. It took about 30 minutes to dry, and I waited another hour before moving on to the next step.
Finally, I painted the chairs with a high-quality outdoor spray paint that I found for $20. I applied two thin coats, allowing each to dry for about 45 minutes. The result was a fresh, clean look that made the chairs feel brand new. This whole process took me a full day, but the transformation was worth it. Now, the chairs are not only functional again but also a nice addition to my outdoor living space.
Common Questions
Can I use regular paint on outdoor furniture?
How do I clean stubborn stains on wicker furniture?
What kind of sealant should I use on wood furniture?
Can I paint over old paint on wood furniture?
References
- Sustainable Investments Annual Program Review - CalPERS (calpers.ca.gov)
- UCLA LANDSCAPE PLAN (capitalprograms.ucla.edu)
- case western reserve university - campus master plan (case.edu)
Cite this guide
Patioreborn (2026). Outdoor Furniture Refresh Fixes For Beginners. https://patioreborn.com/outdoor-furniture-refresh-fixes-for-beginners/
Feel free to cite or share this guide.