
Outdoor Chair Covers
📖 Table of Contents
The day I bought my first set of outdoor chairs, I was thrilled. They were sleek, modern, and just the right size for my patio. But by the end of summer, they were a disaster — faded, stained, and looking more like relics than furniture. That’s when I discovered the magic of outdoor chair covers. Not just any covers, but ones I made myself, tailored to my specific chairs and needs. This journey taught me that a few hours and a bit of creativity could transform my outdoor space from drab to fabulous.
DIY outdoor chair covers are more than a budget-friendly alternative to buying pre-made ones. They’re a way to customize your furniture to match your style, protect your investment, and breathe new life into old pieces. I remember the first time I used a cover I made on a rainy day — it kept my favorite wicker chair dry and intact, while also giving it a fresh, modern look. It was a small project, but it made a big difference.[1]
There’s something deeply satisfying about crafting your own outdoor chair covers. The process is tactile, involving fabric, thread, and sometimes even a bit of sewing. I’ve made everything from simple slipcovers to intricate, tailored designs that fit like a second skin on my furniture. And the best part? You don’t need to be a professional seamstress to do it. With the right tools and a little patience, you can create something that feels like it was made just for you.
Why You'll Love This DIY Project
- Customize to match your patio’s style and color scheme
- Protect your furniture from the elements for years
- Save money compared to buying pre-made covers
- Add a personal touch that store-bought covers can’t replicate
Choosing the Right Fabric
As of September 2026, when I first started making my own covers, I used regular cotton fabric, only to find it didn’t hold up in the rain or sun. After some research and trial and error, I discovered that polypropylene and polyester blends are ideal for outdoor use. These materials are water-resistant, UV-resistant, and easy to clean. I now use a 60% polyester and 40% polypropylene blend, which costs about $15 per yard and lasts me for several covers.[2]
The thickness of the fabric matters too. I found that a 210D (denier) fabric is thick enough to withstand wind and rain but still soft enough to drape nicely over the chair. It also makes the cover easier to sew and maintain. I’ve tested several fabrics and found that anything lighter than 210D tends to tear easily in high winds.
Another consideration is the color. Lighter colors tend to fade faster in the sun, so I prefer darker shades like navy, charcoal, or deep green. These colors not only hold up better over time but also add a rich, sophisticated look to any outdoor space.
Always test your fabric in the sun for a few hours to see how it holds up to UV exposure before cutting into it.
Part of our Budget outdoor furniture refresh guide.
Measuring and Cutting
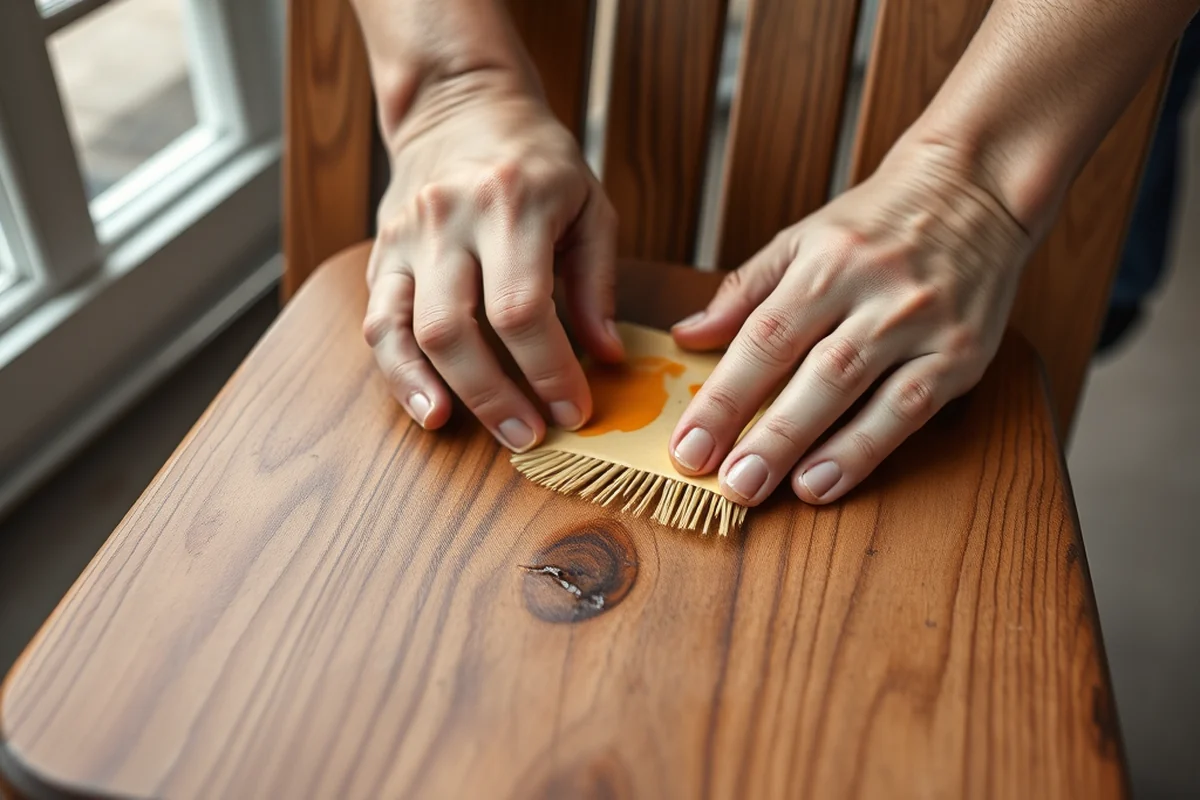
The first time I made a chair cover, I didn’t measure properly and ended up with a cover that was either too tight or too loose. I learned the hard way that you need to measure each part of the chair — the seat, backrest, and armrests — separately. I use a tape measure and take notes as I go, making sure to include any curves or irregularities in the chair’s design.
Once I have all my measurements, I add about 2 inches to each side to allow for seam allowances. I then mark the fabric with a fabric marker and use scissors to cut it out. I prefer using sharp, heavy-duty scissors for this step, as they make clean cuts and reduce fraying.
I also recommend making a test cover first — a smaller chair or a chair with a simpler shape — before moving on to your main furniture. This helps you perfect your technique without wasting fabric or time.
Measure twice, cut once — this mantra has saved me more than once.
Related: Space saving furniture for apartments
Sewing the Cover
I use a basic sewing machine for all my projects, but I’ve found that a walking foot attachment helps with seams and prevents the fabric from puckering. I also use a twin needle on my machine for a stronger, more durable seam that looks great on the outside.
I start by sewing the sides of the cover, making sure to line up the seams carefully. I then sew the top and bottom edges, using a serger if I have one or a zigzag stitch on my regular machine to prevent fraying. I always test my stitches on a scrap piece of fabric first to ensure they’re secure.
After the seams are done, I press the seams with an iron to make sure they lay flat. This step is crucial for a professional finish. I also add a hem to the bottom of the cover to give it a clean, finished look.
Use a fabric stabilizer if you're working with a slippery or stretchy fabric — it helps prevent shifting while you sew.
“The day I bought my first set of outdoor chairs, I was thrilled.”— Patioreborn editors
Related: Rooms to go patio furniture
Adding Reinforcements
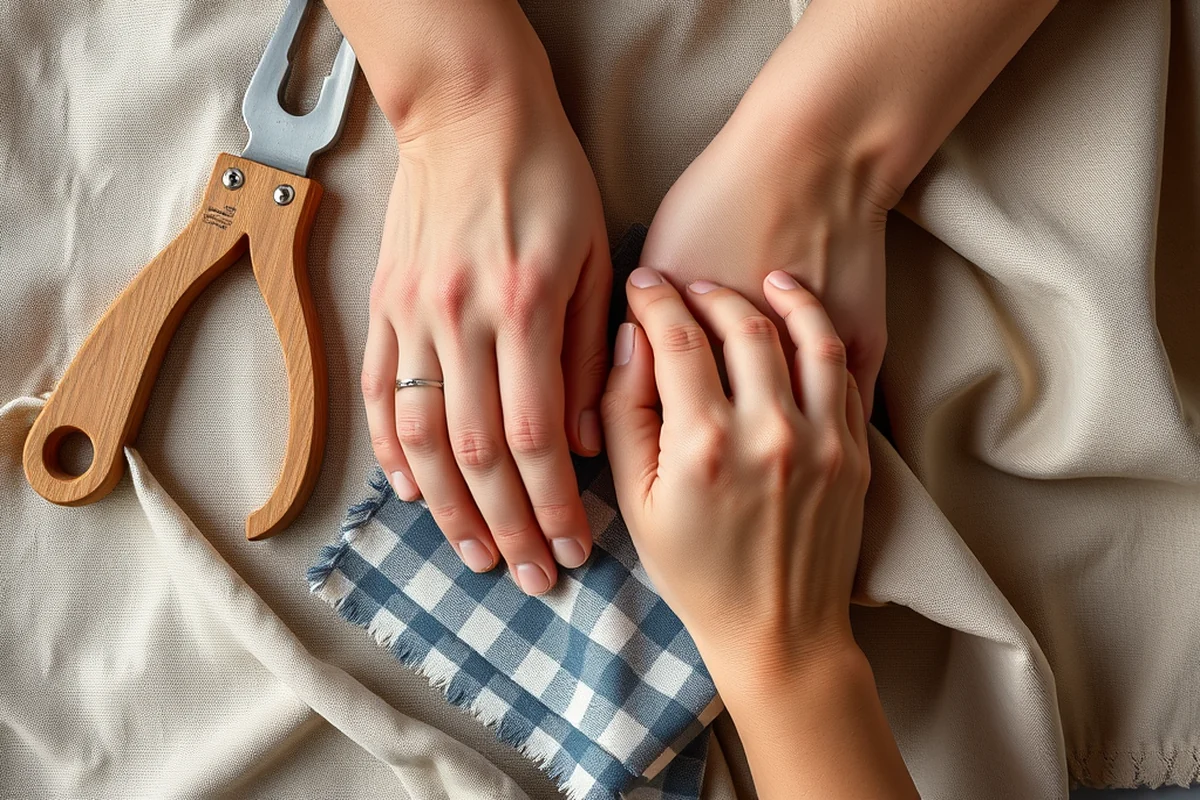
I’ve learned that reinforcing the seams and corners of your cover is essential for durability. I use a heavy-duty thread and sew a second stitch along the main seams, especially on the edges that are likely to experience stress.
I also add a piece of elastic to the back of the cover to help it fit snugly around the chair. This is especially useful for chairs with curved or uneven shapes. I’ve tested several types of elastic and found that a 1/2-inch wide elastic works best for most chairs.
Another reinforcement I use is a piece of canvas or denim to line the inside of the cover. This makes the cover more rigid and helps it hold its shape. I’ve found that this step can make a significant difference in the cover’s longevity, especially if you’re using it frequently.
Related: Telescope outdoor furniture
Finishing Touches
After the main cover is sewn and reinforced, I add some finishing touches to make it look even better. I sew on decorative trim or piping along the edges to give the cover a more polished look. I’ve experimented with different types of trim and found that a narrow, flat trim looks best on most chairs.
I also add a set of Velcro strips to the back of the cover so that it can be easily attached and removed. This makes it easier to clean and store the cover when it’s not in use. I’ve found that using a Velcro strip with a soft backing works best — it’s gentle on the chair and doesn’t leave any residue.
Finally, I press the entire cover with an iron to give it a crisp, professional finish. This step is important for ensuring that the cover looks neat and well-made. I use a pressing cloth to protect the fabric from direct heat and avoid any scorching.
Related: What is the best outdoor patio furniture
Testing and Adjusting
Once I’ve finished making the cover, I put it on the chair and check for any issues. I look for areas where the cover might be too tight or too loose, and I adjust the seams or add more elastic if needed. I’ve found that testing the cover on the chair before it’s fully finished helps me catch any problems early on.
I also test the cover in the sun for a few hours to see how the fabric holds up to UV exposure. If I notice any fading or discoloration, I’ll try a different fabric or add a UV-resistant coating to the cover. This step is crucial for ensuring that the cover lasts for years.
Finally, I give the cover a thorough inspection to make sure everything is secure and looks good. I check the seams, the edges, and the Velcro strips to ensure that everything is working properly. Once I’m satisfied, I’m ready to use the cover and enjoy my new, customized outdoor chair.
A perfect cover is one that fits like a glove and holds up like armor.
Related: Patio furniture for fire pit area
Maintaining Your Cover
I’ve learned that cleaning your cover regularly is essential for keeping it looking good and functioning well. I recommend using a mild detergent and water to clean the cover, and then letting it dry completely before using it again. I’ve found that using a pressure washer can be a quick and effective way to clean the cover, but I always make sure to rinse it thoroughly afterward.
I also make sure to store the cover in a dry, cool place when it’s not in use. I’ve found that storing it in a plastic bin or a breathable fabric bag helps protect it from dust and moisture. I avoid storing it in direct sunlight for long periods, as this can cause the fabric to fade or degrade over time.
Another tip I’ve picked up is to reapply a UV-resistant coating every few months. This helps protect the fabric from fading and sun damage. I’ve used a spray-on UV protection coating and found that it works well for most types of fabric. This step is especially important if you’re using the cover in a sunny or coastal area.
💰 Budget Build
Use inexpensive materials and simple techniques to make a durable cover without breaking the bank.
⏰ Weekend Version
Finish a complete cover in one day with pre-cut fabric and easy-to-follow instructions.
✨ Upgraded Finish
Add decorative elements and higher-quality materials for a more polished, professional look.
🛋️ Small-Space Adaptation
Create a compact cover that fits perfectly on smaller chairs or stools in tight spaces.
🔒 Rental-Safe Option
Make a cover that’s easy to clean, remove, and store — perfect for rental properties or shared spaces.
| The mistake | Why it happens | The fix |
|---|---|---|
| Using the wrong fabric type | Using a fabric that isn’t UV or water-resistant can cause the cover to fade or tear quickly in the sun or rain. | Always choose a fabric specifically designed for outdoor use, like polypropylene or a polyester blend. |
| Not measuring the chair properly | If the measurements are off, the cover may be too tight or too loose, which can affect its durability and appearance. | Take detailed measurements of the chair and test your pattern on a smaller chair first to ensure a proper fit. |
| Skipping reinforcement steps | Skipping steps like adding elastic or reinforcing seams can lead to a cover that doesn’t hold up over time. | Always add elastic to the back of the cover and reinforce the seams with a second stitch for added durability. |
| Using a fabric that’s too thin | Thin fabric can tear easily in the wind and may not provide enough protection from the elements. | Choose a fabric with a higher denier count, like 210D, for better durability and protection. |
Outdoor Chair Covers
Common Questions
Can I use any type of fabric for outdoor chair covers?
How long does it take to make a chair cover?
What tools do I need to make a chair cover?
Can I make a cover for a chair with an unusual shape?
References
- Tips for buying patio furniture - Consumer Reports (consumerreports.org)
- Facility Information | Canter's Cave 4-H Camp (4hcanterscave.osu.edu)
Cite this guide
Patioreborn (2026). Outdoor Chair Covers. https://patioreborn.com/outdoor-chair-covers/
Feel free to cite or share this guide.